One of the key selling points of any destination is the local food. It plays such an important part in our experience of a new place, and as a result should be a must, on any travel shot list. However, capturing good photographs of food can be incredibly difficult. Professional food photographers will work with stylists to prepare the food, and light it carefully in a studio to ensure it looks natural. As a travel photographer, you don’t have the luxury of this, but there are still ways to capture great food images without stylists and studio lighting.
Here are 10 tips to help you capture great food photographs out of the studio.
1. Shoot first
This seems obvious, but you should photograph the dish while it’s still looking fresh and nicely prepared, before you start eating. You can always then take photos along the way as you eat if you want show what is inside, but a freshly prepared dish will always look more appetizing than one that has been eaten.
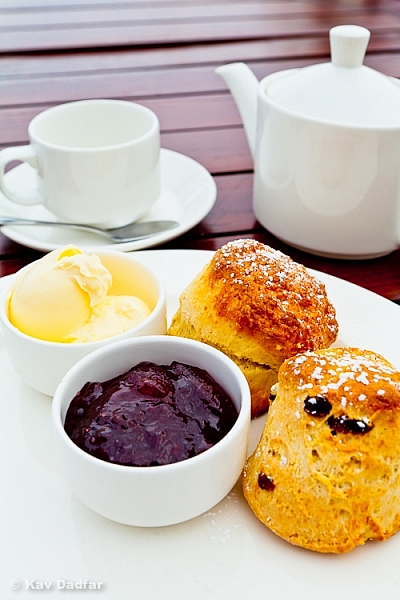
2. Use Natural Light
The biggest mistake people make when photographing food is using a flash on their camera, directly onto the plate. This is too harsh, and as a result, washes out the beautiful colours and textures of the food, not to mention, it ruins the ambience of the venue. Flash is best used to fill-in the shadows, or if you do have to use it, try to bounce it off a surface rather than directly onto the plate.
The best lighting to use is natural light, so try to sit near a window, or even better, sit outside. Avoid bright sunshine on the food, as again, this light is too harsh and creates strong shadows (this is where a fill-in flash can help). Instead, position the plate in the shade, or under an umbrella, to avoid direct light. Cloudy days are best for photographing food outdoors, as the soft, diffused light, provides an even light across the dish.
Cloudy days are great for photographing food outdoors.
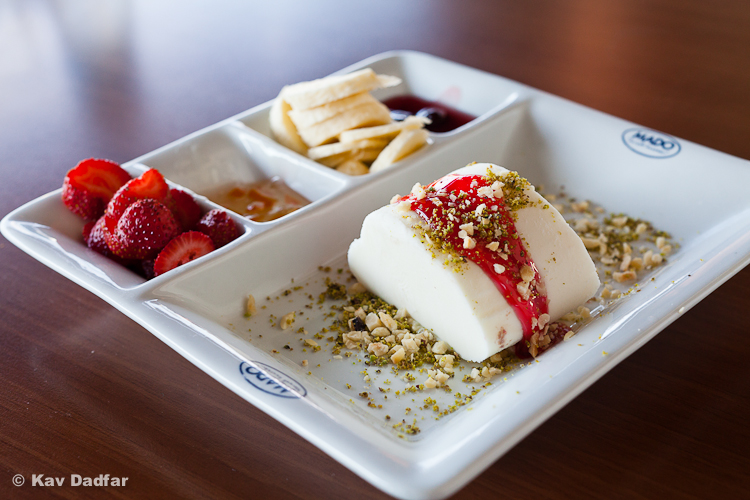
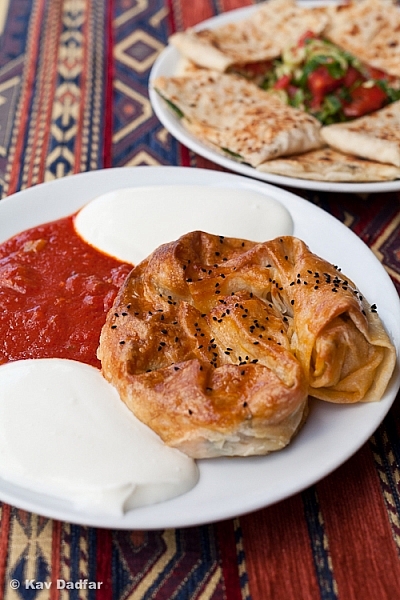
3. Keep it Simple
The hero of the photo should be the main dish, so try to avoid cramming too much into the composition. If you are adding other elements into the photo, such as a drink or other dishes, this should be very much secondary. Use a wide aperture to blur out the secondary elements, so that they don’t clash with the main dish. You also need to think about the background – a simple wooden table is much better than a shiny metallic surface.
Use a simple setup and make sure the hero of the image is the main dish.
4. Portrait or Landscape?
If you are planning on selling your photos, you need to think about the composition carefully, and whether to shoot in landscape or portrait orientation. When it comes to food photographs, normally it’s portrait mode, however, it’s always a good idea to cover a few different versions. Keep in mind that food photos may be used in small sizes, as well as a big single page image, so compose your images to work in a few different scenarios.
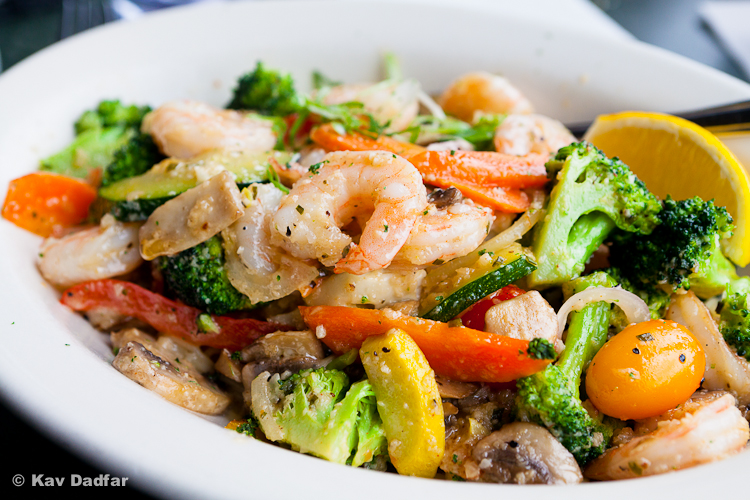
5. Focus Correctly
One of the biggest challenges of photographing food when not in a studio, is being able to focus correctly to avoid blurred photos. This comes down to a combination of your shutter speed and depth of field. How slow you can go with your shutter speed depends on how steady you can hold a camera, but I wouldn’t advise you go any slower than 1/60th sec (I tend to aim for around 1/100th for food shots). If you find that you can’t have a fast enough shutter speed, increase your ISO, but be aware that the higher your ISO, the more noise you are going to get in your photos. You also need to consider your depth of field. If you want more of the image sharp, you will need a smaller aperture (higher f-number). For more blur, use a smaller aperture (lower f-number).
When indoors, make sure you that use a fast enough shutter speed to avoid camera shake. You might have to raise your ISO to achieve this.
6. Shoot in RAW Mode
If you are photographing food anywhere other than a studio, one of the main things you need to watch for is colour casts, from things like restaurant lighting or umbrellas. Photographing in RAW mode allows you to correct this in post-production, so that the photo has a natural look and feel to it. Be aware though that RAW files are much larger than JPEGs, so ensure you have enough memory space.
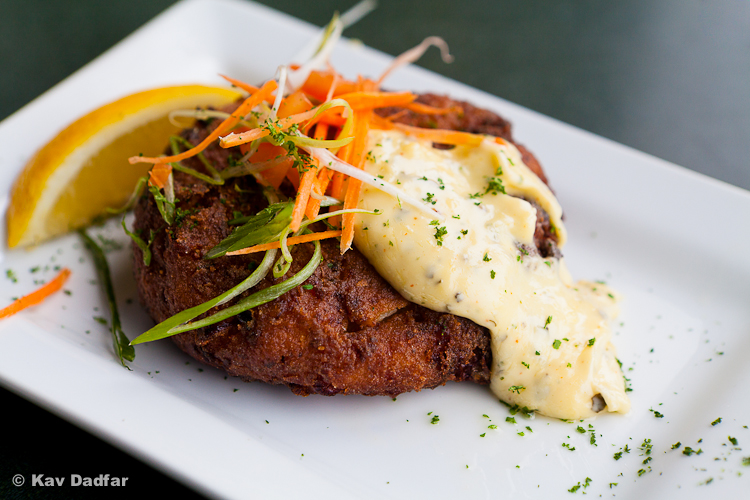
7. Shoot at an Angle
As much as possible avoid photographing food dishes directly from above, as often this can make the dish look flat and uninteresting (although sometimes if there is symmetry on the plate, a photo from above can look interesting). Instead, aim to shoot from an angle, or even sometimes at eye level, to give the dish a different prospective.
Shoot at an angle rather than straight down.
8. Crop Carefully
Remember that you don’t have to always show the entire plate when photographing food. So don’t be afraid to crop some of the plate out, or even get really close to pick up the details of the textures, colors, and ingredients. The key is to think about what the main ingredient or a hero of the plate is, and compose your photo around that. You can always try a few different crops, and see what works best in post-production. Keep in mind that for extreme close-ups you will require a macro lens.
Don’t be afraid to crop right into your dish to pick up all of the details of the ingredients.
9. Look Beyond the Plate
One of the best ways to showcase food photography is to capture the preparation of the dish. Not only will this diversify your portfolio, but it will give your food photos a much more interesting story. So, whenever possible, try to capture the chefs making the dish, as well as the ingredients that go into creating it. But remember, you still need to compose your shots carefully, and be aware of camera shake in kitchens that are often lowly lit.
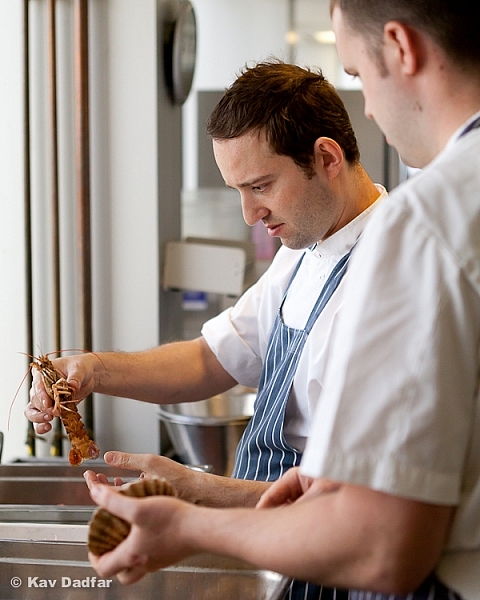
Capturing the preparation of food is a good way of building up a story about the final dish.
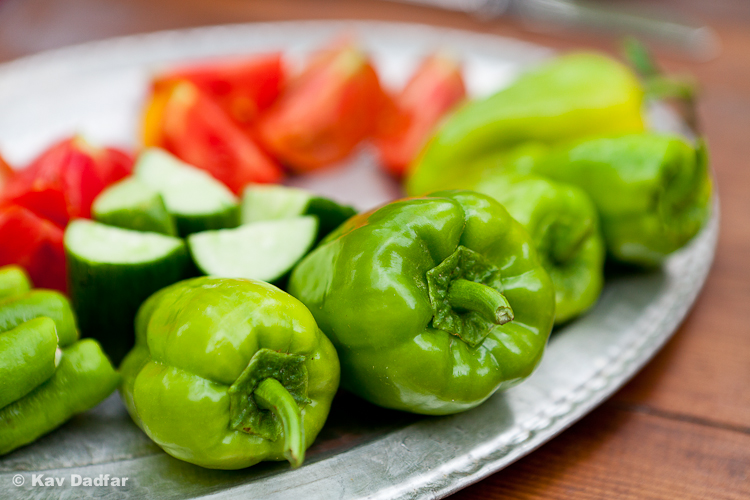
10. Visit Food Markets
Markets are a great place to practice photographing food. Apart from all the fresh ingredients that are on offer, most food markets are full of vendors selling food, and they are often preparing it right in front of you. The majority of the time if the vendor is not busy, or if you are buying something, they are more than willing to have their photograph taken.
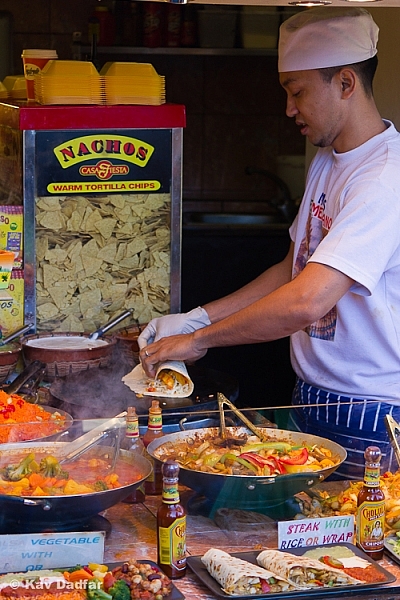
Markets are great places to practice your food photography.
Food photography can be very challenging, and often not done very well. Capturing great food photographs takes some planning, but also a lot of creative flair to compose, as well as technical skill to execute. But, if done well, food photographs can look incredibly vibrant, and stir a real emotion of wanting to visit somewhere. Just follow the steps above to help you on your way.
What are your tips for photographing food? Share your thoughts, tips and photos in the comments section below.
The post 10 Tips For Food Photography When Travelling by Kav Dadfar appeared first on Digital Photography School.