Whether you’ve just purchased your first DSLR or have been shooting for a while and would like to start using your camera’s manual settings, you should be aware of some of the common mistakes most new photographers make when they first start out.
Of course, you’ll probably learn as you go, and most photographers eventually grow out of these mistakes. But correcting problems early on can greatly speed up your learning process and help you get the sort of images you’re looking for. So if you’re just getting started with photography, here are five common camera setting mistakes to avoid.
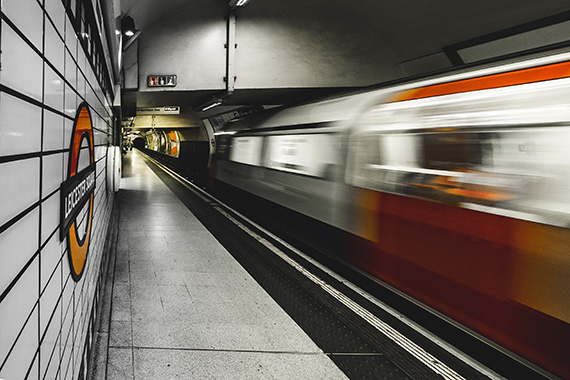
1. Using a Shutter Speed That’s Too Slow
Not using a fast enough shutter speed is the number one culprit of blurry photos. Shutter speed refers to the length of time your shutter stays open while the sensor captures the light coming through the lens and forms an image. The longer the shutter stays open, the more motion will be captured, so even slight movements on the photographer’s part can lead to blurry photos when using a slower shutter speed.
If you want sharp images when hand holding your camera, a general rule to keep in mind is that your shutter speed should always match or exceed the focal length of your lens. This is because camera shake is magnified in longer lenses.
So, for example, if you were using a 200mm lens, your shutter speed would need to be 1/200 of a second or more, whereas if you were shooting with a 50mm lens, shutter speeds of 1/50 of a second would suffice, although this also depends on whether you’re photographing a moving subject or not.
2. Choosing the Wrong Focus Point
Focusing on the wrong spot can also cause blurry photos, so it’s important to understand your camera’s focus modes. Although manual focus is great for some situations, it’s not necessarily the best option when you’re shooting fast action and need to track a moving subject.
Even when you’re not using manual focus, however, leaving everything up to the camera won’t always get you the best results. If you’re not sure what your camera is focusing on, half press the shutter button until you see a red focal point through the viewfinder. You can then use the dial to change focal points or simply move the camera until your subject is in the line of focus.
3. Not Shooting in High ISO
Many new photographers have been told or read somewhere that they should be shooting with the lowest possible ISO to avoid digital noise in their photos.
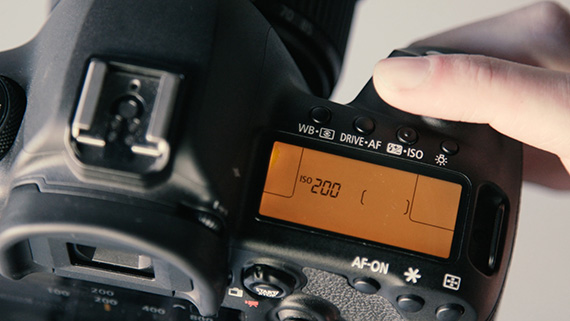
But while it’s true that using a higher ISO setting can lead to more noise, it’s still a great way to get sharp images in low light while hand holding your camera. After all, it’s better to get some good photos with a bit of noise than it is to end up with a whole memory card of photos that are either blurry or underexposed.
So get to know your camera and practice shooting at different ISO settings to see how it affects your images. You should also familiarize yourself with editing tools that can help you reduce digital noise in your photographs, such as Lightroom or Photoshop.
4. Always Shooting at Wide Apertures
New photographers often fall in love with the bokeh effect and want every photo they take to have that lovely blurred background. But although shooting at wider apertures can produce beautiful effects, it’s not the right choice for every situation.

One of the biggest issues photographers run into when shooting at their lens’ widest aperture is focus, because the wider the aperture is, the smaller the area of focus will be. This is why new photographers often end up with portraits where half of the subject’s face is completely out of focus. It’s also why wider apertures are generally unsuitable for landscape or group shots where you want everything in the frame to be sharp.
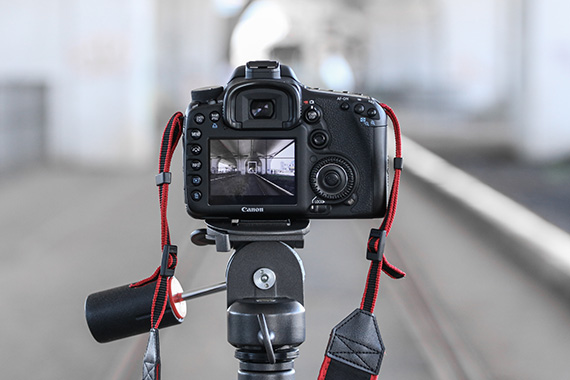
5. Using Image Stabilization While Using a Tripod
Most cameras these days have an image stabilization feature, and using this when hand holding your camera can be a great way to avoid camera shake. But using image stabilization when your camera is mounted on a tripod can actually have the opposite effect.

The image stabilization mechanism looks for vibrations in the camera and then aims to correct them. If there are no detectable vibrations, however, the mechanism itself can cause camera shake and unwanted blur, so be sure to switch this feature off when your camera is mounted on a tripod.
If getting to know your camera’s settings seems a bit tedious, just remember that once you’ve mastered the basics and know your camera in and out, you’ll be able to focus more of your energy on the creative side of photography, such as lighting and composition.
What are some of the mistakes you made early on as a photographer and how did you correct them? Let us know in the comments.
About the Author:
Marianne Stenger is a photography enthusiast and writer and journalist with Open Colleges. She covers everything from productivity and life hacks to career and education.
Go to full article: 5 Common Camera Setting Mistakes New Photographers Make
What are your thoughts on this article? Join the discussion on Facebook
PictureCorrect subscribers can also learn more today with our #1 bestseller: The Photography Tutorial eBook
The post 5 Common Camera Setting Mistakes New Photographers Make appeared first on PictureCorrect.