For many of us, pets are such a vital part of our lives that we love them like our own flesh and blood, sometimes more! It’s only natural that we should want to capture them on camera and hold their memory close to our hearts. The problem is that taking great pet photos can be tricky, especially when the animal is a single-minded cat.
If you’re reading this, chances are you have a cat or two of your own, or maybe a whole pride of them (wrong cat, maybe). You might just be someone who enjoys photographing cats around your neighborhood. Whatever your story, I’m going to help you take great feline shots with these tips for getting better photos of cats.
1 – Patience is key
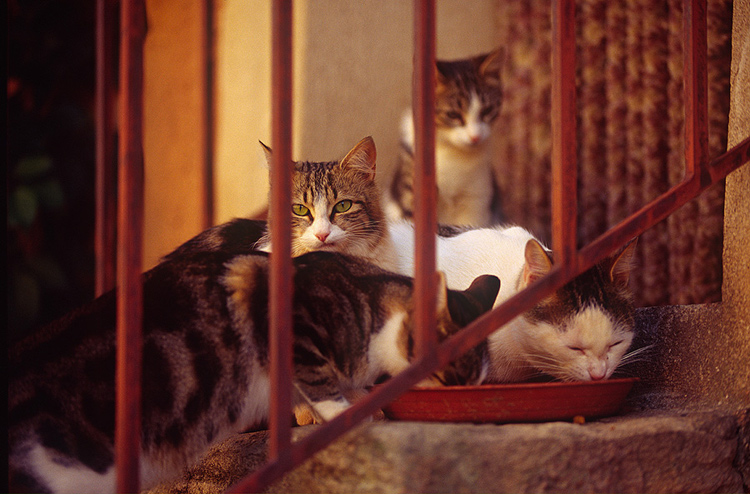
First things first; when photographing cats, you should expect a high failure rate. The more discerning you become as a photographer, the more this is the case. Cats are not an ideal subject for impatient types since they don’t strike obliging poses for long. Just as you’ve framed the shot, they’re likely to walk up to you and sniff the lens. If not that, they’ll turn their heads at the precise moment you release the shutter. Guessing what they’ll do next is part of the fun.
Have your camera ready.
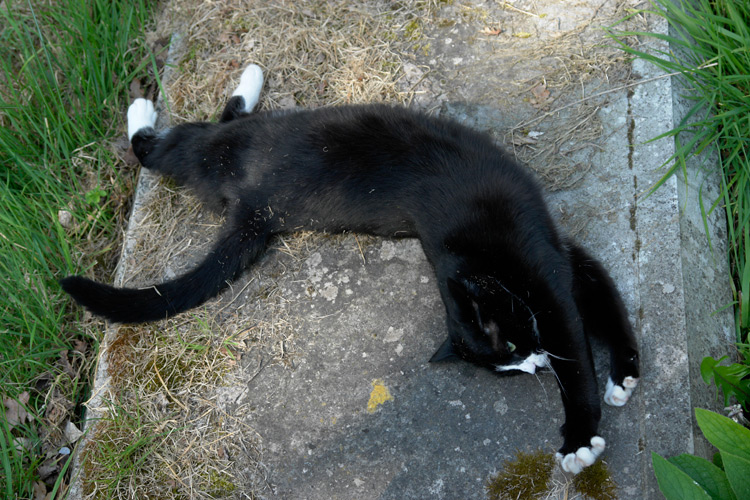
Cats tend to strike random funny poses, especially when they’re lolling about half asleep. To capture these comical moments, it’s best to always have a camera handy, even if it’s a phone. If you need to go dig out your camera before taking a shot, the cat will most likely hear you and move. Likewise, if you’re outside with your cat, have your camera ready for some outdoor action shots. You’ll miss great pictures if you first need to fetch your gear from inside a bag.
2 – Attention seeking
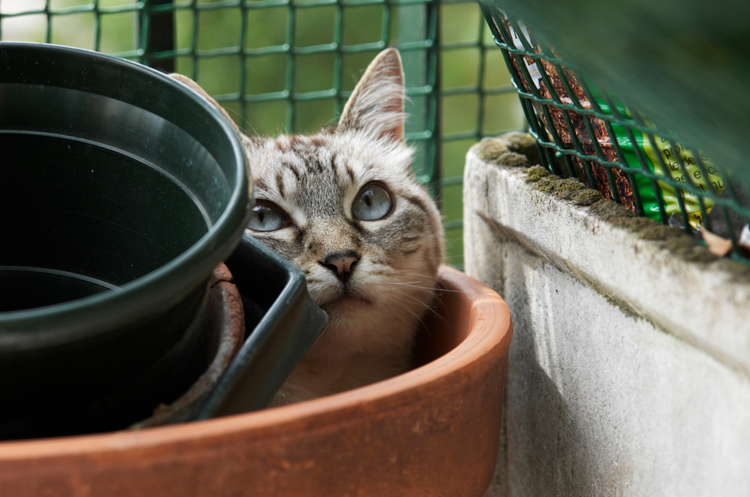
By now, you’ll know how much your cat likes to thwart you at every turn and foil your photo attempts. However, there are tactics you can use to get the pictures you want. When working alone, learn to use your camera one-handed, even though it’s not textbook technique. Set everything up on Auto so you don’t have to fiddle around before taking the shot. With the other hand, you’ll be attracting your cat’s attention. Clicking the fingers usually works for a time, until the cat wises up to it.
Cats are intrigued by rustling noises too, so you can crunch a paper bag to make the cat look towards you. Use a cat toy if you want a livelier picture, but the success rate will be lower. You’ll make life easier if there’s a window behind or beside you, so plenty of natural light falls on your cat’s face.
3 – Getting down to your cat’s level
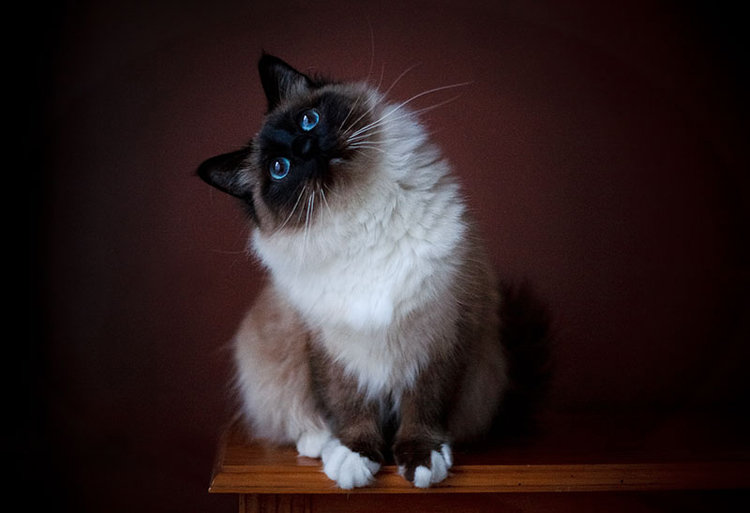
One common mistake made by budding pet photographers is that they photograph their cat or dog from a human height. This rarely works well. Photos of animals taken on their own level tend to have more impact and show the animal’s personality better, from the perspective of an equal.
If you want to capture a cat in hunting mode, getting down to ground level gives the feeling of being the cat’s prey and adds drama to the photo. If it’s hard to adopt these low positions, you’ll achieve the same thing using a digital camera with a swivel screen. Since cats like to climb, you won’t always have to stoop to be at eye level.
4 – Frame your subject
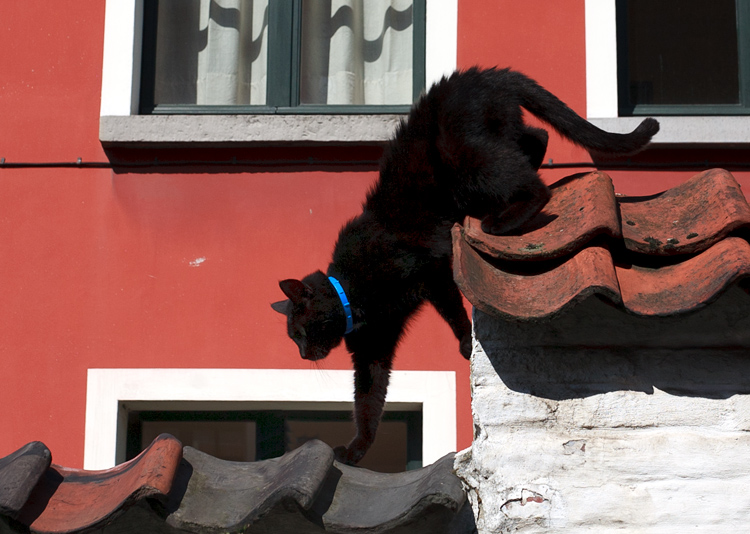
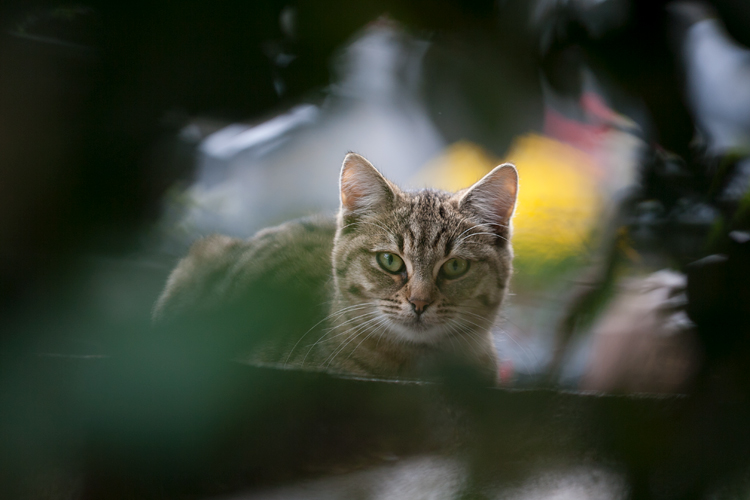
Framing your cat in the shot with surroundings like long grass, shrubs, or tree foliage gives the photo added depth. It also creates the feeling of peeking into the cat’s own natural habitat, or his world. It’s a technique you’ll often see in wildlife photography. Indoors, you can frame your cat by including any cubby holes or hiding places that cats generally like. Comfy towel cupboards are a frequent favorite.
5 – Focus on the eyes
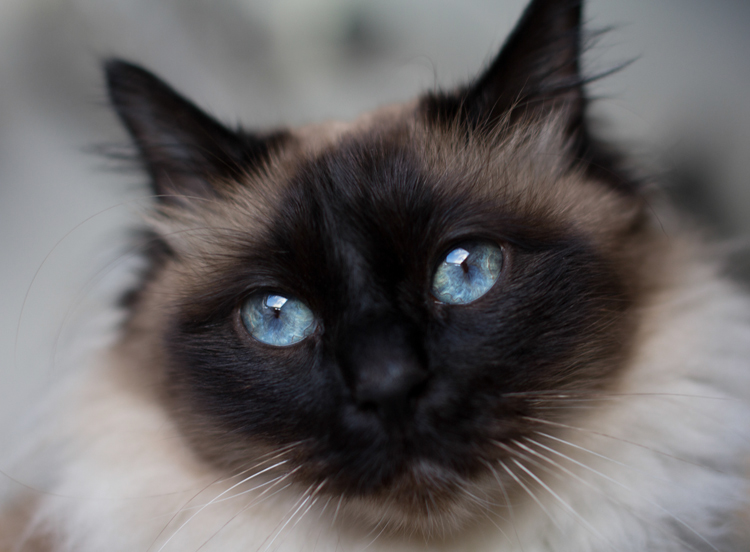
If you’re taking a close-up portrait of your cat, it’s important to make sure the eyes are in focus. This is surprisingly easy to get wrong in animals since it takes only slight carelessness to focus on the nose instead. The camera you use and its sensor size will affect how easy this is. A phone camera will typically give you loads of depth of field, so it’s difficult to get the eyes out of focus, whereas an SLR with a larger sensor gives a shallower depth of field and demands more control over technique.
If you’re taking the portrait from an angle, try to have the nearest eye in focus, as it looks unnatural to have only the far eye sharp. These same principles are generally applied to human portraits, too. They are only guidelines, however, so you can ignore them if you’re going for a specific effect.
6 – Lighting for cats
You’ve probably seen photos of people taken at night that exhibit the dreaded red-eye effect. This is the result of using a flash, either built into the camera or directly mounted onto it. Blood vessels in the back of human eyes create a red reflection. Cats and other animals have a special reflective layer in the back of their eyes that enhances night vision. This causes a variety of colors to be bounced back when a flash is aimed at them, but typically it will be blue in a kitten and green in an adult cat. These colors are more attractive than red, but still undesirable in your photo.
By mounting or holding a flashgun away from the camera, you can take night photos of your cat without this demonic eye effect. Covering the flash with a softbox will help avoid harsh shadows. High-quality flash photography requires a further investment in gear and is not strictly necessary when window light provides an easy and effective alternative. As well, digital cameras have greatly improved in high ISO performance in recent years, so you can grab photos in relatively low household light and avoid excessive noise in the picture. The only downside with that is you’ll be often forced to correct the color cast created by electric light bulbs.
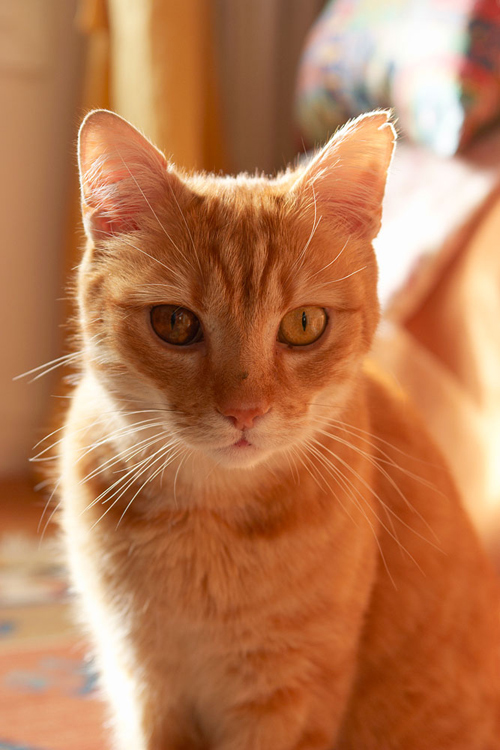
Try photographing your cat outside when the sun is low in the sky. You’ll achieve some very attractive photos if the sunlight catches the cat’s fur, which requires that you shoot towards the sun. In this situation, you can sometimes get away with using a flash directly on your camera for a little “fill-flash”. The harsh green-eye effect that happens at night doesn’t occur if the flash is diluted by enough daylight. This avoids the cat itself being underexposed, which is a possibility when shooting into direct sunlight.
7 – Lens choice
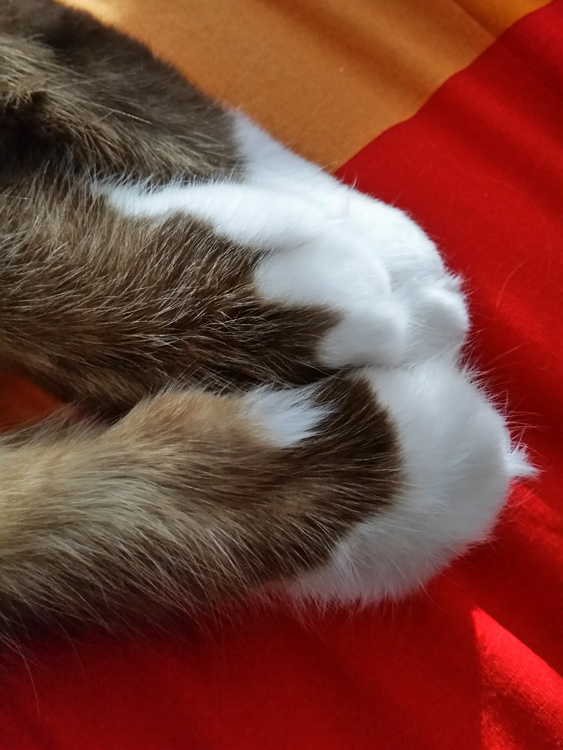
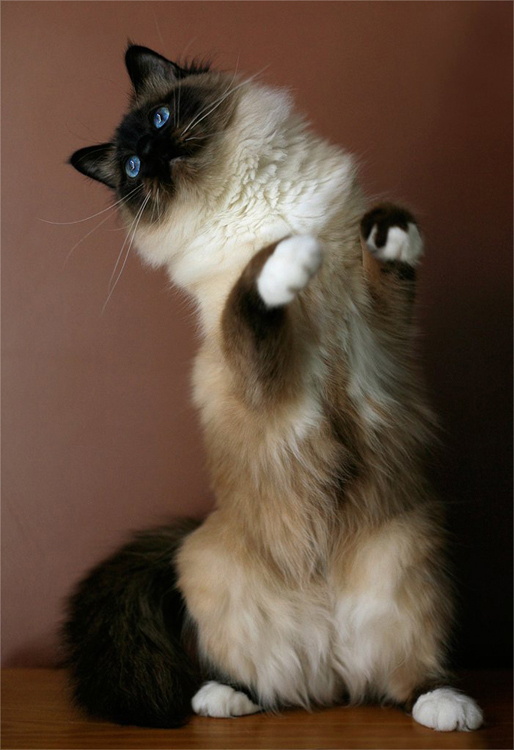
A portrait lens around 85-130mm (or equivalent) works well with cats, giving just enough working distance that they don’t instantly make a beeline towards you. If it’s also a macro lens, like the classic Tamron 90mm 1:1 macro, you’ll have the option of moving in for some ultra-close photos of eyes or even paws.
Wider reportage type lenses around 35mm are good for grabbing full-body photos of your cat. At the other end of the scale, a long telephoto lens allows a greater working distance and lets you be more selective about the background, as it will have a narrower field of view. You’ll probably go for a shorter lens indoors since you won’t need as much light to keep the photo sharp.
Compact cameras or a mobile phone will normally let you move in so close to your cat that you’re almost touching him or her, but be aware that this closeness distorts perspective and your cat’s features. Despite this drawback, the resulting photos are often pleasing enough.
8 – Camera settings
Manual Mode + Auto ISO
If you have a solely automatic camera, you can ignore this section, but it’s a neat trick for anyone with access to Manual mode and an Auto ISO feature. A lot of experienced pros and amateur photographers routinely set their cameras to Aperture Priority mode (Av/A) and have their ISO set to a low value for minimum image noise. The camera is then left to automatically adjust shutter speed for the correct exposure. This is fine, but it reduces the chances of taking sharp action photos in low light, as the shutter speed will often end up too slow. For cat photography, that’s a potential problem.
By setting the camera to Manual Mode in combination with Auto ISO, you always have control over the aperture and shutter speed settings, while the ISO is sorted out by the camera. In fact, the “manual” setting in this instance is no less automatic than aperture priority (Av/A) or shutter priority (Tv/S) modes but gives more creative control over the photo. This technique is more viable nowadays than it was a few years ago since modern digital cameras produce high ISO images with very little noise. That said, if you try this technique in poor indoor light you’ll be pushing your camera’s limits and may well be dissatisfied by the results. Given a reasonable amount of light, it’s a versatile way of working.
Camera settings – Continuous Drive mode
Capturing pictures of your cat chasing a toy, leaping or running around a garden or scurrying up a tree is not going to be easy if you leave your camera in single shot mode. That is true unless you literally have lightning reflexes or get lucky with the timing. Therefore, if you know you’re going to be attempting action shots, switch your camera to its continuous drive or burst mode. You’ll need to set a fast shutter speed too if you want to freeze the action (I’d suggest a minimum of 1/500th of a second).
While this may be less skillful than snatching single photos with ninja-style dexterity, there is no shame in stacking the odds in your favor. Remember that your audience won’t usually care about how you took the photo but will admire great results.
9 – Black cats, white cats
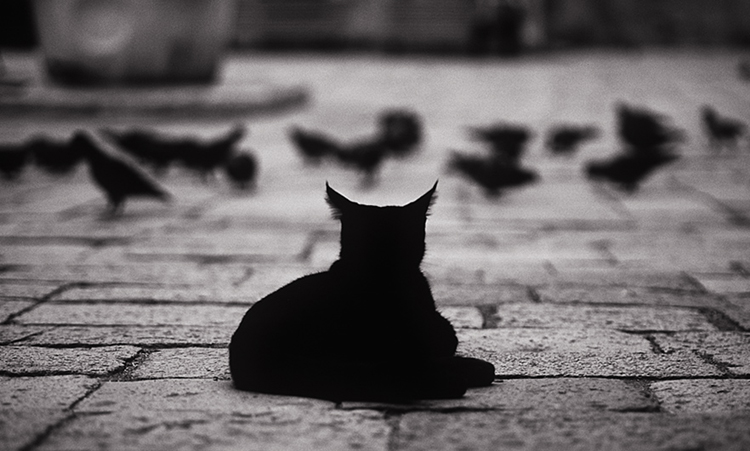
Left to its own devices, your camera’s exposure meter will often underexpose a white cat and overexpose a black cat, particularly if they take up a large portion of the photo or are set against a similarly toned background. The white cat will look murky gray and the black will lose the deep luster of its fur and appear grayish, too. You can remedy this by using your camera’s exposure compensation feature and dialing in one or two stops of overexposure for a white cat or underexposure for black. While it’s generally better to do this in-camera, with digital you can usually fix it later when editing. Being aware of the issue is the main thing.
Lastly, take plenty of photos
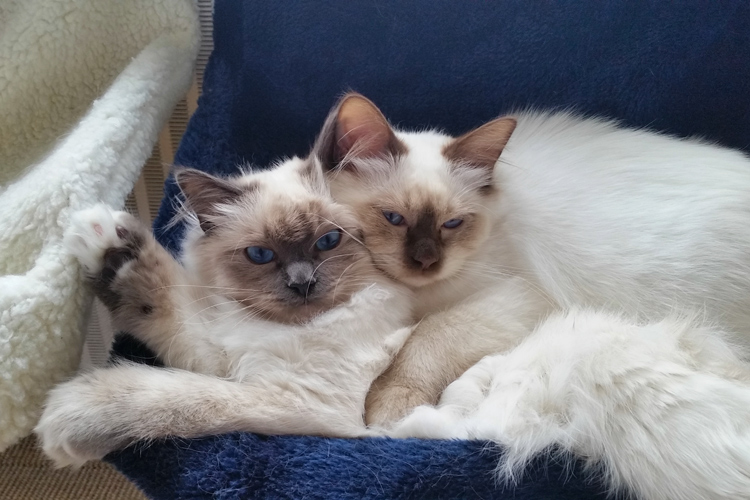
If you keep pets through much of your life, sooner or later they’ll break your heart. Don’t be caught when it’s too late without any good photos of your beloved cat. Think about his or her personality and try to record their various traits on camera. Take lots of photos to enjoy during and after your pet’s lifespan, including selfies of you both together. Cherish your cat and celebrate living!
For more info check out: Your Essential Guide to Photographing Cats and Dogs: Snap’n Paws
Did I miss anything? Please share your cat photos and tips below as well.
The post 9 Tips for Taking Better Photos of Cats by Glenn Harper appeared first on Digital Photography School.