If you’ve never tried black and white photography before, you may be wondering what the appeal is. After all, isn’t it a little like black and white television or silent movies – an anachronism in our modern, high-tech age?

The answer is no, definitely not. In the photography world, black and white is considered an art form. Some would even say only the best photographers work in monochrome. It’s a medium with a rich history, (look at the work of Ansel Adams, Edward Weston or Henri Cartier-Bresson for examples) and a bright future.
Just as importantly, working in black and white can help you become a better photographer. How? It’s all to do with composition.
Colour is very powerful, and tends to dominate the photo so much that it’s difficult to see other elements like tonal contrast, texture, shape, form and quality of light. Experienced photographers instinctively see these things, regardless of whether they work predominantly in colour or black and white. But if you’re just starting out, you may need some assistance to do so, and working in black and white photography will help you.
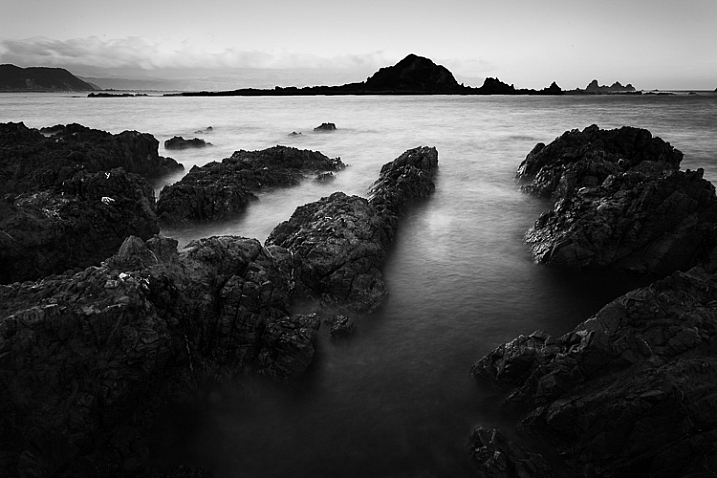
Black and white emphasizes the textures of the rocks and sea in this landscape photo.
Naturally, there are certain subjects that tend to work better than others in black and white; two in particular are landscapes and portraits. If this is your first time shooting in black and white, then these are great subjects to try out.
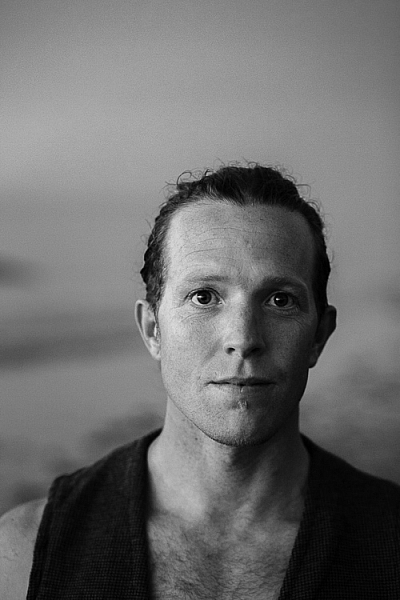
Black and white portraits emphasize expression and quality of light.
Black and white on your camera
Before digital photography the only way to work in black and white was to use black and white film. Thankfully, now it’s much easier to work in black and white, just by switching your camera to Monochrome Mode (check your camera’s manual if you are unsure how to do so, look for Picture Styles settings).
Cameras with electronic viewfinders automatically display the image in black and white, helping you see how the image will look, before you press the shutter. If you have a digital SLR you will get the same effect in Live View. This may be useful if you are working with your camera on a tripod (for instance, taking a landscape photo).
Usually at this point I advise you to use the Raw format. In the long run it’s easier than using JPEG, and gives you better image quality. But I appreciate that if you’re new to photography you may still be working exclusively in JPEG. The rest of this article works on this basis.
Working in Monochrome Mode
Once in monochrome mode you will see some extra options. They help you set your camera up to produce the best results. Again, check your manual if you are not sure where to find them.
Colour filters
The colour filter settings are left over from the days of film photography. Photographers would buy coloured filters, and use them to alter the tones in black and white photos. For example, if your scene includes a blue sky, then using a yellow filter will make the sky a little darker, an orange filter makes it even darker, and a red filter darker still.
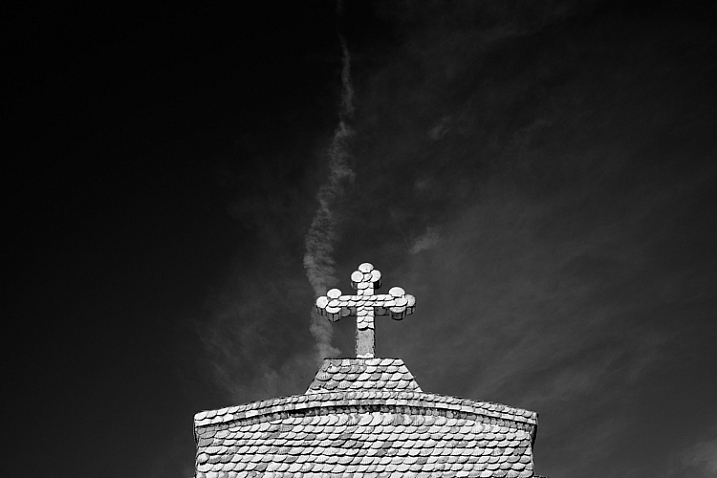
This scene works quite well in black and white, but it’s not nearly as dramatic as it could be.
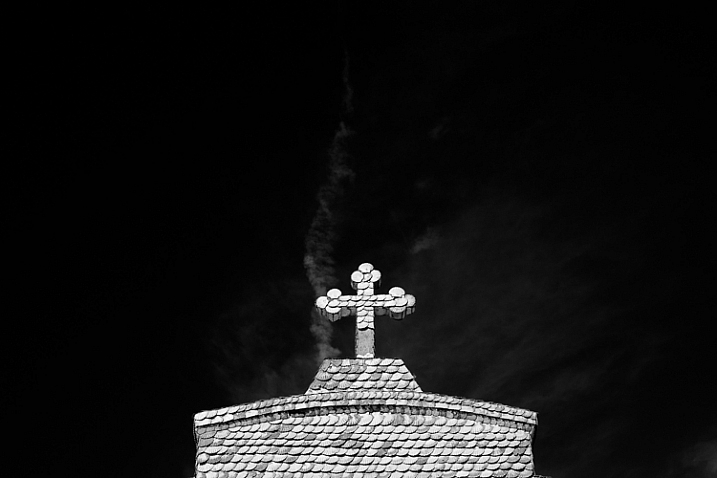
Applying the Red filter setting makes the blue sky go much darker, creating a much more dramatic version of the same scene.
There is also a place for green filters, which can bring out more detail in green subjects like leafy forests. Those four coloured filters (red, orange, yellow and green) have made their way onto most digital cameras as black and white settings.
Contrast
If you take a photo in flat light (for example, a portrait of somebody standing in the shade) the photo may look flat (two dimensional). So, you need to compensate by increasing the contrast. You can either do this in Photoshop or Lightroom after the photo has been taken, or you can do it in-camera with the contrast setting.
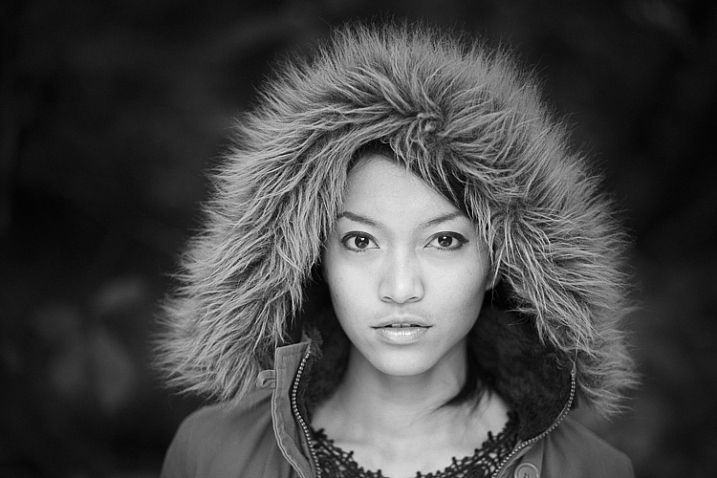
The model was standing in the shade when I took this photo. The light lacks contrast, and the black and white photo is flat.
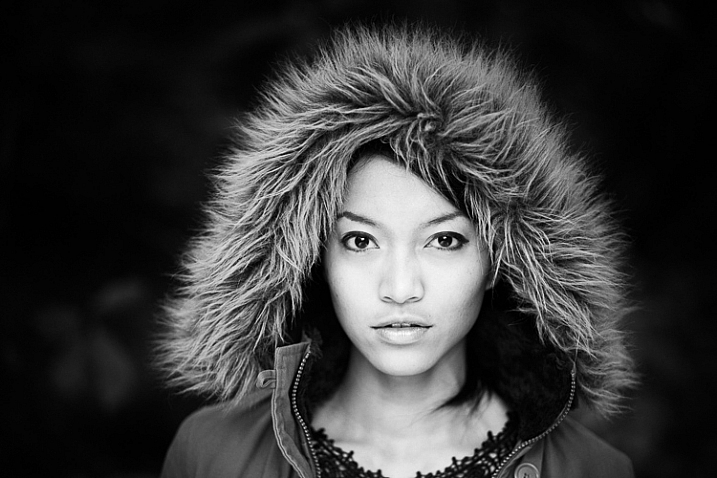
Increasing contrast creates a much stronger image.
Cropping and the square format
Most modern cameras let you change the aspect ratio. The reasons why you might want to do that are a little complex, but the main one is that it lets you shoot in the square format, something you may already be used to if you use an app like Instagram on your smartphone. If your camera has an electronic viewfinder, it will display a square image for you, making composition much easier.
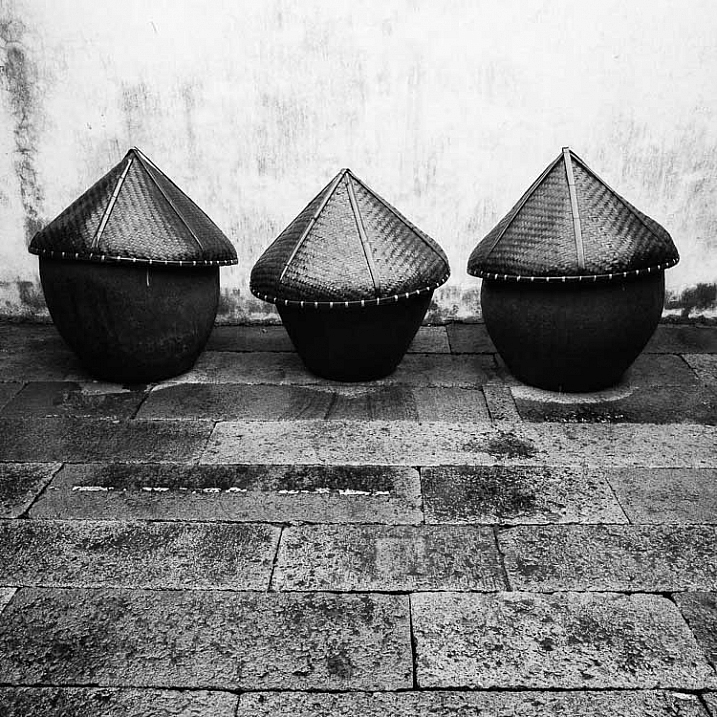
Cropping to the square format emphasizes the shapes of the three pots.
Toning
Finally, you may have the option to tone your images. To be honest, unless your camera lets you apply toning affects subtly, I wouldn’t bother with these, as the effect is usually too strong.
Have fun!
Black and white is a beautiful medium to work in, one which you will appreciate the more you practice. In the meantime – have fun and enjoy yourself. You are following a path trodden by some of the most famous names in photography. And of course, if you have any questions about working in black and white, please let us know in the comments.

Mastering Lightroom: Book Three – Black & White
My ebook Mastering Lightroom: Book Three – Black & White goes into the topic of black and white in depth. It explains everything you need to know to make dramatic and beautiful monochrome conversions in Lightroom, including how to use the most popular black and white plug-ins. Click the link to visit my website and learn more.
The post A Beginner’s Guide to Doing Black and White Photography by Andrew S. Gibson appeared first on Digital Photography School.