When it comes to shaping and modifying your light, there are so many options available it can be hard to stay in one place for long. In the beginning, you’ll use the basics such as a softbox or an umbrella. But as you get comfortable with noticing the tiny differences in light, you’ll quickly graduate to more specialized modifiers. Beauty dishes, reflectors (the kind that fits to a strobe), octaboxes and striplights all do wonderful things to your light. And you can easily get caught up in the ways these and other modifiers can be used.
Overlooked

Despite all these options, I feel the basics can sometimes be overlooked. Have you ever stopped to think why the humble softbox has become so universal? No doubt there are many answers to that question, but an important one is that it works – and works well.
To be clear, I’m talking about the basic rectangular photographic softbox around 3′ x 4′. Not too large, and not too small. (Popup softboxes have their place, but we’re not talking about them in this article.) With the right techniques, these workhorses of the photographic studio can give you beautiful, soft light that suits just about any subject you can think of.
Basics

You probably already know the basics of how a softbox works. But for the sake of posterity, let’s go through it again.
A softbox is mounted on the front of the strobe to shape and more evenly distribute the light. They’re often fitted with silvery material on the inside to help bounce the light around and ensure it spreads evenly through the diffusion material at the front. This diffusion material effectively becomes your light source. Because your light source is now much bigger than the bare strobe, the quality of light changes from hard to soft (hence the name ‘softbox’).
Manipulating the quality of the light gives you much more flattering light for almost any subject, especially portraits.
Never Forgotten

For these reasons a great deal of photographers start their camera lighting with a softbox. They’re cheap, easy to find and use, and provide excellent results. But as their skills increase, and new and more complicated techniques open up, it can be hard to resist the allure of fancy, niche modifiers.
For a few years I used nothing but a beauty dish. Even now I tend to favor large octaboxes for portraits. But in this article I want to show you that just because you’ve moved on to other things doesn’t mean you should forget the basics. As I said, there’s a reason the softbox has become so universal.
Examples
Here are several examples of what you can achieve with a simple 3′ x 4′ softbox that cost around $ 35.
Note: As you’ll see in the annotations, for some of these shots a 5-in-1 reflector ($ 15) was also used.
1.


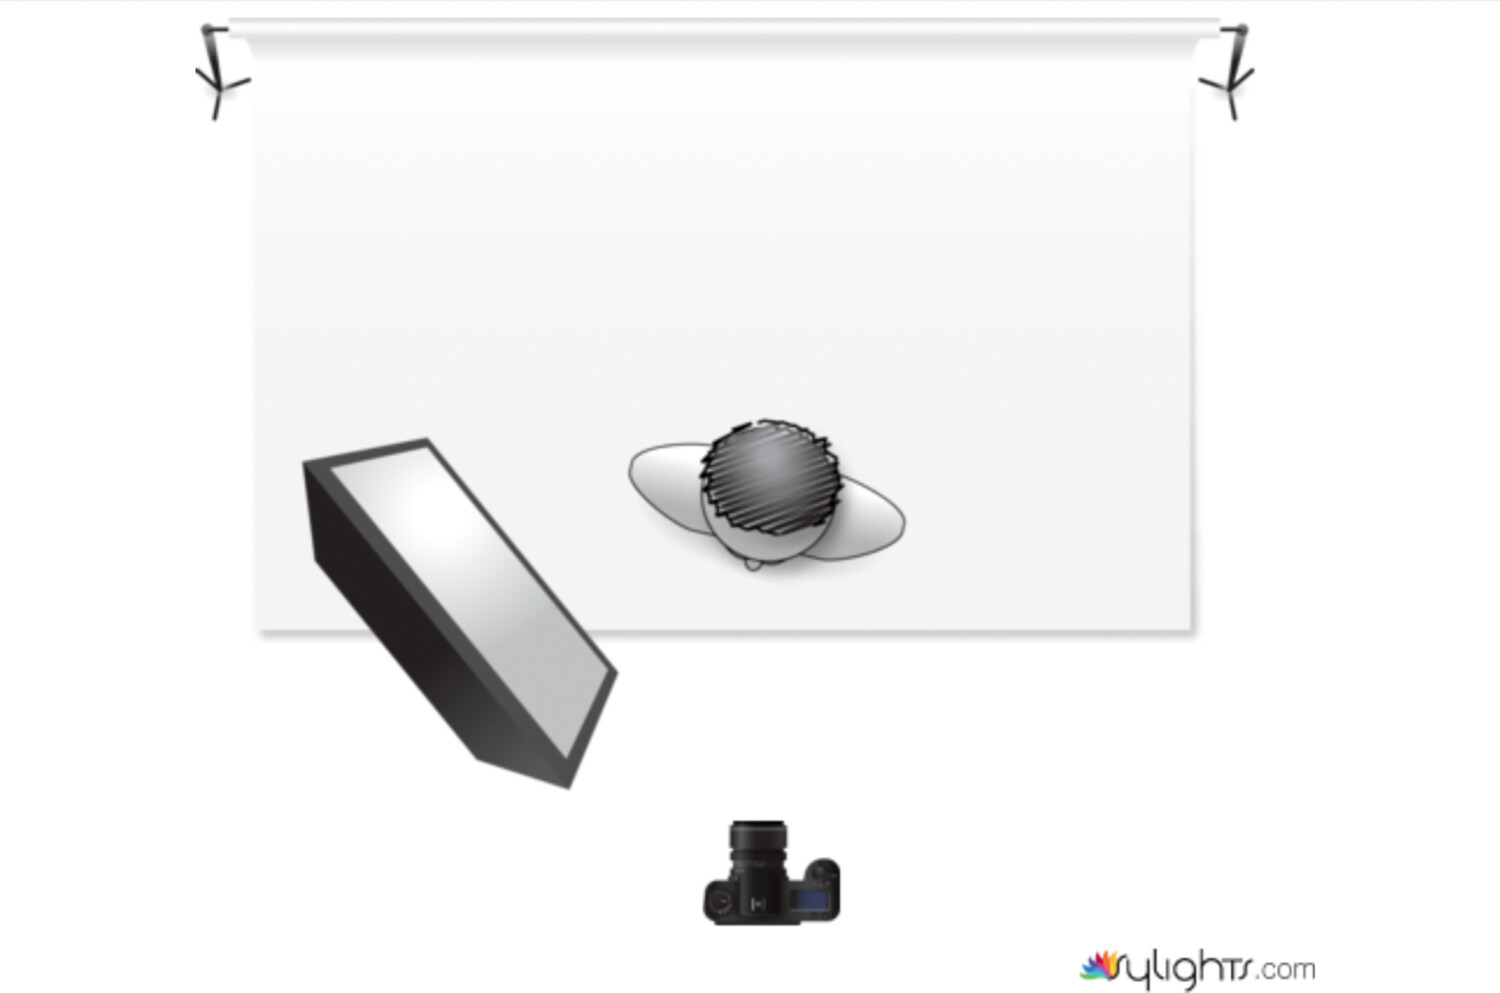
In this example, the softbox is directly in front of and offset slightly from the subject. This results in a lighting pattern called ‘loop lighting’. Because the light source is so close, the resulting soft light is ideal for portraits.
2.

Like the previous example, the softbox for this image is really close to the subject. But this time, it’s placed at 45 degrees and slightly above. Look at the catchlights in his eyes, and you can see exactly how close the light source is. Again, the light here is really soft, and you can see this quality in the smooth tonal transitions from the highlight areas to the shadow areas.
3.


This setup is almost the same as the previous setup, except the softbox is slightly further away and there’s a white reflector at camera right.
Placing the light further away reduces the speed of the light falloff, which in this case means that the shadows don’t dominate as quickly as in the previous example. The reflector also helps with this.
4.


Medium-sized softboxes are well suited to clamshell-styled setups. Simply place your softbox directly in front of and above your subject, pointed down at 45 degrees. Then place a reflector underneath and pointed upwards at 45 degrees. (Without a reflector this would be called ‘butterfly lighting’.)
5.


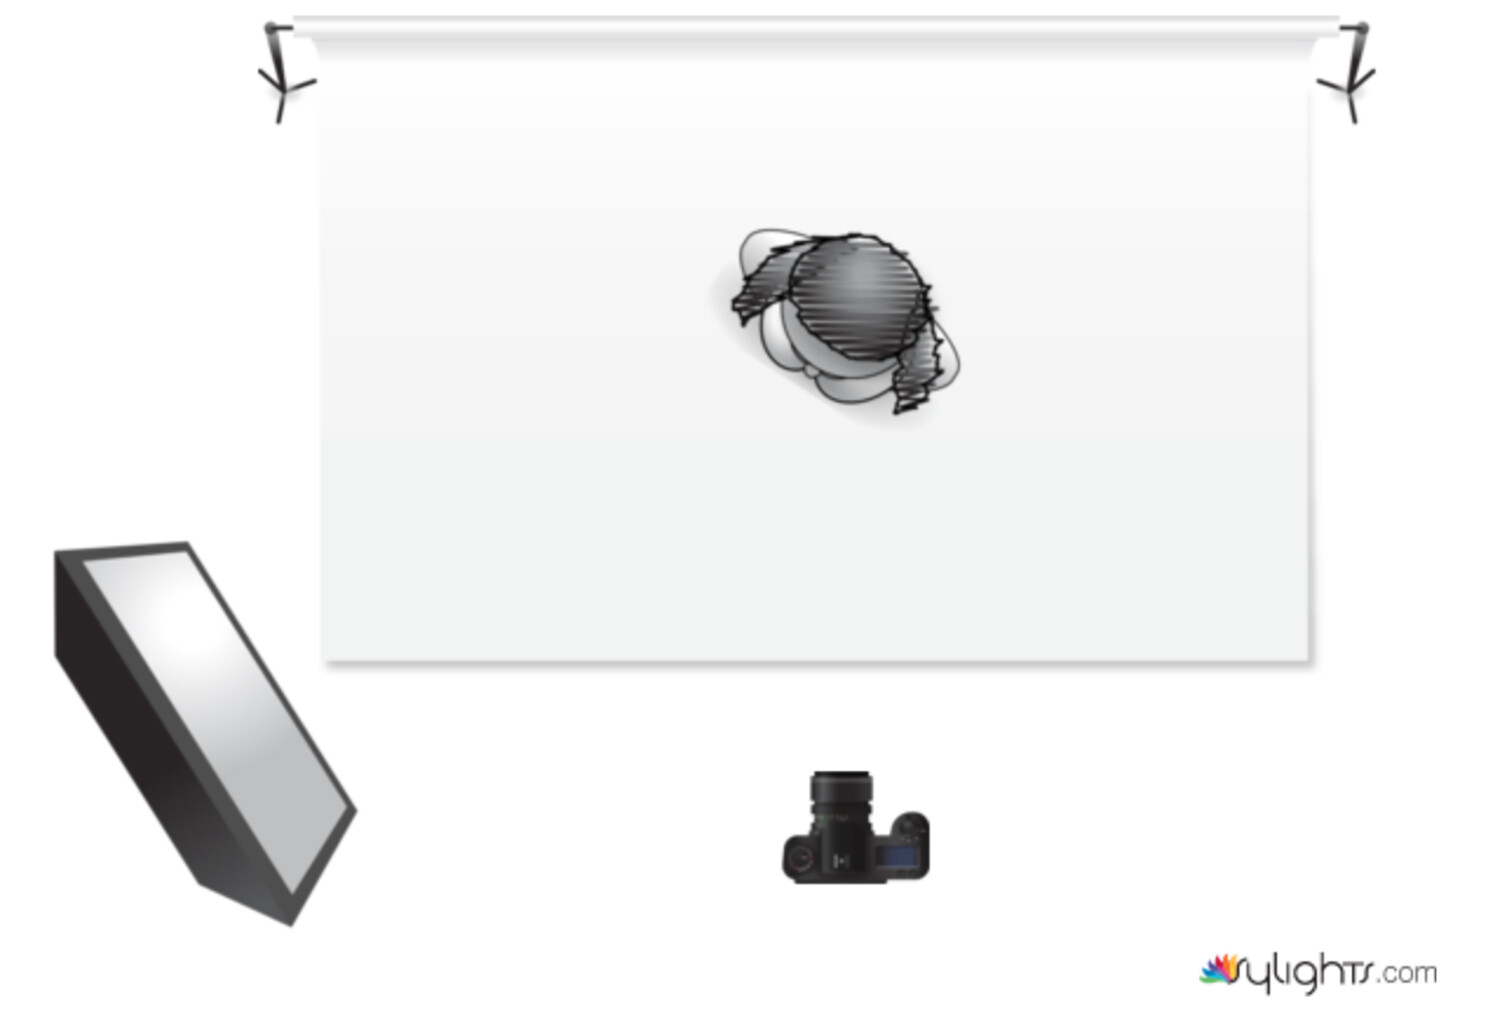
Softboxes can be used to great dramatic effect when used as side lighting. Deep shadows and soft highlights can really add a lot of depth to your images.
6.

The previous examples all had the softbox in close for the softest possible light. You can also pull your light source back to make use of harder light to good effect. But pay close attention to the clearer transitions between the shadow and highlight areas.
The End
I’m not telling you to limit yourself to a softbox. By all means, go out and use and explore every modifier you can get your hands on. Just remember that as you’re planning your lighting for any given situation, sometimes the ease and simplicity of the basics might give you the results you need.
The post A Love Letter to the Humble Softbox appeared first on Digital Photography School.