Here is a quick and snazzy tip on adding some cool retro and vintage frame overlays to your photographs, including polaroids and borders, using Alien Skin Exposure X. It’s easy as pie, and takes seconds! Unlike Photoshop, adding frames in Exposure X does not require masking, or the use of layers.
But first… why add frames?
- You may be going for a certain look and want your images to stand out.
- You may want to use your images in scrapbooks and blogs that have a specific theme.
- You might just be feeling super creative and want to do something different.
Whatever your reason, it’s a fun experiment, and of course, highly dependent on your taste.
Here’s how to add a frame
Open Alien Skin Exposure X (the latest version is 10, but previous versions work just the same). Click the + icon on the top left corner of the window to add folders from your computer. Choose the folder you want to add, and double click. You may notice that when you open the folder, your images will be initially displayed as a Grid as shown on the second photo below.
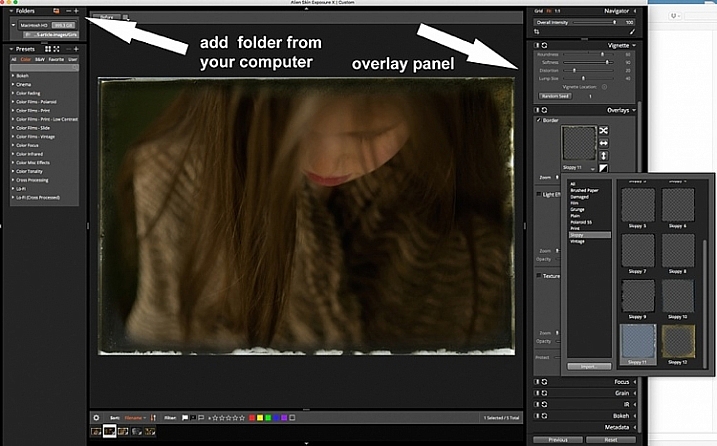
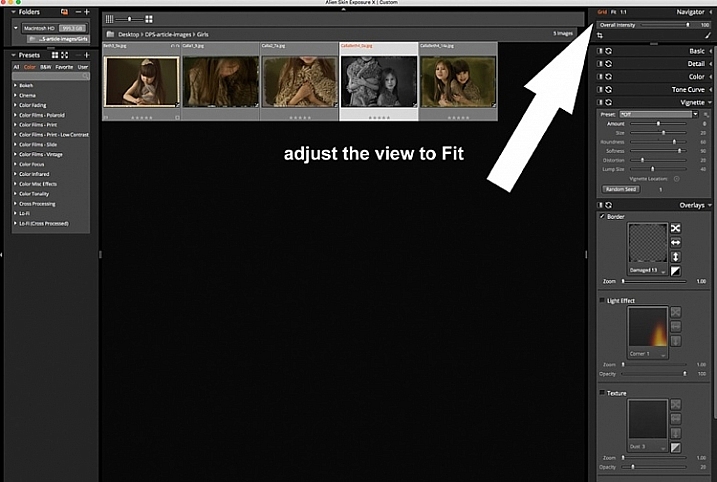
Click Fit on the upper right corner of the window and you will see (as shown on the first photo) that your chosen image is enlarged, but you can still see the rest of the set, in the thumbnails just below. Once you have your image, look on the right panel, and bring up the Overlays option by clicking on the arrow. Tick the border, then click on the box showing the overlay and a pop up window, giving you a variety of overlay options, comes up. You can scroll through these options to find the overlay you want to use.
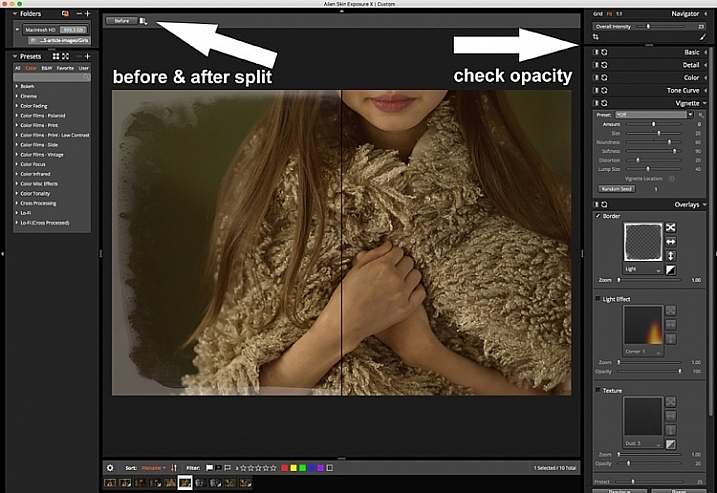
You can work on each photo individually or select all using Cmd/Ctrl + A, and your chosen settings will be applied to all the images. TypeCmd/Ctrl + D to deselect, and click on one photo to work on it individually. Don’t forget to use the Overall Intensity slider on the top right corner of the window, it works like the opacity slider in Photoshop. You also have a selection of view options that allow you to see the various before and after splits, as shown on the image below. In this case, the left half of the photo has the overlay and the right half shows the original. This is helpful in gauging the intensity of the overlay applied, and its effect on the original image.
After you have applied your frames on each image, you now need to export them. Select all the images using Cmd/Ctrl + A, then either go to the Exposure bar File menu and select Export, or simply typeCmd/Ctrl + E, and you can export your new images to a folder you designate. I suggest that you keep the suggested file suffix, or change it to something of your choice, so you know these are the new files with the Exposure edits, should you want to keep them in the same folder. You will still have your original images in tact and untouched, in case you want to revisit them later.

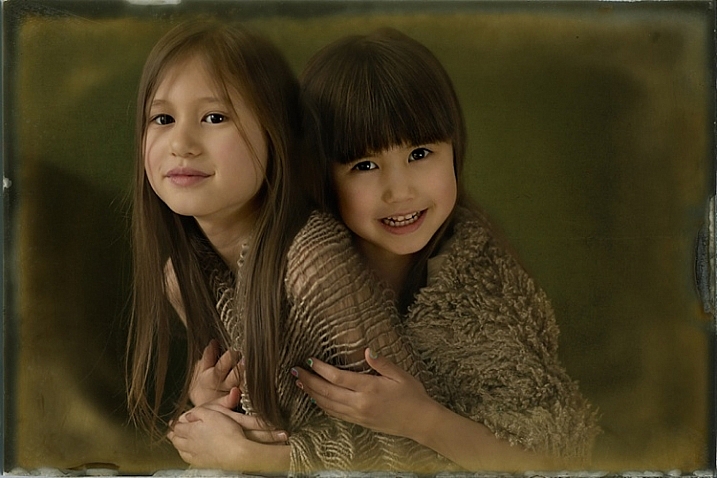
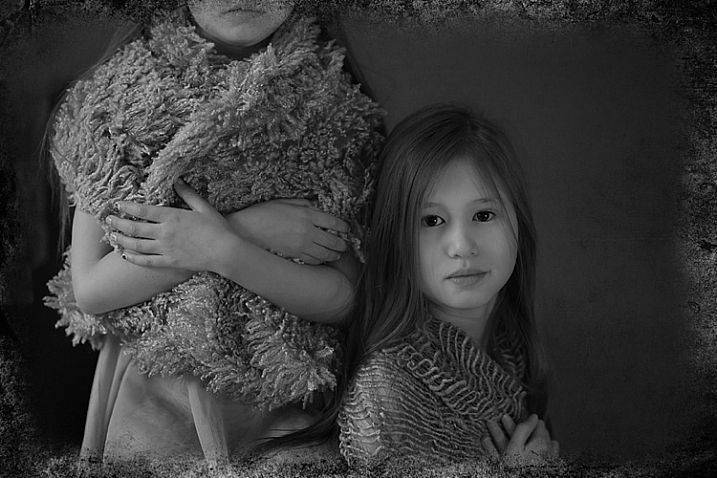
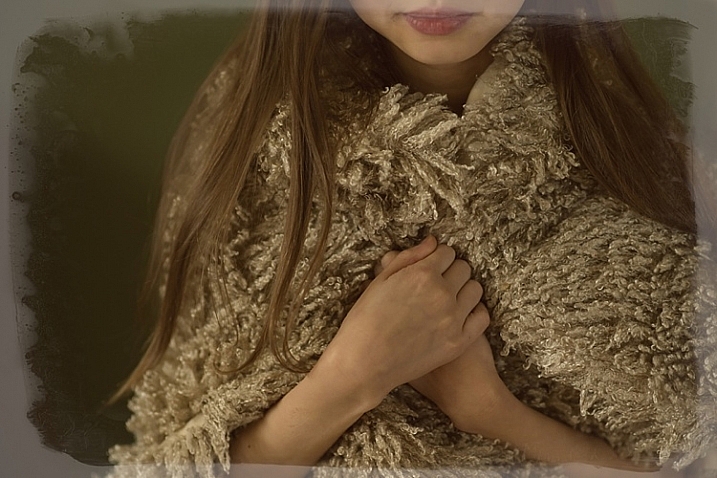
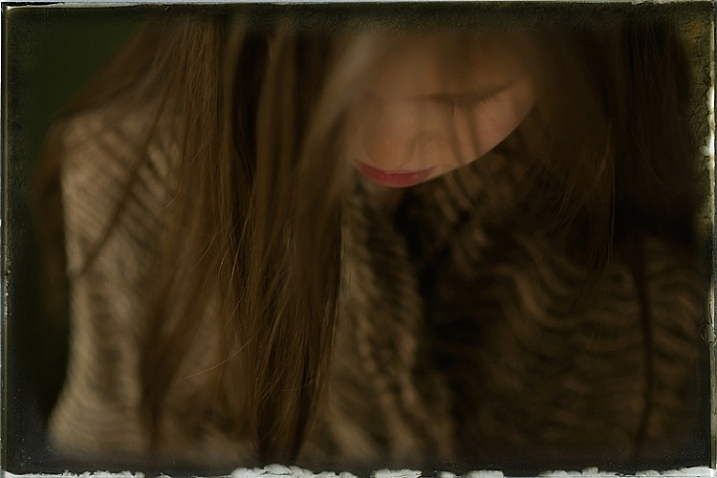
Here are the images that I used in this tutorial, with the added frames using Alien Skin Exposure X.

I hope you enjoyed this quick tip. Have fun experimenting with frames as well as other special effects. Do share any other quick tips on adding vintage frames in the comments below.
This week on dPS we are featuring articles on special effects. Check out the others that have already been published here:
- How to Photograph the Full Band of the Milky Way
- Fire Spinning with Steel Wool – A Special Effects Tutorial
- Special Effect – How to Create Multiple Flash Exposures in a Single Frame
- Stacking Light Trails for Night Photography Special Effects
- 26 Unique Special Effects Photos to Spark Your Creativity
- Weekly Photography Challenge – Special Effects
- Tips for Shooting Through Objects to Create a Special Effect
The post How to Add Vintage Frame Overlays Using Alien Skin Exposure X by Lily Sawyer appeared first on Digital Photography School.