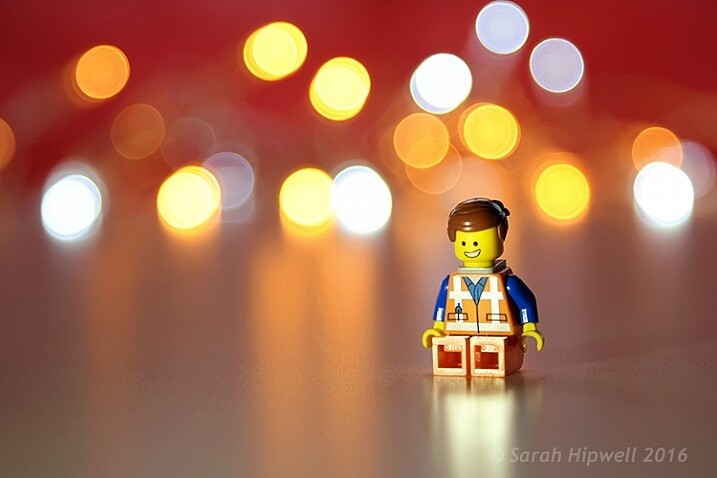
Emmet with background bokeh from small LED lights.
As the holidays are over, I couldn’t resist taking a classic bokeh shot before putting away the lights and decorations for another year.
In this article I’ll show you how you can create this effect in-camera in your own living room. Plus I’ll show you how easy it is to create a bokeh effect using Photoshop as well.
What is Bokeh?
Bokeh comes from the Japanese word boke, which means blur or haze, or the phrase boke-aji which is the blur quality. It isn’t just that any blur will do. It’s more to do with an aesthetic quality of the blur.
What does Bokeh look like?
The easiest way to see the shape of the bokeh is by taking a photo with small lights in the background, thrown way out of focus (see second image below).
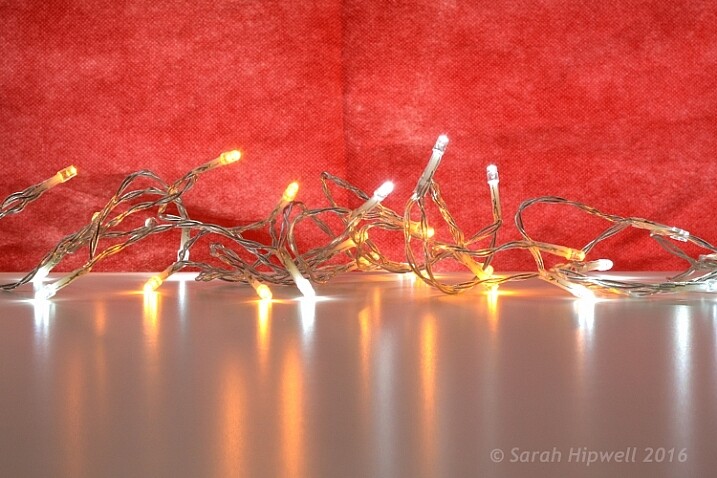
Small LED Lights placed in front of a big window with red see through fabric.
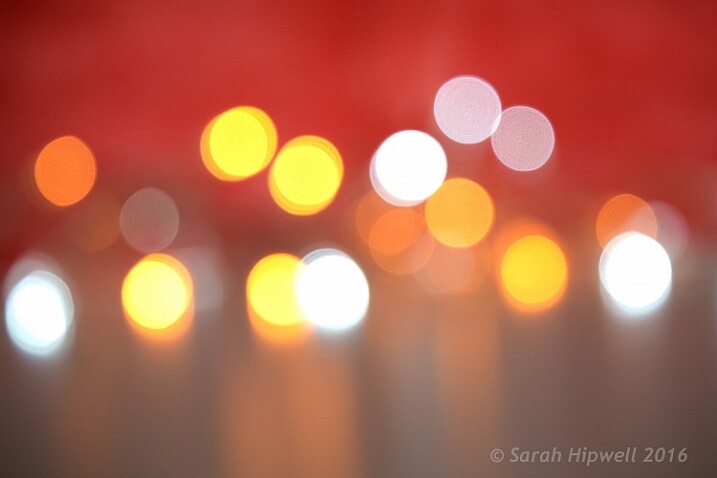
Bokeh effect created in-camera using an aperture of f/4, with a 120mm focal length lens.
Is shallow Depth of Field (DOF) the same as bokeh?
No, but it is important to understand DOF and how it can play an important aspect in creating a bokeh effect. Depth of field (DOF) is the area of your image that is in focus.
Shallow depth of field refers to the object or subject being in focus, but the areas in front, and especially in the background, are blurred. Whereas bokeh is the term that refers to the aspect of light sources that are blurred in the background or foreground.
When discussing DOF, we need to take into consideration three other factors:
- Aperture size
- Distance from the lens
- Focal length of the lens
In practice, photographers who shoot portraits, will in general, use long focal lengths and a wide aperture setting (f/2.8-f/5.6). For example, when you are shooting outdoors with your model, and you don’t want the background in focus. Street lights, or interior building lights, can be used effectively for creating bokeh in the background of your subject.
Aperture
Bokeh is affected by the shape of the diaphragm blades (the aperture) of the lens. A lens with more circular shaped blades will have rounder, softer circles, of out-of-focus highlights. Whereas a lens with an aperture that is more hexagonal in shape, will reflect that shape in the highlights. Generally speaking, the faster the lens, the better the bokeh.
In the following animated gif, you can see that the wider the aperture (the lower the f-number), the shallower your depth of field. The lowest aperture setting on my lens is f/4 but I zoomed out to its maximum focal length of 120mm.
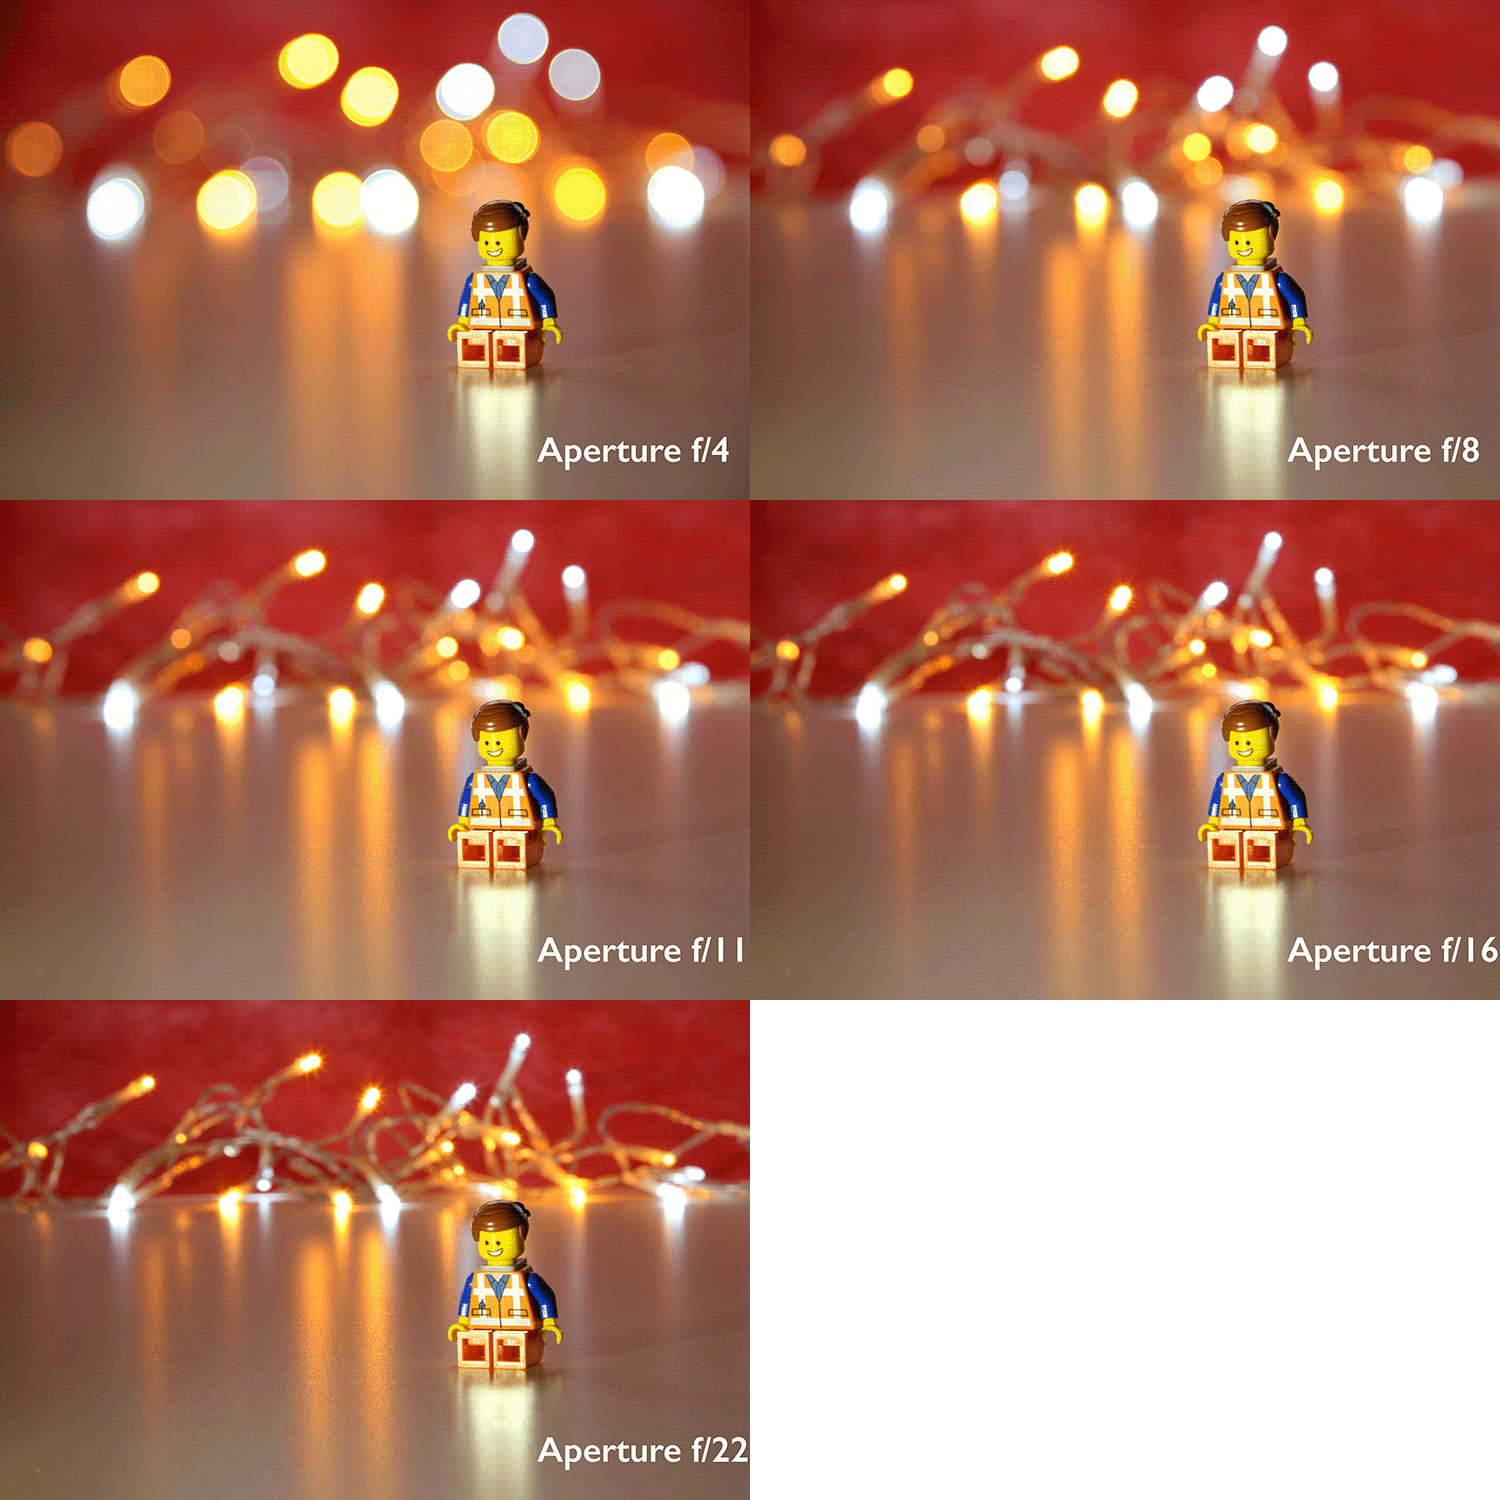
Animated gif illustrating the different apertures and how they deal with the lights in the background being thrown out-of-focus.
Create your own bokeh
This setup is really easy to try at home. Use whatever lens you have. Set your DSLR camera to Aperture priority or Manual mode ,and use a tripod. I used small LED christmas lights that were battery operated.
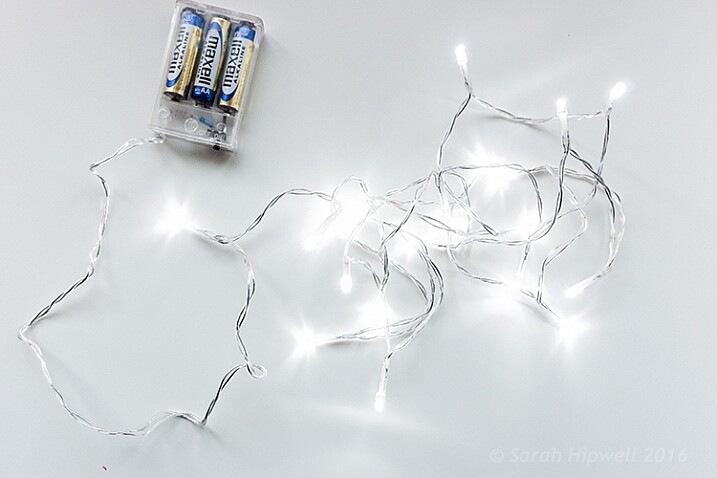
Small battery operated LED lights.
Place your object a good distance away from the camera, and in front of the lights. The distance will vary depending on the lens (focal length) that you are using, so it will be trial and error exercise. Your object must be as near as possible to the camera lens.
Begin with the widest aperture on your lens. The objective is to get the circles of light as round, and as smooth as you can. You may need to experiment by moving the object further away from the lights.
The lighting I used for this setup was a big window light and a small small LED light on Emmet.
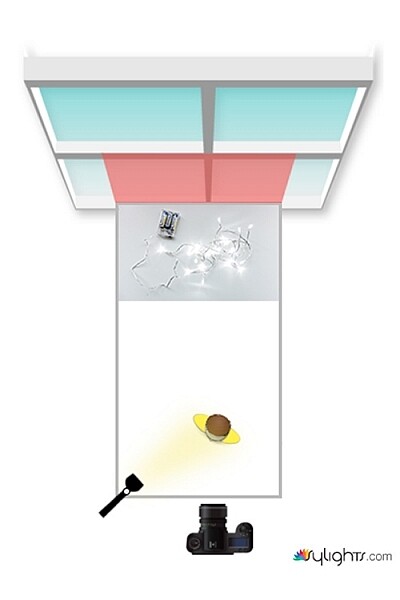
Lighting diagram to show the setup for doing bokeh shots in your own home.
Creating bokeh in Photoshop
Once I got my shot in-camera, I then decided to see if I could create a great bokeh effect in Photoshop.
In the Filter Gallery, under Blur is a fantastic option called Field Blur, which has a dedicated Bokeh feature. I took a few random close-up shots of my christmas tree. I focused only on the lights.
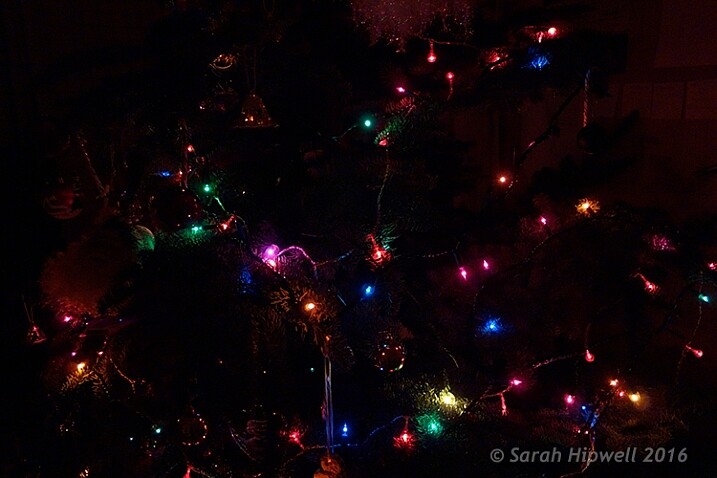
Random shot of a christmas tree with lights.
Next, I brought it into Photoshop (CS6). I used the image straight out of camera (SOOC), I didn’t do any other post-processing. Go to Filter > Blur > Field Blur.
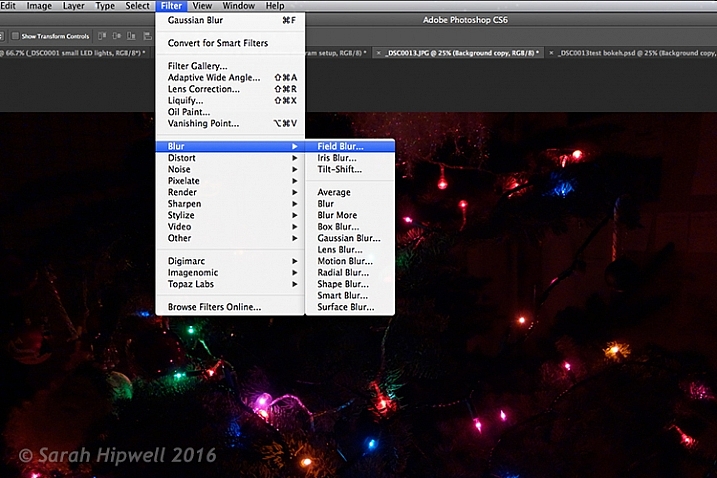
The Field Blur in the Filter Gallery in Photoshop has its own bokeh feature.
Two panels appear on the right: Blur Tools and Blur Effects. Under Blur Tools, enter 200 px in the Field Blur option. Under Blur Effects, move the Light Bokeh slider to 57%, and the Bokeh Color slider to 78%. Then press the OK button. It takes a few seconds for the blur to take place. Et voilà!
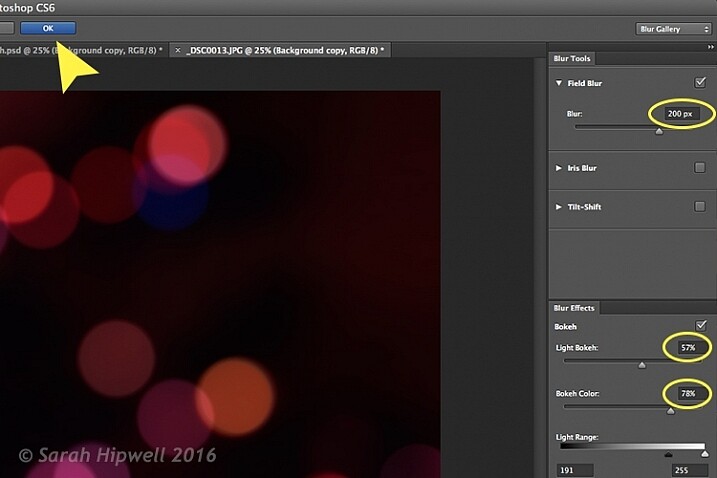
You can experiment with the input figures for the Blur and Blur Effects to get the desired bokeh. I chose these.
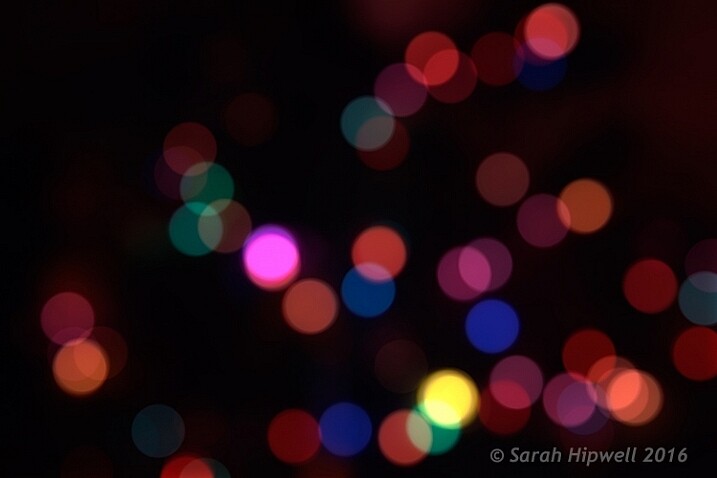
Bokeh effect created in Photoshop using the Field Blur.
Okay, so now what do you do with the image? Use it as a background. I shot a series of playing cards images against a black background.
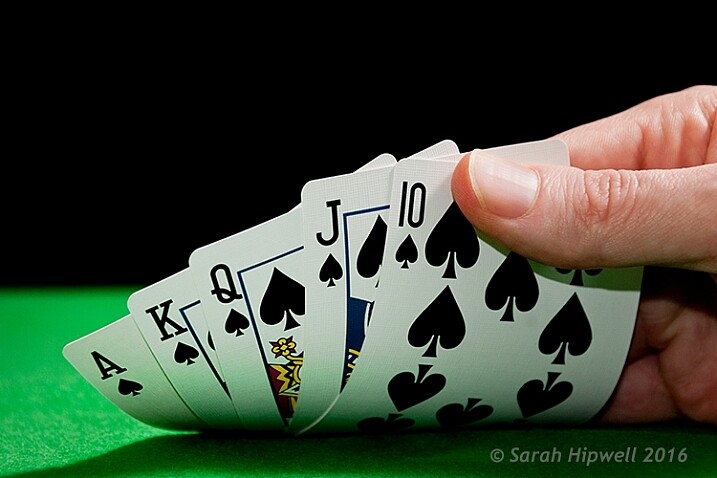
One of a series of images I shot against a plain black background.
This is where the power of Blending Modes and Layer Masks comes into their own.
By placing the bokeh image on its own layer. I duplicated it to make another copy. Then I reduced the size of the original and moved this over to the left side of the image. I changed the Blend Mode to Screen and reduced the Opacity. I wanted the lights to appear further away from the playing cards, to give it a better depth of field. The screen blend option eliminates the dark areas and makes the light areas show through, making the bokeh appear.
For the copy layer, I left the size as it was and moved it over to the right. I increased the brightness by using a Levels Adjustment layer to match the light source. I also changed the Blend Mode of this layer to Screen. Lastly, I masked out any hard lines using Layer Masks.
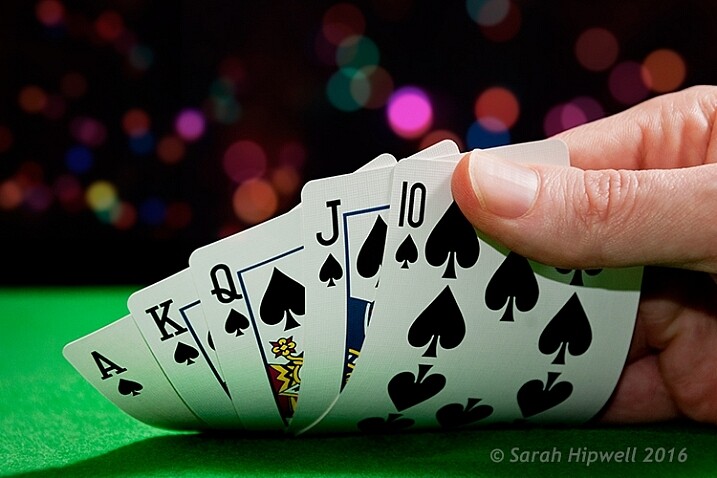
Bokeh effect created in Photoshop and then applied to a background in this image.
I was well pleased with the result.
Now it’s your turn. Let’s see your images with “Bokeh-licious” images posted below.
The post How to Create Bokeh In-camera and Using Photoshop by Sarah Hipwell appeared first on Digital Photography School.