Tips for seeing and photographing the Northern Lights:
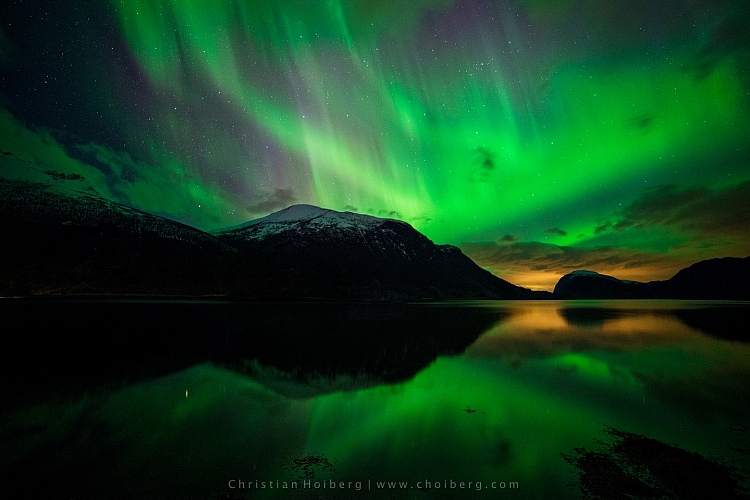
Northern Lights, also known as Aurora Borealis, might be one of the most fascinating phenomena to photograph during the night. Watching the sky turn green, blue, pink and even red, is something that will change you forever. After seeing The Lady in Green countless times, I still find myself shouting in awe when she’s elegantly dancing in the sky.
Seeing, and photographing, the Northern Lights aren’t something you can do all over the world. The truth is that even if you’ve booked a flight to northern Norway or Iceland, there’s no guarantee that you will see the northern lights at all.
How to see the Northern Lights
Be in the Northern Hemisphere
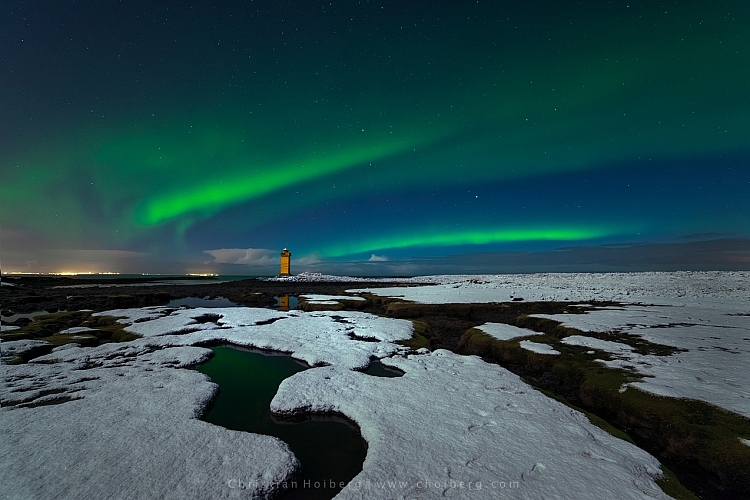
Unfortunately, the Northern Lights aren’t visible all over the world. As the name might indicate, they are a phenomenon visible in the northern hemisphere. Places such as northern Norway, Iceland and Alaska are typical areas where people travel to witness the Aurora Borealis.
That being said, during extreme solar storms your might be able to see the phenomenon further south too, but not as powerful as in the north.
So, the first step in seeing the Northern Lights is to travel to the north. Remember that the Aurora Borealis is a night phenomenon and since summers in the north have up to 24 hours of sun, you should plan your visit for late fall or winter.
Get away from light pollution
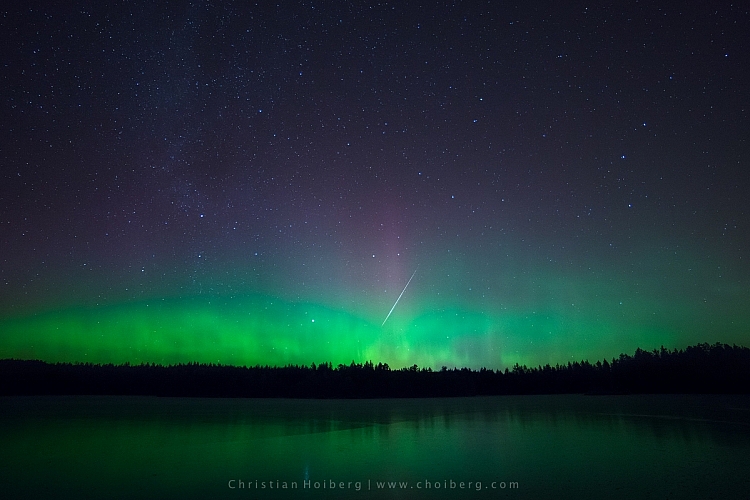
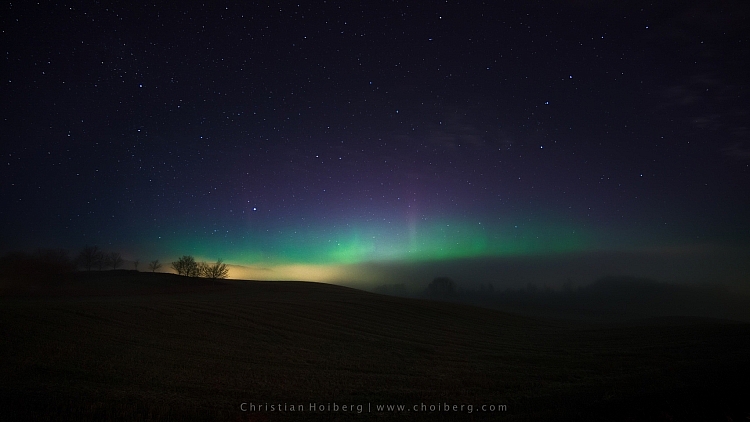
It’s nearly impossible to see the Northern Lights if you’re standing in the downtown of any larger city with light pollution. Yes, it is possible; if the KP Index (the strength indicator for Northern Lights) is at its highest. However, to increase the chances of seeing, and capturing a good shot of the Northern Lights, you should get away from light pollution, and find a location where you can clearly see the stars.
I have lived in a small town not far away from Oslo, Norway for most of my life. Yet, it wasn’t until a few years ago I realized that even here in southern Norway we can see the Northern Lights. In fact, it happens more often than you realize.
There are a few different tools you can use to see what area close to you is dark enough to see the stars, and possibly the Northern Lights. Dark Sky is a great website for this exact purpose, and it shows a detailed map of the light pollution.
How to photograph the Northern Lights
Now that you know where, and how to discover the Aurora Borealis, let’s see how you can capture it with your camera.
Use a tripod and remote shutter release
Since you will be photographing in the dark you’ll be working with long exposures (long shutter speeds), and it’s therefore essential that you use a tripod to ensure you get a correctly exposed image that is still of usable quality.
You should also consider using a remote shutter when you’re photographing the Northern Lights. This removes any chance for vibration caused by pressing the shutter. Optionally, you could use the 2-second timer, but sometimes you want to capture the image at that exact moment with no delay.
Use a wide angle lens at a large aperture
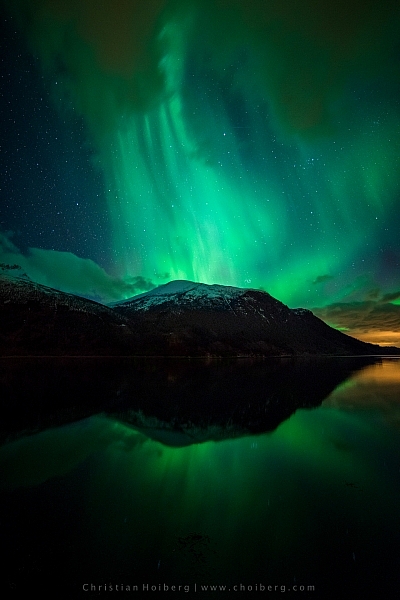
When photographing the Northern Lights you want to use a wide angle lens. This lets you capture both the landscape and the sky in one shot. When the Northern Lights are strong you’ll also notice that they stretch all over the sky and it’s impossible to capture all of it in one image, unless you use a wide angle.
During nighttime photography you want to use an open aperture such as f/2.8 to allow enough light to reach the sensor. When using my 14mm I more or less always have it at f/2.8, as I rarely use it at any other time than during the night.
Set the shutter speed according to the KP Index
The shutter speed depends on the strength of the Northern Lights. I’ve experienced when one second at ISO 400 has blown out the green (I’ve never seen the Aurora as powerful as that since) but then it can be barely visible at ISO 3200 and a shutter speed of 20 seconds at other times.
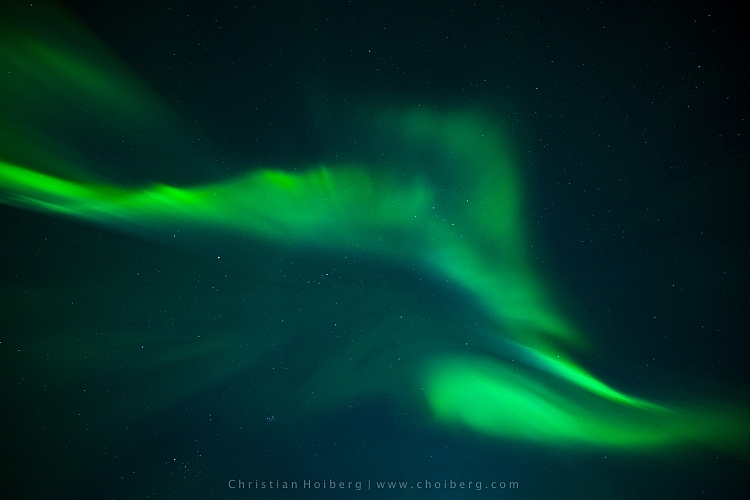
You should also keep in mind the movement of the Northern Lights. If they area quickly changing shape, a long exposure might blur them out too much, and you’ll lose detail. It’s better in that instance to increase the ISO, and lower the shutter speed, so you freeze the motion and capture all its textures.
Another factor you should keep in mind when you choose the shutter speed is the movement of stars. If you go beyond 25 seconds you’ll start seeing small startrails. Sometimes this can give an interesting effect, but if you want to have a sharp and crisp image, be sure to use 25 seconds or less as your shutter speed.
Set a cool white balance (3000-4000K)
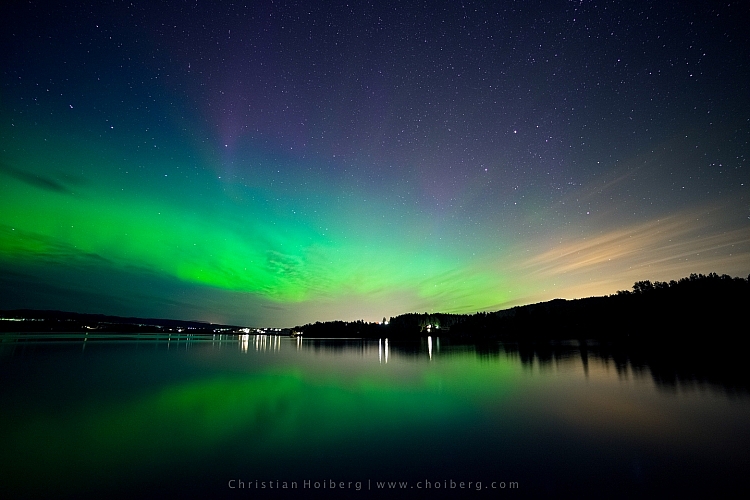
I’ve experienced that the ideal white balance is somewhere between 3000-4000 Kelvin when photographing at night. This results in a cooler, and more natural look in the dark sky. If you go above 4000K you’ll also notice that the green in the Northern Lights gets a muddy look, which you want to avoid.
Avoid using Automatic White Balance and other preset modes such as cloudy. While these often do a great job during the day, they’re more of a gamble at night. You could get some okay results with AWB but generally you won’t.
Bring something warm to drink!
I had to include this last tip. Remember, when you’re photographing the Northern Lights that it’ll most likely be winter or late fall. That means that temperatures drop, and since you’ll be out during the night, there’s no sun to warm you.
Bringing a thermos with something warm to drink could be wise during these long winter nights. Especially if you’re planning to stay out for a while or even make a timelapse.
The post How to Photograph the Northern Lights or Aurora Borealis by Christian Hoiberg appeared first on Digital Photography School.