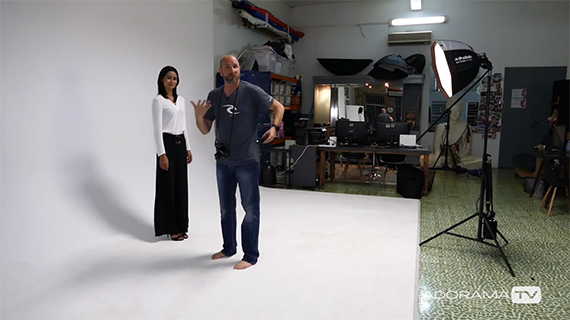
A white wall is more versatile than you might think. If you have a perfectly white wall in your studio (or you can create one using some props) you have a background that you can manipulate to create any number of different looks. Mark Wallace from Adorama explains the 50 Shades of White:
For this video Wallace uses a giant, white seamless backdrop.
Two Exposures?
An important concept to consider when using flash is that you’re creating two exposures: one for the flash and the other for the ambient light. The ambient light can be anything—the sun, the CFL lamps inside a room, and so on. You can control these two exposures independent of one another.
Controlling Ambient Light
So, how do you control the ambient light?
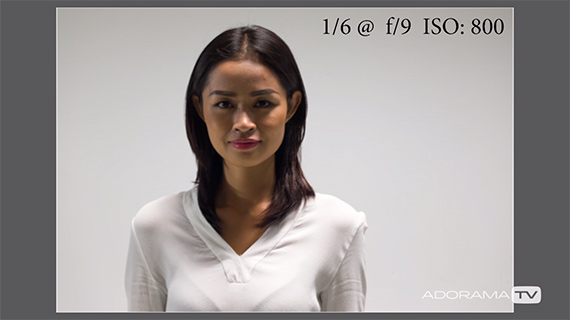
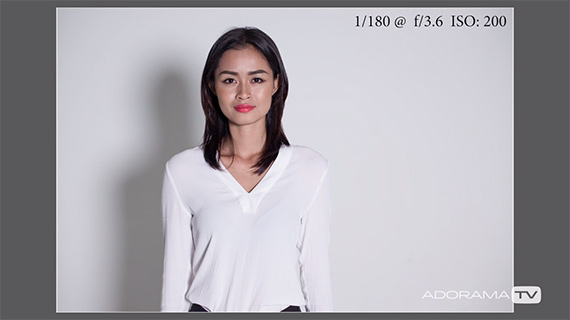
Base Exposure with Ambient Light Only
The base exposure shot (above) was taken at f/9 and ISO 800 using aperture priority mode. The model and the background are decently exposed and, more importantly, the background looks white. To eliminate the background—or at least turn it black—he underexposes the shot.
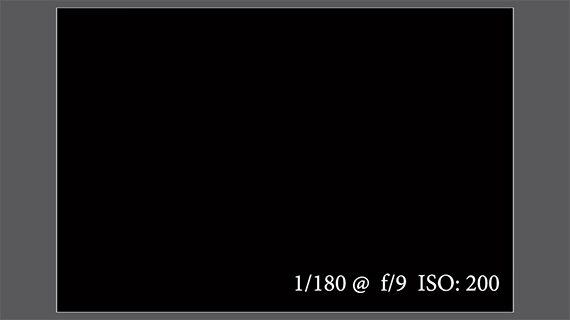
Underexposing eliminates the ambient light in the frame.
The resulting shot (above) at ISO 200, 1/180 second, and f/9 turns the background (and the rest of the shot) completely black.
As Wallace brings in the flash, it allows him to control the amount of light that falls on the wall. The Inverse Square Law kicks in.
Inverse Square Law
Now, to understand how this works, (changing a white wall into gray or completely black or anything in between) you need to have some idea about how light behaves. Specifically, the concept of the Inverse Square Law.
“It’s the law that illustrates how the power of the light falls off from the source.”
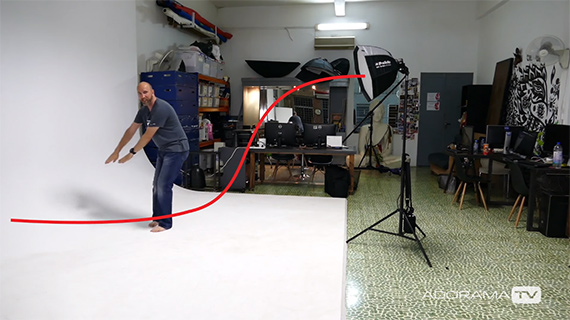
Light Intensity
Light intensity is very high close to the source and then it drops off dramatically and flattens out. This knowledge helps in controlling the amount of light that falls on the wall—or in other words, it helps to darken the wall.
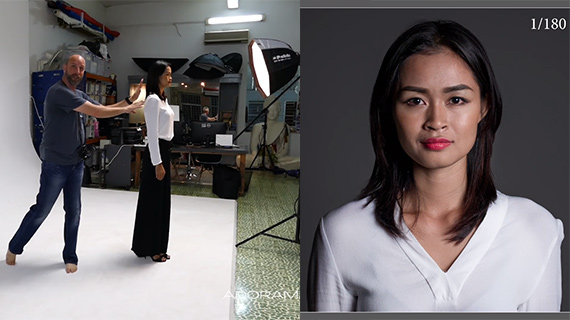
To illustrate, the first shot was taken with the model very close to the light. Shot at 1/180 second (sync speed), f/8 and ISO 200, the exposure clearly shows the white wall as very dark while the model is well exposed.
In the second shot, the model stood much closer to the white wall. Wallace used the same settings.
True to the concepts of the Inverse Square Law, the wall now appears white.
Here’s the takeaway. If you want a white background, place your subject as close to the wall as possible and place the light source far away. On the other hand, if you want a dark background, place your subject close to the light source and farther away from the wall.
Go to full article: How to Use a White Backdrop with Studio Portrait Photos
What are your thoughts on this article? Join the discussion on Facebook
PictureCorrect subscribers can also learn more today with our #1 bestseller: The Photography Tutorial eBook
The post How to Use a White Backdrop with Studio Portrait Photos appeared first on PictureCorrect.