One of the biggest hurdles in photography is the fact that our majestic three-dimensional scene is rendered into a mere two-dimensional image, and the physical depth that we experience in real life is lost. To resurrect this spacious feeling, we can create the illusion of depth where there is none, by using strong elements in the foreground.

When we make a photograph, our natural urge is to get a clear shot of the main subject, without other objects getting between it and the lens. That’s exactly what makes foreground elements so powerful though – they’re unexpected, and sometimes even counter-intuitive. Like any other compositional element, they create shapes, lines, and patterns that lead the viewer’s eye through the image and can be used to enhance its visual impact.
What is the foreground?
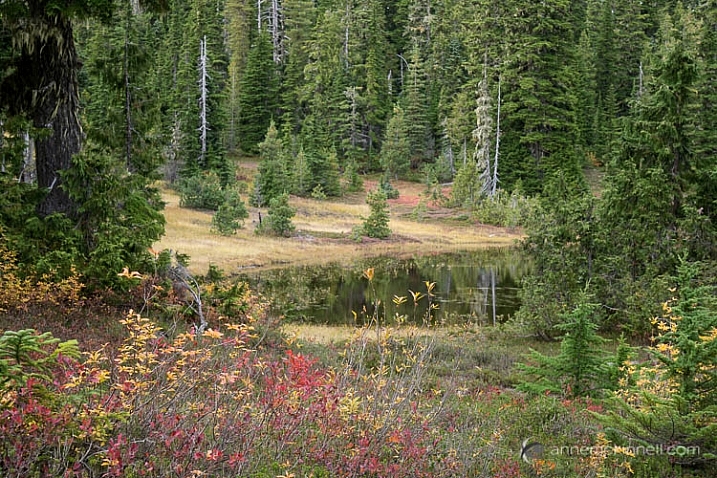
When you are working with a grand vista landscape scene, you can often divide it into three sections: the foreground, mid-ground, and background. For example, the scene below contains some colorful shrubs in the foreground, a pond in the mid-ground, and trees in the background.
The foreground, mid-ground, and background areas are not at fixed distances, but are understood relative to each other. The foreground consists of anything that lies between you and your subject, which is typically considered to be in the mid-ground (but not always). The background is made up of everything behind the subject.
You can think of a photograph like a stage: you have the upstage – that’s the background. It gives setting and context to what happens below it. Center stage is the mid-ground, where the bulk of the action takes place. But downstage – the foreground – is the closest to the audience, and therefore the most intimate part. It is capable of whispering to them and luring them into the action. It is the most easily seen and heard, and therefore understood, and can reveal the finer details of the story.
Not all photographs have three sections though, some just have a foreground and a background, and some have no depth at all.
How is the foreground used?
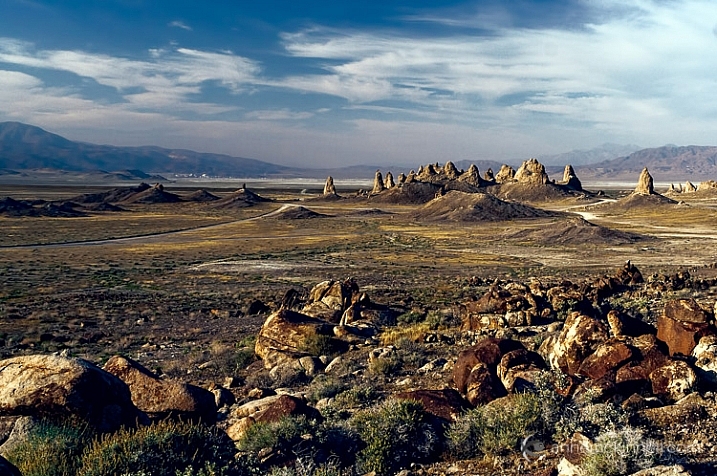
The foreground should contain some key point of interest, such as a human figure, a tree, a boat, some flowers, rocks, or anything else that is comparatively near to you. Composing in this way evokes depth, and gives your image the illusion of that missing third dimension.
When you’re composing a photo and you feel that it’s looking a little too flat, placing something in the foreground can instantly add a sense of depth. Exactly how this is done depends entirely on your subject, and on your own creative decisions. This can mean physically adding something to your scene, if you are able to. But most of the time, you’ll be looking for objects in the surrounding area that would make an interesting foreground, and changing your perspective – either by moving your camera higher, lower, or to one side – to incorporate those elements inside of the frame.
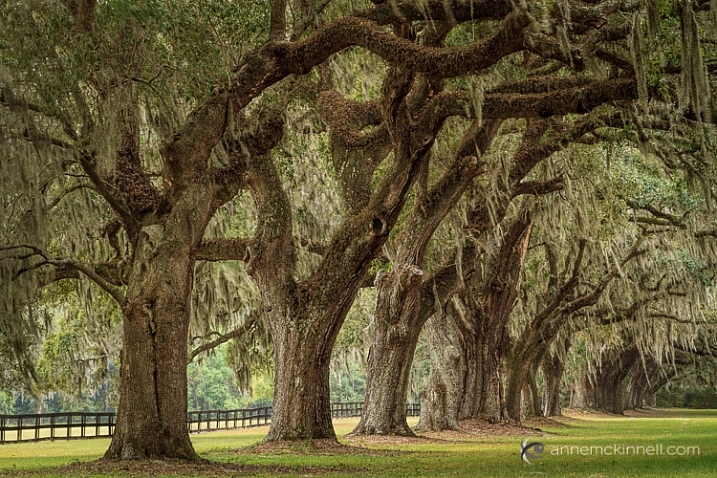
For example, imagine a group of oak trees in a field, all standing in a row. If you photograph them head-on, they’ll all look more or less identical – their size, distance, and focus will be the same, and the composition will likely be a flat, static one. However, if you change your perspective and shoot them from one side, everything changes. One becomes closer, and therefore larger, while the others shrink in comparison. When a viewer sees this image, their eyes will immediately fall on the tree in the foreground first, and the implied line created by the row will pull their gaze inwards towards the other trees. Suddenly, the composition has depth!
Likewise, you could change your perspective by lowering your camera angle to incorporate rocks, flowers, or anything else that is on the ground, into your image. This use of foreground will provide a point for the viewer’s eye to enter the image, and any lines created in the foreground will direct their eye into the image.
Like any other compositional element, the foreground is only helpful if it adds to the impact of the image. If it doesn’t help tell the story, or worse yet, if it distracts the eye, then it isn’t working as a benefit to your image. Your foreground should be an important part of the scene, and not something distracting. Look for things that point towards the focal point in some way.
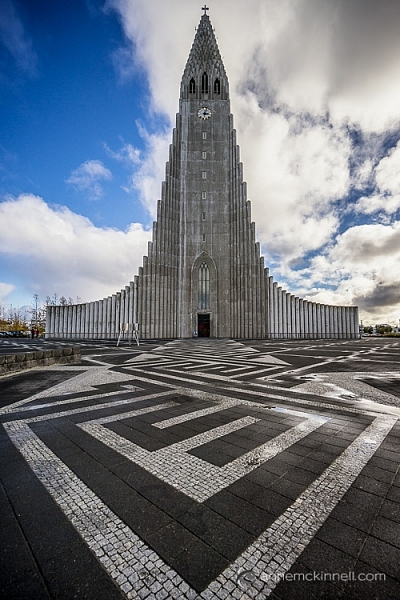
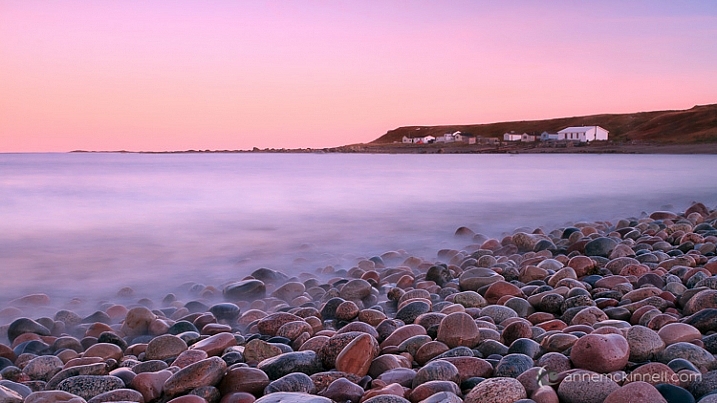
Foreground elements can even be made of simple shapes and lines. In some cases, your foreground elements may be nothing but shapes and lines, like the paint on a stretch of road, the waves on the ocean’s shore, or the shadows cast across a wind-swept desert. Anything that forms a line towards your subject is especially effective. These are known as leading lines.
Similarly, a wall that stretches into the picture from the foreground will carry the eye along with it. The corners of your frame are especially strong points, and anything that leads inwards from them will have a particular impact. Textures are another compositional tool that can make for an interesting foreground.

Arranging your composition so that there are interesting elements in front of your main subject is a very effective compositional tool that can evoke depth, by giving your image the illusion of the missing third dimension.
This week on dPS we’re featuring a series of articles about composition. Many different elements and ways to compose images for more impact. Check out the ones we’ve done so far:
- Using Framing for More Effective Compositions
- 7 Tips to Improve Your Skyline Photos
- 33 Images that Exemplify Compositional Elements
- Weekly Photography Challenge – Composition Craziness
- How to Take Control of Aperture and Create Stronger Photos
- How Cropping in Post-Production Can Improve Composition
- Good Crop Bad Crop – How to Crop Portraits
- How to use Focal Length and Background Compression to Enhance Your Photos
The post How to Use Foreground to Create Depth in Your Images by Anne McKinnell appeared first on Digital Photography School.