Relevant: the eBook deal this week includes info to Overcome Lighting Challenges
Light is the essence of photography. It’s not things that we photograph, but the light they reflect. Without light, there is no photography. The way things look to us and the camera is entirely dependent on the light that reaches them.
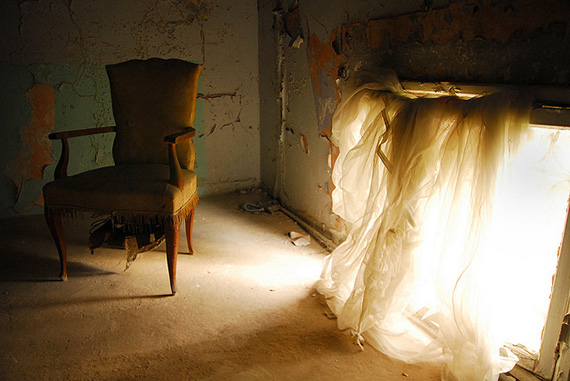
photo by craigfinlay
People talk about the “quality” of light, but in fact this is a combination of four different things that all light sources possess. Every light has a level, a color, a direction, and can either be hard or soft. Unless you’re working in a studio, where you have total control over the lighting, the first thing any photographer should do is to make an assessment of the light in terms of these four aspects.
Level
The first one, level, is the simplest. Except for the fact that we are not really aware of it ourselves. We can easily move from outdoors to indoors without realizing just how dark it is inside, but the camera can’t do that. Not without making adjustments. Fortunately, all digital cameras have an auto-exposure system that will make these adjustments for you, or you can go manual and do it yourself.
When the light level starts to go down there are three things that can be adjusted. The ISO number represents how light-sensitive your camera is and setting a higher number will make your camera more sensitive. The aperture is a hole in your lens that you can make larger to let more light in. In this case, a lower number means a larger aperture. The third adjustment you can make is to the shutter speed, exposing the image for a longer time.
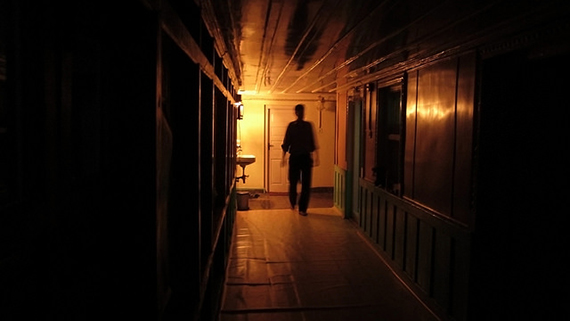
photo by Bharat Justa
While the ISO number and aperture have their effect on an image, it’s the shutter speed that finally determines just how low you can go in terms of light level, without adding your own light. Although you can set a shutter speed of half a second or longer, there is no way you can hold a camera steady for that length of time. If you try, you will get “camera shake” which hardly ever looks good. Even at 1/30 of a second, you will still get camera shake unless your lens is zoomed right out to its widest.
There is nothing stopping you taking photographs like this but you will need to use a tripod or other stable means of support to avoid camera shake. Alternatively, you can switch on your flash but that will now be the main light source and the photograph will look totally different. Change the lighting, change the picture.
Color
The second aspect to consider is the color of the light. This is similar to light level in that we are hardly aware of it and our cameras can be set to automatically or manually compensate for it. Daylight is blue compared to indoor artificial light, which is more yellow or orange in color. It’s not usually a big problem because even if you or your camera get the color setting wrong, you can still edit this after you have downloaded the images into your computer.
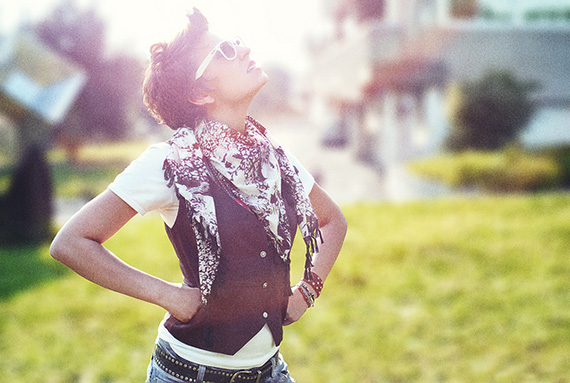
photo by Daniel Zedda
Where you really have to think about the color is when you have mixed lighting. That is, your scene is lit by two or more sources of light that are different colors. Imagine a room with bright artificial light and a window. The light in the room is yellow and that coming through the window will be blue. There is nothing that can compensate for two different colors, you need to make a choice. If you were photographing someone in this room then where you placed them would alter their color. The nearer they were to the window then the more they would be influenced by its blue light and vice versa.
Also, where you place the camera is important. If you are near the window, facing into the room, then your main light will be blue and the background of your subject will be yellow. If you are further into the room, facing the window, then the opposite will be true. Given that you, or your camera will adjust the color to make the person look right, you are more likely to be aware of the background color in the final shot. One thing that seldom looks good is when the window is at 90 degrees to the camera, one side of your subject will be blue and the other will be yellow and there is no way to compensate for that.
Hard or Soft
The level and color of light are important, but these are things that you simply adjust the settings in your camera to compensate for. It’s when you start to consider the direction and softness of light that you can begin to get creative and really use the light. A light is called hard or soft because of the shadows it produces and the governing factor here is the size of the light source. The sun, a flashgun or a spotlight, being small, produce hard, sharply defined shadows. While a cloudy sky, being big, is a very soft light source and produces hardly any shadows at all.
When you are making an assessment of the natural light around you, the first thing to realize is that there is never only one light source. All light travels in straight lines, until it hits something. It then bounces off. If it hits a shiny object, it will bounce at the same angle it arrived at, like a billiard ball off a cushion. If the object is matte (i.e. not shiny), it will bounce off in all directions and pick up the color of whatever it hit.
photo by Brian Black
A single bare light bulb will create a hard light directly on your subject. At the same time, it creates a soft light by bouncing off the walls, floor and ceiling. The lighter those areas are, the more soft light will be created. If one of the walls was white and the others dark, then most of the soft light would come from the direction of the white wall.
A hard light source will create very dark shadows, much darker that we see with the human eye. This can cause a problem for photographers because, at the correct exposure, it may not be possible to see any detail in the shadows. The two ways of dealing with this are to hide the shadows or fill them in. You hide shadows by keeping your subject away from any background and shooting from the same angle as the hard light source. That way, most of their shadow will be hidden behind them.
You fill in the shadows by using anything large, and preferably white, that the hard light is hitting. This will be a source of soft light and, if you keep it on the opposite side of your subject to the hard light, it will fill in the shadows, allowing you to photograph the details. It is always a good idea to take a reflector with you (anything large and white) when shooting on a sunny day.
Direction
As you might expect, the direction of a hard light source is much more critical than that of a soft one. In fact, changing the angle between your subject and the light source can totally transform the way it looks. If your subject has a rich texture, that can totally disappear when the light is square on to it. The more oblique the angle, the deeper the texture will appear.
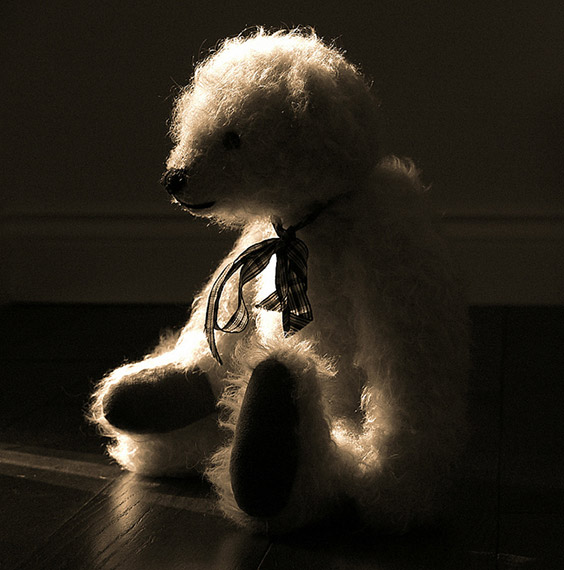
photo by Martin Brigden
For portraits, a frontal light will make people appear less wrinkled and happier. As the light moves to the side, they will look more serious. Light from above is seldom flattering and light from below makes people look downright weird. If you like landscape photography, try to visit your favorite spots at different times of the day and see for yourself the complete transformation that the angle of light makes to a photograph.
Using natural light doesn’t mean that you need to put up with bad lighting. By making a thorough assessment of the light sources around you it is possible to make the best use of what nature has presented you with.
About the Author:
Colin Aiken (www.lovethepictures.co.uk) is a professional photographer based in the United Kingdom.
For Further Training, Deal Ending Soon:
Do you ever feel like your images lack impact? Successful photographers move us with seemingly effortless consistency. But, how? This comprehensive downloadable digital guide- Powerful Imagery: The Photographer’s Insight, by Mitchell Kanashkevich, shows you exactly how to do this.

New: Powerful Imagery – The Photographer’s Insight (Click to Learn More)
In this book, you will go inside the mind of Kanashkevich and see how he goes through the processes of forming ideas for images, making creative decisions, tweaking the technical settings of his camera, and editing his images with post-processing software. We were able to negotiate a 52% discount for our readers which ends soon.
Deal found here: The Powerful Imagery Guide at 52% Off
Go to full article: Light for Photographers
What are your thoughts on this article? Join the discussion on Facebook
PictureCorrect subscribers can also learn more today with our #1 bestseller: The Photography Tutorial eBook
The post Light for Photographers appeared first on PictureCorrect.