Low light photography is something that we all must deal with as photographers. Whether you’re taking photos with a point and shoot during an evening out, shooting a wedding party or capturing a landscape at dusk it’s important to understand the basics of shooting with low light. Photography is all about light. Low light photography is no different, and it offers new challenges and opportunities for creativity. Here is a helpful infographic on the subject:

Low Light Photography Infographic (Click for Larger Version)
Information provided courtesy of Snapsort
Additional Low Light Photography Tips:
1. Crank up the ISO. The higher the ISO number, the more sensitive the camera’s sensor is to the light that is reaching it. The additional noise that is generated by using a high ISO can be filtered out somewhat in post-processing. Sometimes the extra grain adds a little something special to the shot. Shooting in RAW format allows for the most flexibility in post-processing.
2. Use a larger aperture. The larger the aperture, the more light is entering the lens. Shooting at f/5.6 lets in more light than shooting at f/18 (remember, the lower the number, the larger the aperture).
3. Slow down the shutter speed. More light is captured the longer the shutter remains open. Keep in mind that a good rule of thumb for clear hand-held shots is no slower than 1/60 of a second. Use a tripod if you’re shooting at anything slower than that, though I have had success at slower hand-held shots using lenses with image stabilization.
4. If you do have to use a flash, try to avoid the on-camera pop-up. It tends to flatten the appearance of the image because the light is hitting the subject directly. Invest in an off-camera flash, angle light so that it is not directly in front of the subject, and use reflective surfaces and diffusers to soften the light. Strategically placed constant light (such as tungsten lamps using soft white bulbs) work excellently for providing additional ambient light without sacrificing the atmosphere of the setting.
5. Use your camera’s exposure compensation capabilities. The scale on many of today’s DSLR’s allow from -3 to +3 stops in 1/3 stop increments (my 7D is +/-5). Dial the exposure compensation to the positive side to purposefully overexpose the photograph.
For Further Help with Low Light Photos, New Year Deal Ending Soon:
The new Topaz DeNoise 6 is designed to let you shoot anywhere in any light and still get crisp, clear and noise-free images. DeNoise removes distracting image noise while preserving image detail, giving you the image you wanted without the noise you don’t. It is currently 35% off today for their New Year sale, simply remember to use the discount code THANKS35 at checkout.
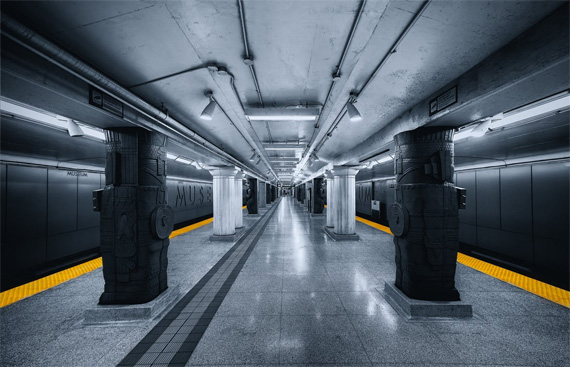
Low light subway tunnel processed with Topaz Denoise. Captured by Roland Shainidze
Whether you’re shooting in low light, fast speeds, or other noisy conditions, DeNoise gives you the peace of mind to know that you’ll always end up with a clean, clear, noise-free image.
Deal found here: Topaz DeNoise at 35% Off
Go to full article: Low Light Photography Tips
What are your thoughts on this article? Join the discussion on Facebook
Article from: PictureCorrect
The post Low Light Photography Tips appeared first on PictureCorrect.