Do you want to edit your images but aren’t sure where to start? Maybe you want to know how to add that little extra something to your photos?
Today we’re going to look at simple, yet effective ways to add adjustments to your images in Luminar 3 (currently on sale for Valentine’s Day). We’ll be using filters to work on the images, and I’ll show you how to get similar results step-by-step. Ready? Let’s begin!
Luminar 3 Filters
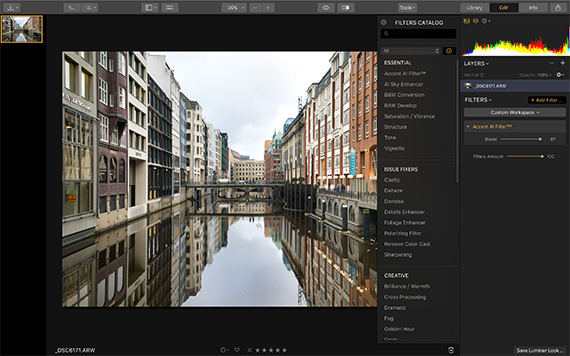
It’s worth knowing a little about the filters in Luminar 3 and the way they are organized.
The screenshot below shows that the filters are grouped into handy categories:
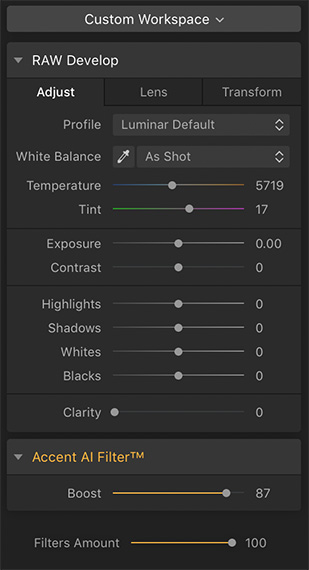
You can choose the type of workspace that suits your workflow, from Professional through to Street. These workspaces contain the filters that you will likely use for that type of photography, so it’s a quick way of making sure you’ve got just what you need to work on your images.
On the left-hand side of the screenshot, you can see the Filters menu running down. Again, each set of filters is grouped into a category to make finding exactly what you need a breeze.
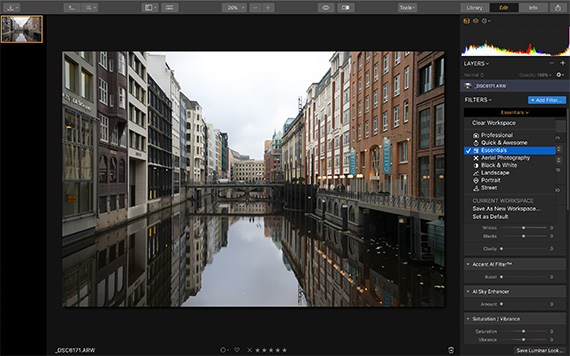
The image I’m opening is a RAW file, but you can upload other image file formats too.
First off, I’m going to use the Accent AI filter to see how quickly it deals with the problems in the image. Accent AI evaluates each image and decides how best to make basic enhancements, such as exposure, saturation, contrast, etc. All you need to do is pull the Boost slider to the right to change how much of the filter you wish to apply.
In the before/after split above, you can see that the right-hand side of the image is much clearer, brighter, and more colorful. Accent AI works within seconds, and it’s a great jumping-off point for further adjustments.
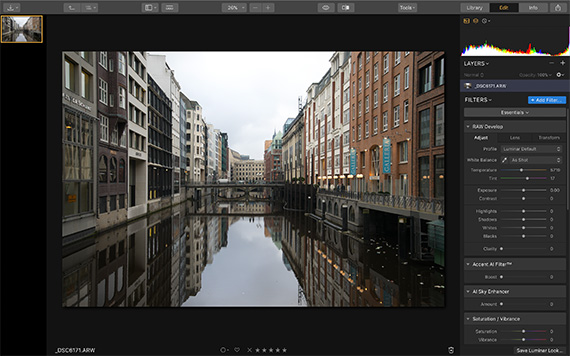
The RAW Develop workspace is great for making those few basic tweaks to the image, too.
Let’s turn this image into a black and white one. Luminar 3’s Black & White filter gives you excellent control over the small details of your conversion, with sliders for shadows, highlights, different color adjustments, detail, clarity, whites and blacks, etc.
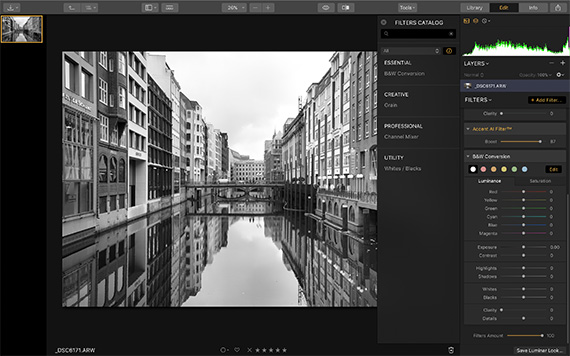
You can fine-tune your black and white conversion to be exactly the way you want it:
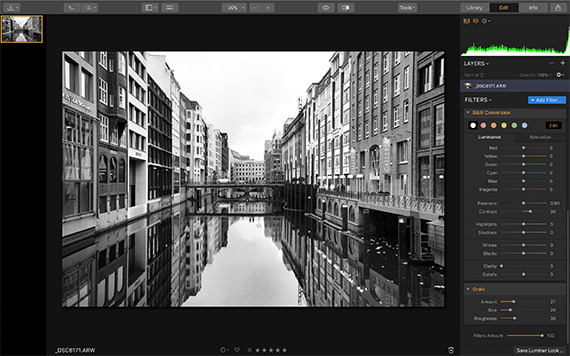
Why not add some film grain to give it an old-fashioned, high ASA film look? The Grain filter allows you to choose the amount, size, and roughness of the grain you apply:
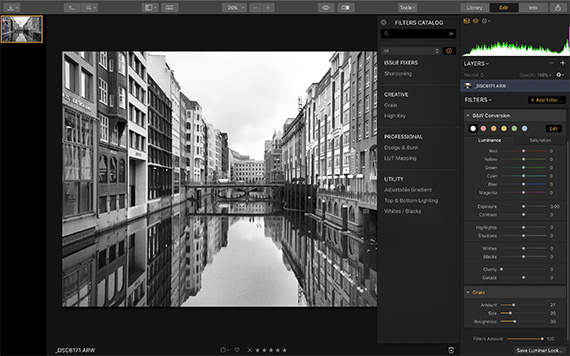
To see what else I can do with filters, I simply click the History button along the top menu bar to get the image back to an earlier stage—in this case, after I’d applied the Accent AI filter.

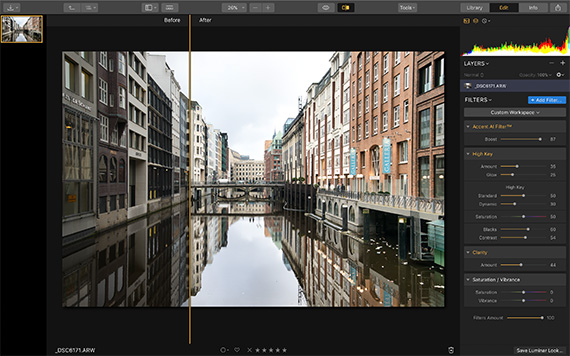
I decided to apply the High Key filter, along with some Clarity, and Saturation/Vibrance, as you can see in this before/after split:
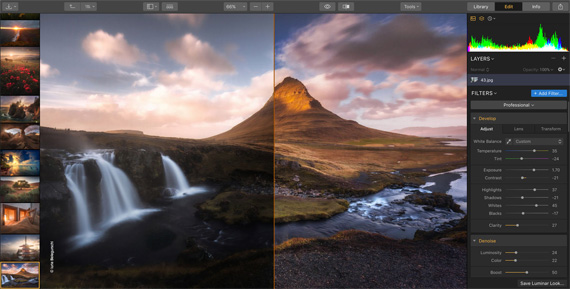
We’ve seen so far how to get an awesome image by using the filters, but what about a different type of image? The first image was a cityscape, so let’s upload a rural landscape for this one:
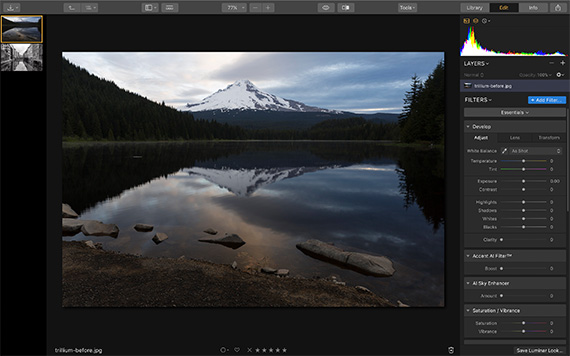
As you can see, this image has some issues with dense shadows. Let’s see what Accent AI does for it:
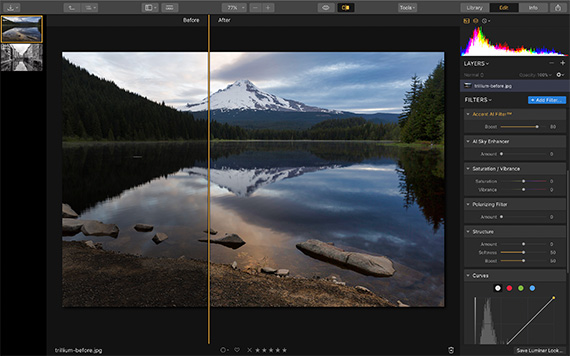
It makes quite a difference, and I also added the AI Sky Enhancer filter this time:
AI Sky Enhancer uses the power of artificial intelligence to accurately enhance your skies without affecting your landscape.
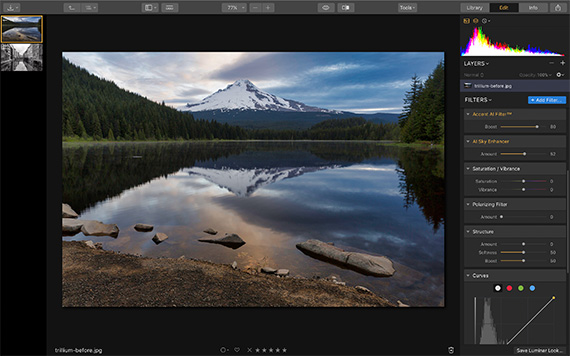
Because this image has a lot of trees in it, let’s try out the Foliage Enhancer filter:
It’s made a big difference to the brightness and hue of the greens in the trees and grass. If you shoot a lot of landscapes, Foliage Enhancer is one of the quickest ways you can get vibrant and fresh-looking greens to catch the eye.
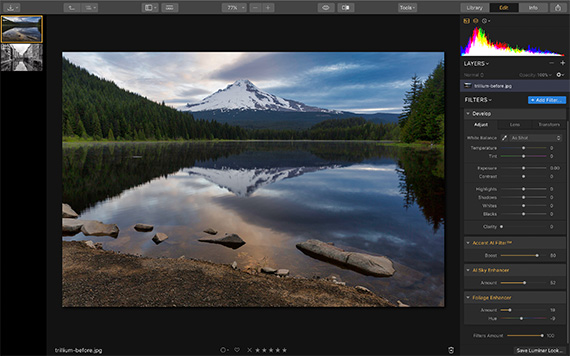
Finally, let’s try out the Sunrays filter; it adds a realistic-looking sun with rays coming into the image:
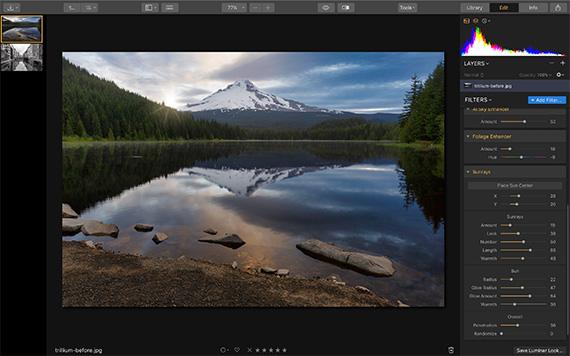
The Sunrays filter is fully adjustable and gives you the ability to control things like glow warmth, ray length, number of rays, etc. It even lets you place the sun’s center where you want it.
Why not try it for yourself?
There are many, many more filters you can use to enhance your images in Luminar 3. I hope that this article has inspired you to give it a try and discover all the ways you can make your images awesome in a short space of time!
Luminar Currently on Sale for Valentine’s Day:
Love is in the air at the Skylum Store, where people can pick up Luminar and the Luminar + Aurora HDR Bundle at a discount.
Landscape Editing in Luminar 3 (See more examples)
Customers can get Luminar 3 for US$ 49 instead of US$ 69, and Luminar 3 + Aurora HDR Bundle for US$ 119 instead of US$ 168.
Deal found here: Luminar 3 Valentine’s Day Sale
Go to full article: Luminar Photo Editing Filters on Landscapes & Cityscapes
What are your thoughts on this article? Join the discussion on Facebook
PictureCorrect subscribers can also learn more today with our #1 bestseller: The Photography Tutorial eBook
The post Luminar Photo Editing Filters on Landscapes & Cityscapes appeared first on PictureCorrect.