The typical way to sharpen a photo in post-production involves global sharpening. But you have the subject’s eyes, their clothing, facial hair, and so on to think about. You don’t necessarily want to sharpen all of these elements to the same degree. Aaron Nace from Phlearn shares his technique for giving portraits the right amount of sharpening in the right places:
The first step is to make a copy of the image.
Create a ‘New Layer’. Go to Image > Apply Image.
Check ‘Merged’ and select ‘Normal’.
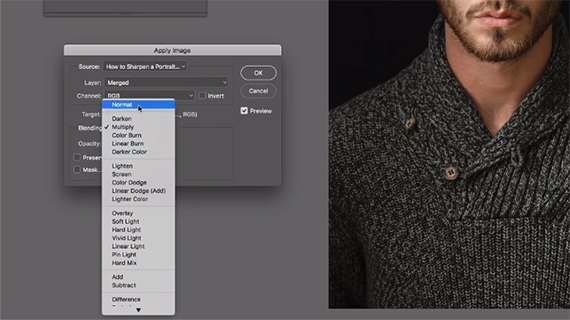
This creates a copy of the background image and places it on top of the background layer—a sharpening layer.
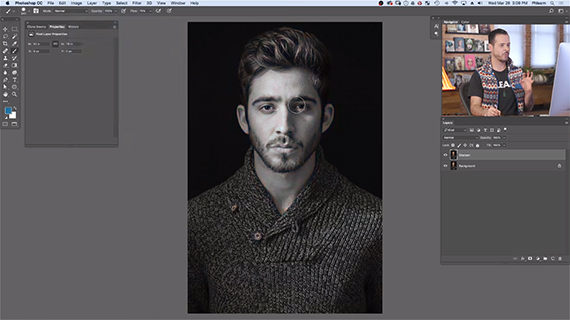
You can rename this layer as ‘Sharpen’, just to keep things in context.
A couple of words of advice from Nace:
“It is super-important to know that when you sharpen, it should be the very last thing you do.”
If you intend to print a full sized image, it’s fine to edit and then sharpen the image in full size. If you intend to publish the image online in a smaller size, resize first and then apply the following sharpening techniques. Otherwise you will lose a bit of sharpening when you resize after sharpening.
The next step is to de-saturate the ‘Sharpen’ layer so that your sharpening technique doesn’t impact the colors in the photo and affects only the details.
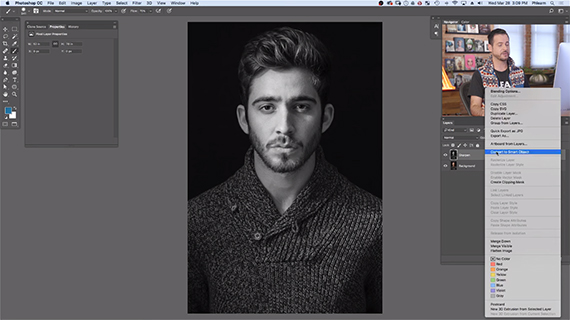
Turn the layer into a Smart Object. To do this, right-click on the layer and choose ‘Convert to Smart Object’. Once you do that an icon appears on the image thumbnail to confirm that the layer is now a Smart Object.
Change the ‘Blend Mode’ of the layer from ‘Normal’ to ‘Overlay’.
Initially, the affect will not look right (subjective). But if you then add a ‘High Pass’ filter the effect will be profound.
To add the high-pass filter, click on the ‘Sharpen’ layer and go to Filter > Other > High Pass.
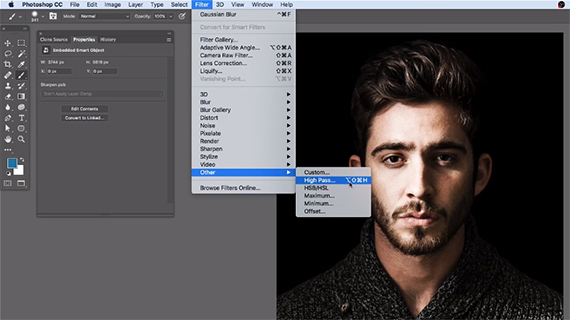
This High Pass filter basically works on the highlights and the shadows of your image and leaves everything in the middle as it was. That said, you can change the radius depending on the image and the effect that you need.
This is fine for a start. But there are aspects like the skin, which may require a slightly more personal touch. The skin is a very sensitive thing so far as sharpening is concerned. A bit too much on either side will appear over or undercooked to the trained eye.
Now you’ll create a layer mask on the ‘Sharpen’ layer with the intention to sharpen the face and the skin areas manually.
Paint with black on the layer mask. Painting with black is avoiding the sharpening that you applied previously from taking effect on the face and the skin.
Watch the rest of the video to get an idea on how you can duplicate a smart layer and enhance the sharpening effect given to a small radius of the image. This is a much better technique than working with a single layer.
Also, as each of this layers are now Smart Objects, you can alter the radius of the smart filters any time to fine tune the results. If you followed the techniques, it gives you control to choose which part of the image you would like to fine tune—the clothing or the face.
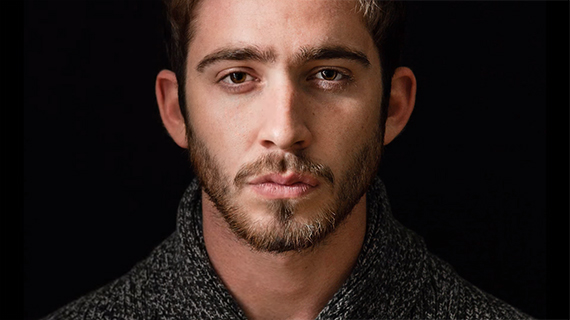
Before (left) / After (right)
The left side of the photo above shows the original unsharpened image and the right side shows the final sharpened image.
What’s your favorite sharpening technique for portraits?
Go to full article: Portrait Sharpening Photoshop Tutorial
What are your thoughts on this article? Join the discussion on Facebook
PictureCorrect subscribers can also learn more today with our #1 bestseller: The Photography Tutorial eBook
The post Portrait Sharpening Photoshop Tutorial appeared first on PictureCorrect.