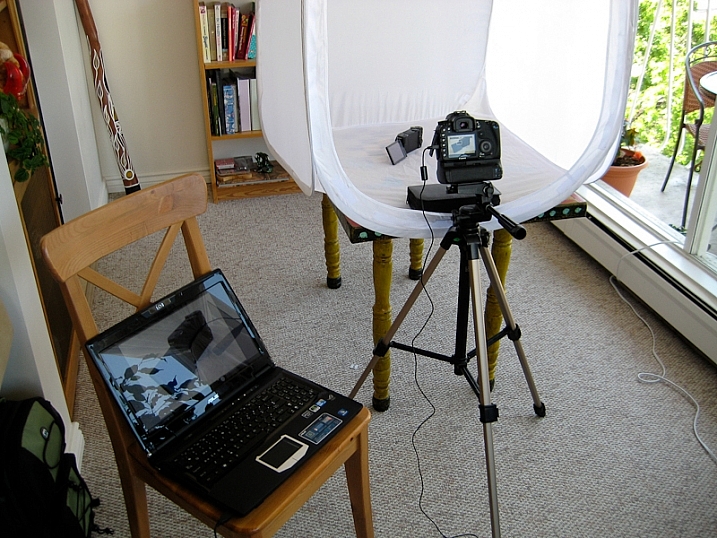
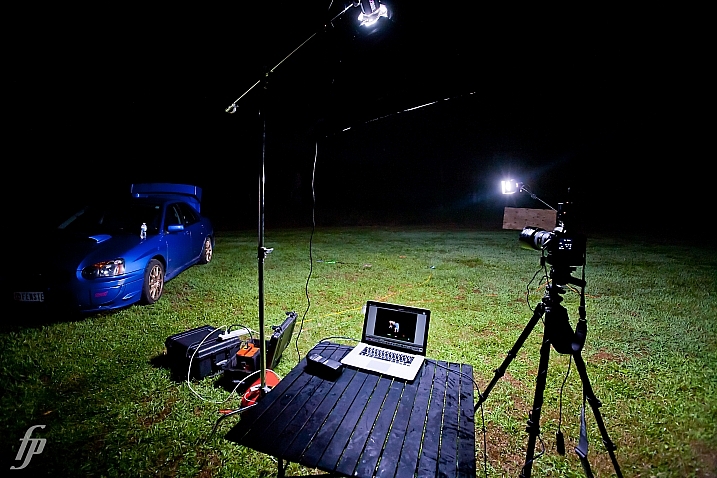
Tethered shooting is a photography technique that has been practiced by many professional photographers for years. In short, tethering allows you to connect your camera to a computer or tablet and almost instantly view your digital images on the device within seconds after it is captured. Due to expense and accessibility, tethered-shooting was generally reserved for photographers who do a lot of studio work and high-end commercial photo shoots. However, as tethering technology became significantly cheaper and easier to use, tethered shooting as been practiced by professionals and enthusiasts alike.
If you’ve ever been curious about tethered shooting, this article will give a brief overview of the process as well as some steps to easily get started.
What is tethered shooting?
Tethered photography is the process of connecting your camera to a computer, tablet, or even a smartphone using either a cable or wireless app. After a successful connection between the devices, any new image captured by the camera is then passed directly to the computer and saved in a pre-designated folder. You’re then able to see the image fully displayed on the computer screen and even do some post-processing to the image.
Benefits of tethered shooting
The main benefit of tethered shooting is the ability to quickly preview the image on a large monitor within seconds of capturing it with your camera. This allows both you and a client to scrutinize your images on a big screen, allowing you to make adjustments to the photo shoot as it’s taking place. Depending on the tethering software you’re using, you might even be able to do quick edits to the photo on-site. Both you and the client can see exactly what’s being photographed and can make sure your visions for the shoot are in alignment. Overall, this type of collaboration should lead to a better result.
Downsides of tethered shooting
The ability to almost instantly preview photos as they’re being captured does come with a few downsides.
First, either you or your client could get too caught up in little details while inspecting the photos, and this can stall a photo shoot. Thus, it’s important to set expectations with your client and be able to push forward without focusing too much on details. Second, tethering can suck the battery life out of both your camera and your connected computer. If your tethered photo shoot may take longer than an hour, you’ll want to have extra batteries on hand and be shooting near a wall socket in case you need to plug in. Lastly, tethering software can be notoriously finicky and is prone to not working for no apparent reason, so you’ll want to have a backup plan in case of an outage.
What you need for tethered shooting
The traditional and most reliable way to connect your camera to a computer or another device is by using a cable. There are a variety of different cables and ports available, so which cable you use will depend on your exact devices. Some DSLRs with built-in Wi-Fi even offer wireless tethering or remote shooting, but this is typically limited to being used on a tablet or mobile device only, not a laptop computer.
In this particular instance, we’ll assume the camera is a DSLR and the connected device a laptop computer, as this is a very common tethered shooting setup. In this case, you’ll need:
- An extra long (ie. 15 feet) USB cable to connect your camera to your laptop
- Tethering software, such as Adobe Lightroom or Canon EOS Utility 3
- Optional – a portable table to hold your laptop such as Tether Tools’ Aero Table
- Optional – a JerkStopper to prevent accidentally yanking your USB cable from your camera
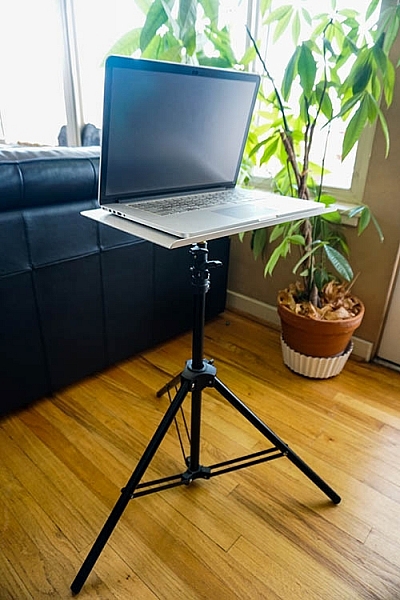
Tether Table Aero is a lightweight, durable aluminum platform that attaches to almost any tripod or light stand, turning it into a handy utility table for holding a laptop or extra camera gear.
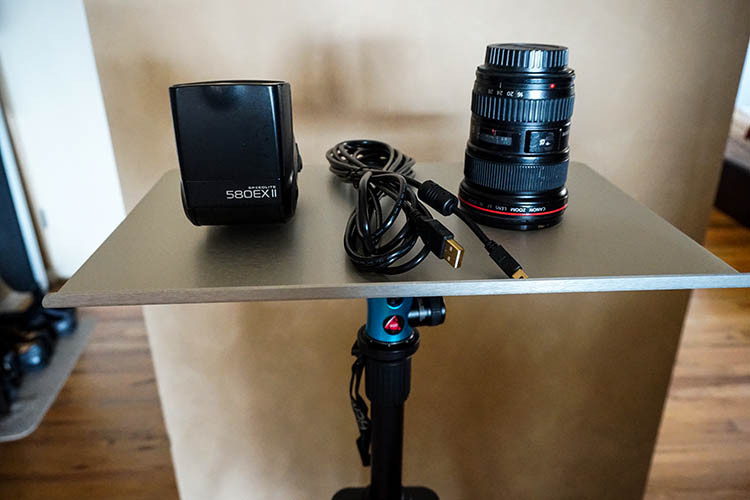
To be clear, there are many tethered shooting programs available, but this article will highlight two low-cost, simple methods in particular: Adobe Lightroom and EOS Utility 3.
Simple tethered shooting with Lightroom
The quickest and arguably the easiest way to start tethered shooting is by using Adobe Lightroom’s Tethered Capture feature. Follow these steps to set it up:
Step 1 – Connect the camera to the laptop
Connect your DSLR to your laptop with a USB cable. Then turn the camera on.
Step 2 – Start Tethered Capture in Lightroom
Open Lightroom and navigate to File > Tethered Capture > Start Tethered Capture
Step 3 – choose tethered settings
In the Tethered Capture Settings dialogue box, you have the option of choosing a Session Name (e.g., “Tethered Shooting Test,” specifying the photo names, choosing a destination for your photos, and adding metadata and keywords. Be sure to pay particular attention to where the photos will be saved so you can find them later. After setting your options, click OK.
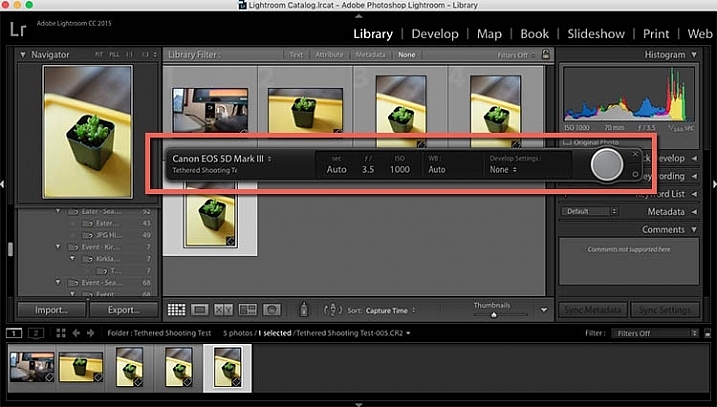
If all goes well, the screen below will pop up, giving you a narrow control panel (outlined in red below) for some light remote shooting options, and a Library in which photos captured via the tethered shooting connection will populate.
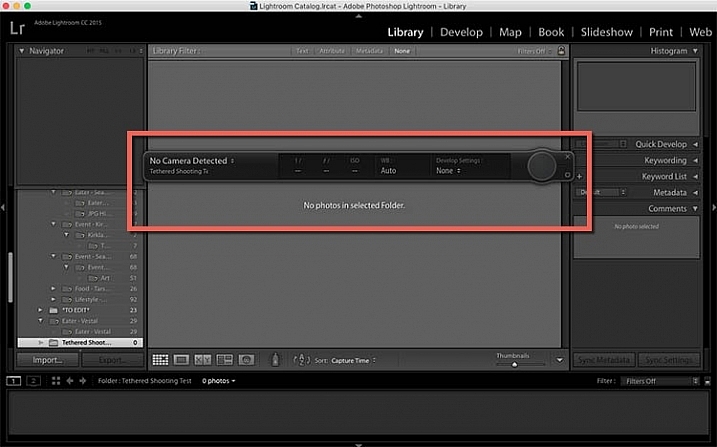
However, it’s not uncommon for Lightroom to have difficulty detecting the connected camera. If you follow the above steps and still see this screen below, try troubleshooting by first making sure your version of Lightroom and your camera’s firmware are both updated. Also, check compatibility to ensure your camera can tether capture with Lightroom. Note: there are third party plugins available for other non-compatible cameras such as the Fuji X-T1, do a search for your camera model and you may find a solution (Pentax here, Sony here.
Finally, try rotating through several different USB cables to make sure they’re working well. But if you’re looking for a more consistent way to tether shoot, check out the other option below.
Reliable Tethered Shooting with EOS Utility 3
If you shoot with a Canon DSLR, whip out that CD that came with your camera and install the EOS Utility 3 onto your computer. When your Canon DSLR is connected to your computer, you’ll be able to use this program to control your camera remotely and shoot tethered. This method is much more reliable and consistent than using Lightroom’s tethered capture option.
Steps for using EOS Utility 3 for tethering:
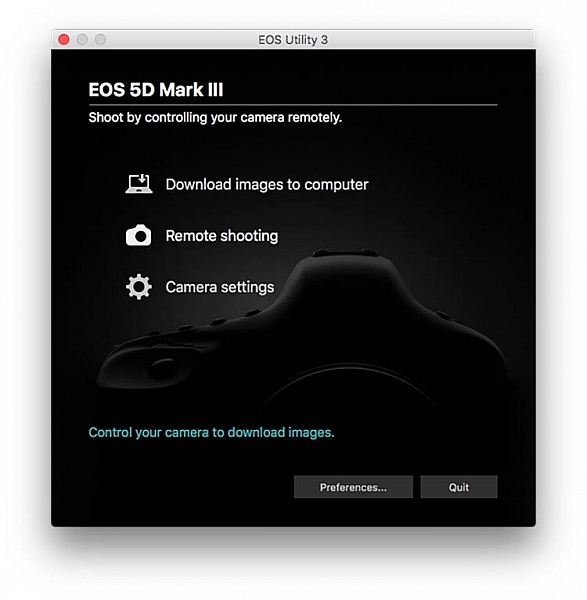
- Start by downloading the EOS Utility 3 and opening it on your computer. Click on the “Remote shooting” option.
- Selecting that option will display the following interface. The display gives you the ability to alter some settings such as white balance or drive mode on your camera directly from this interface, but there are still some functions, such as lens zooming, that you’ll have to do manually.
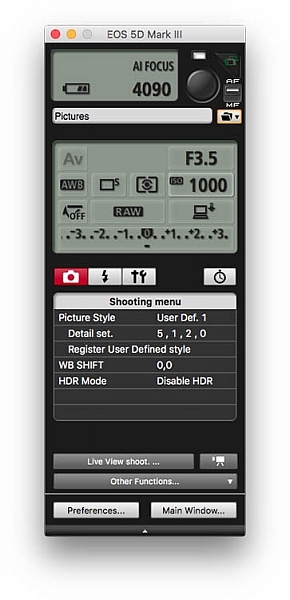
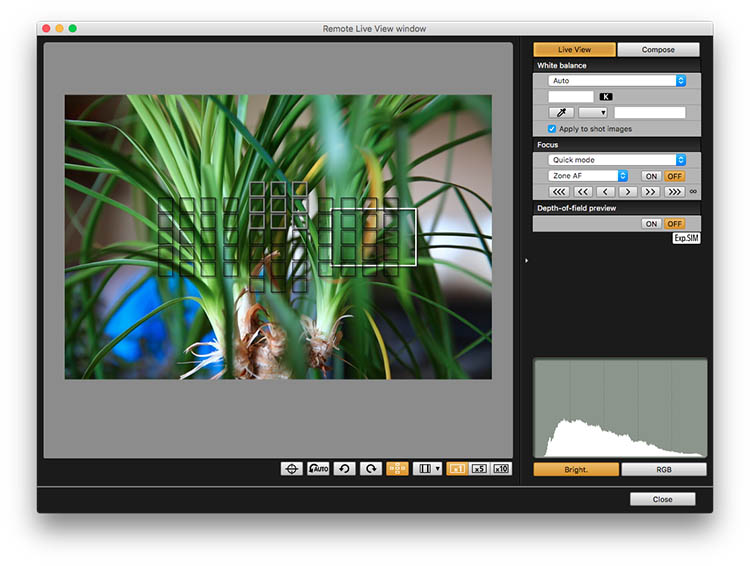
- While still in the Remote Shooting setting of EOS Utility 3, set your camera to Live View mode, and tethered shooting will be enabled. In this case, Live View will appear directly on your computer screen so you will see exactly what your camera sees. When you take a photo in tethered shooting mode, the captured photo will appear on your desktop.
Over to you
These are just two of many options available for tethered shooting. Do you frequently shoot tethered? If so, what types of programs do you use for reliable results? Please let us know your tethered shooting tips and tricks in the comments below.
The post Step by Step Tutorial for How to Shoot Tethered by Suzi Pratt appeared first on Digital Photography School.
