I’ll start with what I feel is the most important thing to think about.
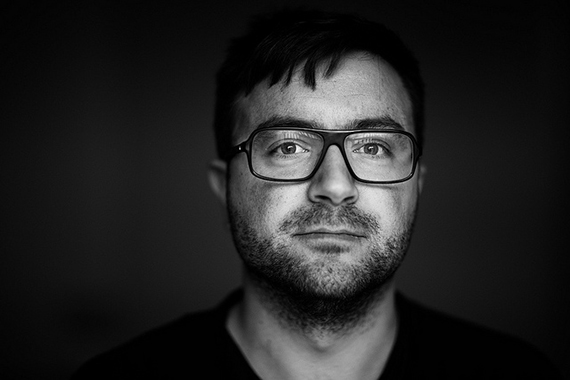
photo by Andreas Øverland
Interacting with Your Subject
As a photographer of people, the relationship I establish with my customers is key. Not just because they pay me, but also because I want to get the best from them. I spend a lot of time and effort getting to know my clients. I have spent all my life working with people and I use all of my skills to really understand what makes them tick. It can make the difference between nicely shot photographs or beautiful images that really show the emotion between them.
To achieve this I not only get to know them but I let them get to know me, I share my personality with them. I build up a trust that means when I ask them to do something they do it, believing in me. That’s what you need to do. You probably won’t have time for three meetings and a pre-shoot beforehand like I do with my brides and grooms, but you can still achieve something.
Do you know the subject at all? No? Then before you take any pictures spend some time getting to know them and letting them get to know you! Chat over a cup of coffee. Relax in each other’s company.
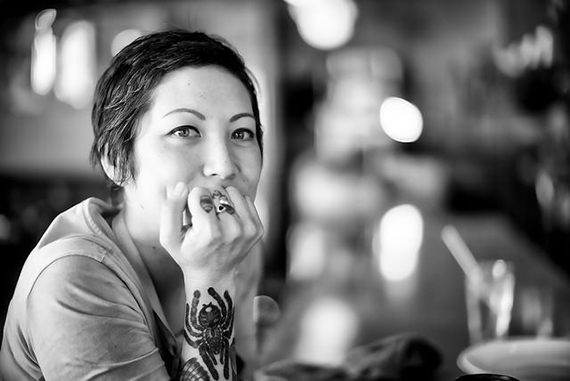
photo by Christopher Michel
If you already know them quite well, still take some time to talk before you start. Tell them what you’re going to do and what they should expect as you take their picture. Ask them about the style of pictures they like.
Calm their fears if they say, “I don’t like having my picture taken.” By the way, 99 percent of people say that to me and my aim is to hear them say, “I really enjoyed that,” after a photo shoot! This time invested will pay fantastic dividends as you start to shoot and they are relaxed and trusting with you. I’ll talk about children in more detail in part two, but getting to know your subject and explaining what you’re doing is even more vital when you’re photographing children.
Composition
This is the second most important thing to consider when you are making someone’s portrait. The picture won’t only show them, it will show their surroundings and maybe other people or objects. Are you able to take the subject where you want or are you limited to say their garden or a room in their house? If possible, go to the location beforehand and have a look around. Look for places that will make a good backdrop. Don’t discard anything; it doesn’t have to be a nice view. One of my favorite places is a beach in Devon where there is a beautiful old stone wall. So how do you choose a place?
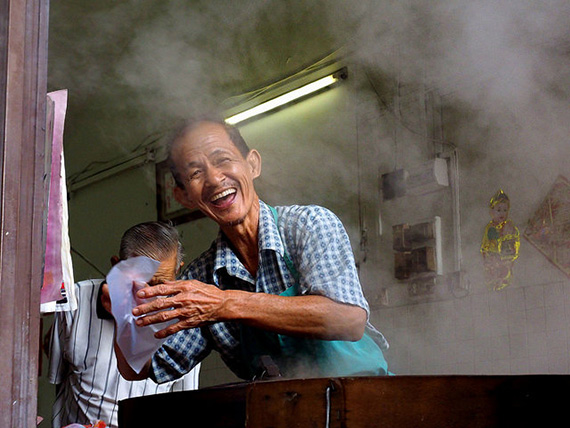
. photo by John Ragai
Keep in mind that your picture will be about a person or persons, so wherever you choose it shouldn’t take over the picture. Nor should it be the focal point or be too distracting. What would make it distracting? The eye will tend toward areas that are bright or colorful, so look at your background (and foreground) carefully. Is there anything in it that will take the viewer’s eye away from your subject? You should consider carefully exactly where you place your subject against your chosen background.
Make sure that they don’t have a building, lamppost, or other object growing out of their head! Move yourself or your subject. If you’re shooting inside someone’s house, don’t be afraid to ask him or her to move (see below reference lighting) and ask them to take pictures and personal effects down from the walls. You need to decide whether you are going to shoot your subject at full length or whether you are going to crop in close.
Whatever you decide, the rule is to avoid the joints. Don’t end your picture at a joint such as the knee, as it can make it look like the limb has been amputated. It’s fine to crop a limb but just not at a joint.
Lastly, think about where you will place your subject in the frame. Dead center is fine, but it can be a little boring. Placing the subject off center (in the left or right third) looking into the unused space can look really nice and pleasing to the eye. Put their head in the top third, too.
My biggest piece of advice to improve your composition is to look at pictures in books and magazines. Look at how they are composed. Where is the subject and how are they placed in the frame? Look at what you like and copy it.
Lighting
You don’t need to be an expert or own a bunch of fancy gear to take a nice, well-lit picture. The best light to use is natural light, and the best natural light is overcast light. The main reason is the bigger the light source the softer the light. And what bigger light source could you get than an overcast sky? There are other advantages, like the lack of harsh shadows; your subject won’t be squinting and colors are not all bleached out, as they would be in bright sunlight.
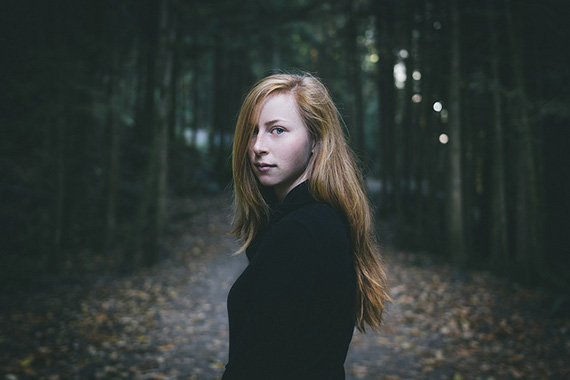
photo by Arvin Asadi
If it’s a sunny day and your only chance to photograph this person, don’t despair. Move them into the open shade and make sure there is some light falling on them. If there’s no shade and it’s bright sunlight, you have to make a choice. The classic choice is to have the sun falling directly on the face. This will light them up but it will be hard for the subject.
The other thing you could do is to have the sun directly behind them. This will necessitate the use of some fill in flash to light up their face. It works best if you can alter the amount of flash that is fired at the subject until it is just enough to give a nice natural look to the face. If you can’t alter the amount of flash, be aware that it may look a little bit unnatural. You could always move back to lessen the amount and crop later in the computer back to what you originally wanted.
If you can only shoot inside, use the natural light from an open door or a window. Place your subject so this light falls gently on their face—it will even work through the glass if the weather isn’t cooperating. Try to avoid using direct flash in their face wherever possible. You could also use a reflective surface to throw light onto the subject. You don’t need to pay out on expensive reflectors, but if you do, use white for older people as it’s kinder on the skin and silver on the younger faces to give them more zing!
Avoid gold reflectors unless you really want to give your subject a golden glow. A piece of white card or a white sheet will work well in the absence of a reflector. The closer the card/sheet to the subject, the more light that will fall on them. Experiment by moving it around until you find the best spot. Remember to make sure it’s not in the picture; you might need a helper to hold it for you! You could also use a mirror but the effect will be much more pronounced so place much further back.
About the Author:
Marion Frances has a professional wedding photography company in Devon, providing a complete wedding photography service.
Go to full article: Top Tips for Photographing People
What are your thoughts on this article? Join the discussion on Facebook
PictureCorrect subscribers can also learn more today with our #1 bestseller: The Photography Tutorial eBook
The post Top Tips for Photographing People appeared first on PictureCorrect.