Related note: only a few days left for the Pre-order Sale on Luminar 3 with Libraries
Dedicated travel photographers always have a camera handy, even while on vacation, because you never know when the perfect moment is going to present itself. If you decide to leave your camera behind one day ‘because I won’t get any good images,’ I can guarantee from personal experience that you’ll see shot after shot, and spend the rest of the time kicking yourself for not having the means to capture them!
If you’re on vacation, you don’t want to spend a lot of time cooped up in front of a computer screen editing your images; you could be out shooting more good stuff instead. In this article, I’m going to show you how to quickly edit and work on your travel images using Luminar to create eye-catching photos that are ready to be shared with others.
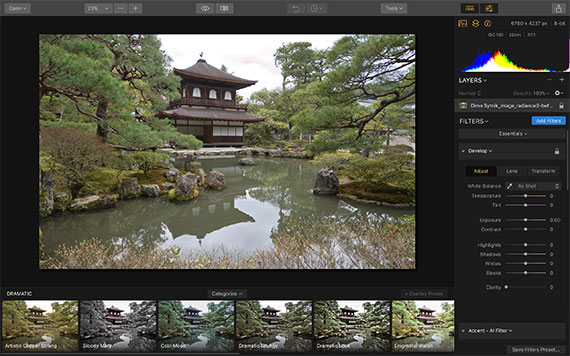
First, open Luminar and choose your image:
This travel image needs a bit of adjusting to make it pop. This is the ‘before’ image:
Before
Using Filters
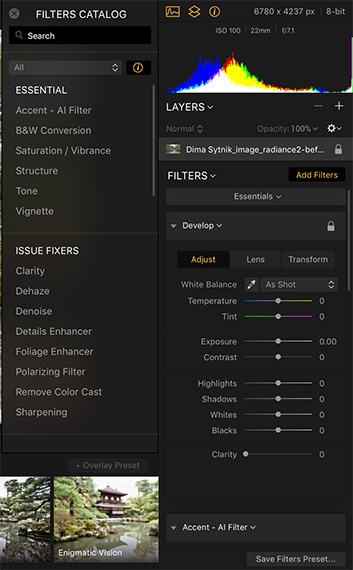
A quick way to make adjustments is to use the Accent AI filter. This clever filter uses the latest artificial intelligence technology to evaluate an image, and decide where it needs adjusting. It will calculate how much the highlights, shadows, contrast, color, exposure, etc. need to be adjusted to improve the image. Accent AI treats each image individually, so you’re getting adjustments tailored to each scenario.
You’ll find the Accent AI filter in the filter categories on the right-hand side of the screen. Click the ‘Add Filter’ button, and you’ll find Accent AI in the ‘Essential’ filter category in the drop-down menu that appears:
Accent AI
To apply the changes, use the ‘Boost’ slider to control how much adjustment you want to apply to your image.
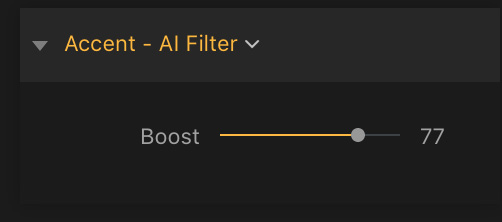
AI Filter Boost
You may choose to add more saturation and vibrance to your image too, just to make the summer colors really stand out. All the filters in Luminar can be used together, and you can add layers and change the blending modes, too.
This is the before/after split of the image after using the Accent AI filter and adding some extra saturation and vibrance. The ‘before’ image is on the left, and the adjusted one is on the right-hand side of the split screen:
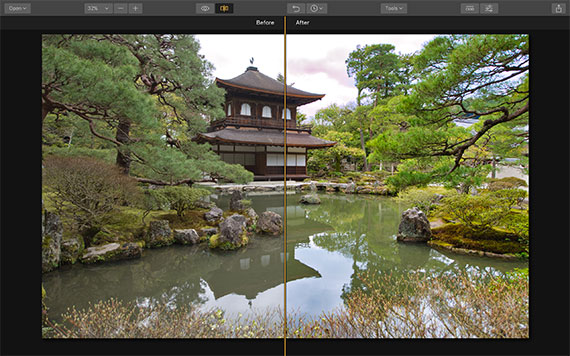
Before/After
These adjustments took less than a minute! You can also save your adjustments as a preset, so you can instantly apply them to your other images in the same series to give a uniform style to them.
There are many filters to choose from in Luminar, and some of them are found under the ‘Creative’ menu. These ones can be fun to add to an image for a quick change. I used the Orton Effect filter on the image next, which gives a highly saturated, glowy contrast look to the image.
The sliders on the Orton Effect panel can be adjusted to give different ‘looks’, so you can find something to suit you—from in-your-face dramatic, to subtle and intriguing:
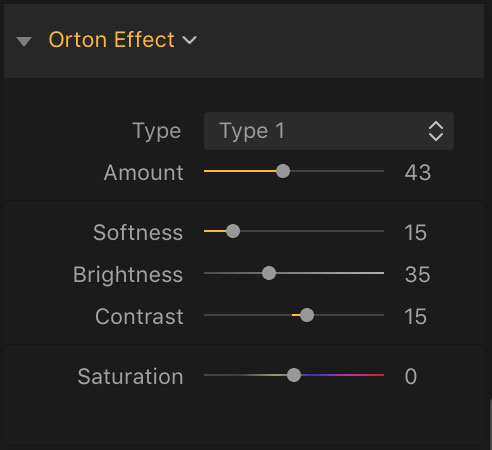
Orton Effect
This is the before/after split with Orton Effect filter. It’s really made the summer greens and yellows stand out:

Before/After Orton Effect
What if we were to add an adjustment layer and change the layer blending mode? Let’s find out!
I added a new adjustment layer by going up to the top right-hand corner of the screen and clicking the ‘+’ sign next to the Layers. This brings up a choice of layers, and I clicked the ‘Add New Adjustment Layer’ choice:
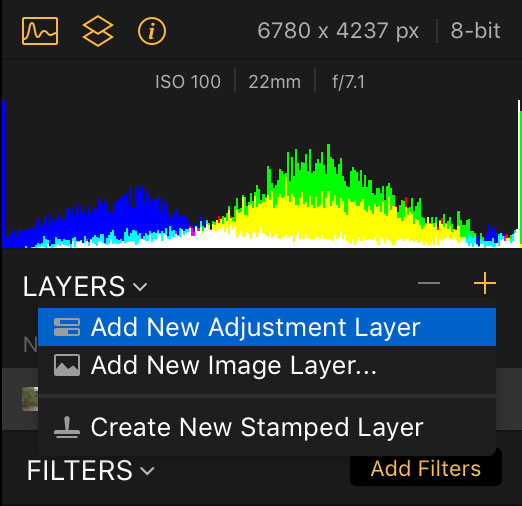
Add New Adjustment Layer
On the new layer, you will find the Blending Modes drop-down at the top left of the new layer. The default mode is ‘Normal’, but as you can see there are many different blending modes, and each one will have an effect on the image if you click. Experiment with what the different modes do; you can always go back to ‘Normal’ mode if you don’t like them. I chose ‘Overlay’ mode:
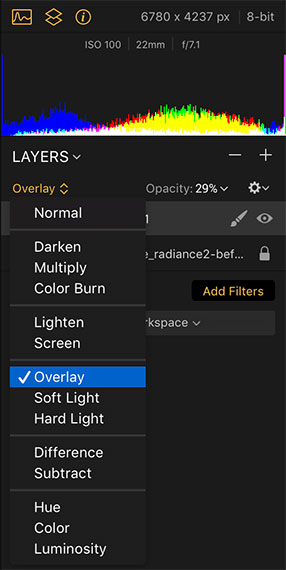
Overlay Mode
I also dropped the ‘Opacity’ slider down to 28 percent, as at 100 percent, the effect was too strong. Overlay generally adds strong contrast and color to an image and is a quick way to give a color/contrast boost:

Before/After
This was added on top of the ‘Orton Effect’ filter, but you can add layers and change blend modes on any of the filters, and the presets too.
Using Presets
Another feature of Luminar that’s good for super-speedy editing is the presets. These presets will give you a fresh look in just one click, and they’re fully adjustable and customizable. You can even add two or more presets on top of each other by using the Adjustment Layers.
You’ll find the presets if you click on this button along the top menu bar of Luminar:

Preset Icon
The presets will appear along the bottom of the screen in a ‘film strip’ style. You can see from these previews how your image will look if you apply them:

Preset Film Strip
These are just the ‘Basic’ presets. You’ll find many more if you click the ‘Categories’ arrow, which is above the previews.
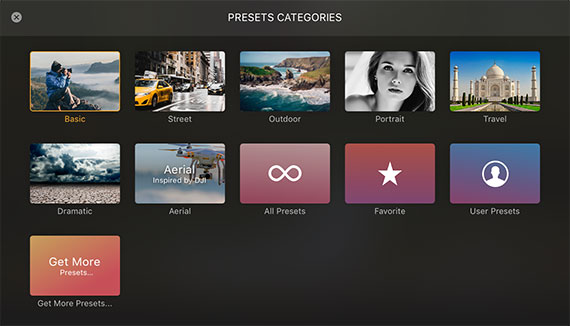
Preset Categories
There are categories for several types of images, so you’re sure to find something to suit you here.
I chose one of the ‘Travel’ category presets here to show you how you can make dramatic differences with just one click:
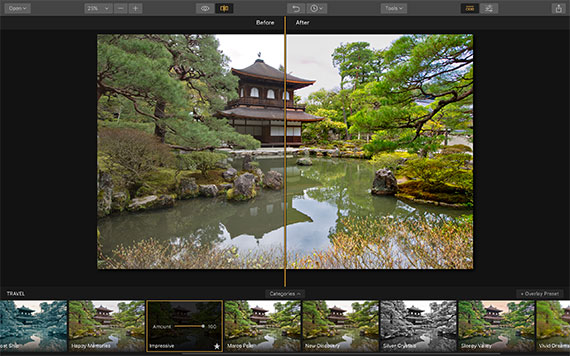
Travel Preset
This is the ‘Impressive’ preset before/after split, and you can see on the right how much of a difference this one preset has made.
Here are the full screen before and after images:
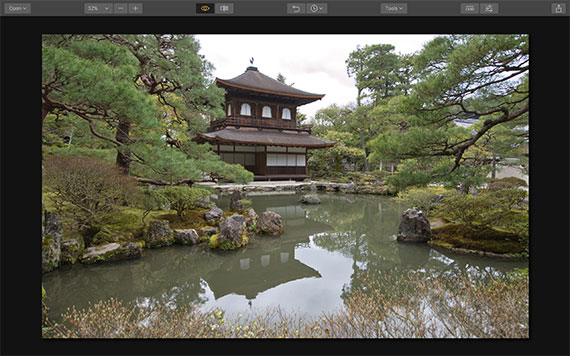
Before
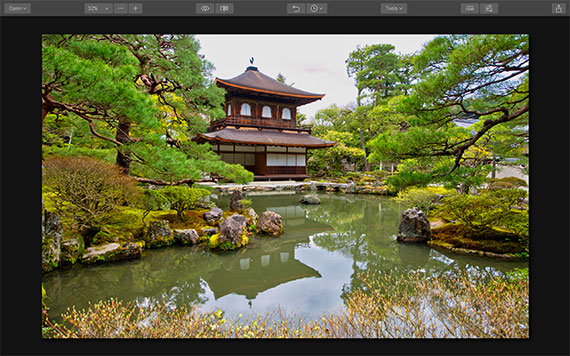
After
The ‘Impressive’ preset is well-named! One click, and a dramatic difference.
Final Thoughts
Although post-processing is an essential part of photography, there’s nothing worse than being chained to your computer doing time-consuming edits and missing all the fun. Luminar can free you to go out and shoot more, or simply to enjoy your trip. All the edits I did on this image took less than a minute, and the preset one took less than 20 seconds to choose and click the mouse!
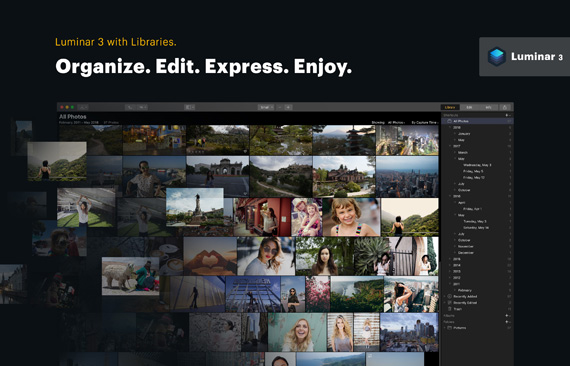
Luminar 3 with Libraries Pre-order Sale Ending Soon:
The new version of Luminar will start shipping to customers on December 18 and adds the ability to organize and edit multiple images simultaneously with the new Library panel. This addition transforms the photo editing software into a comprehensive, all-in-one imaging package.
Luminar with Libraries (Click to See How it Works)
Luminar 3 is a sophisticated image editor and library, which uses artificial intelligence to allow anybody, working with digital images to make better photos with intuitive and time-saving workflows. Luminar 3 makes processing, managing and editing photographs quicker and easier than with conventional software packages.
Deal found here: Luminar 3 with Libraries Pre-order Sale
Go to full article: Travel Photo Editing Tutorial in Luminar
What are your thoughts on this article? Join the discussion on Facebook
PictureCorrect subscribers can also learn more today with our #1 bestseller: The Photography Tutorial eBook
The post Travel Photo Editing Tutorial in Luminar appeared first on PictureCorrect.