Only hours left for Topaz Year-End Discounts – use coupon code TOPAZ2015
“With any form of photography, the photo captures a point in time; it is a record of what was there at that specific moment. However, to make a photo interesting to the audience it must be more than just a record.
Cities contain many buildings, good and bad architecture, shapes, patterns, people, and culture. Urban landscape is therefore a wide subject that can encompass the elements of both the physical and cultural aspects of a city.” — Adrian Pym
Urban Landscapes
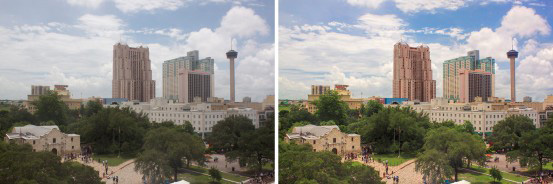
During a recent visit to San Antonio, Texas, my goal ahead of time was to obtain a rooftop, urban landscape shot of the city. At the heart of downtown, this image of the well-known Alamo and partial SA skyline achieved this goal and was the chosen one to use in this tutorial:
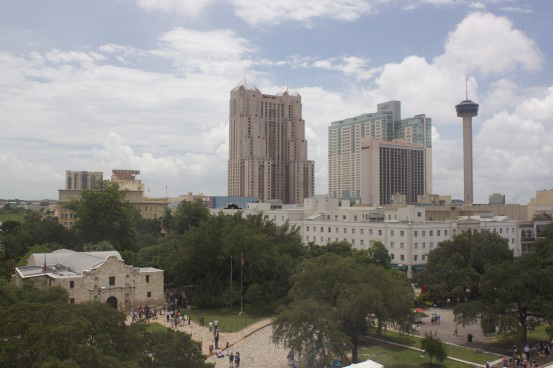
Original Image
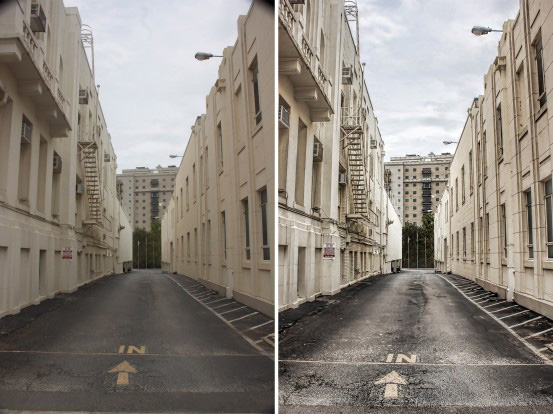
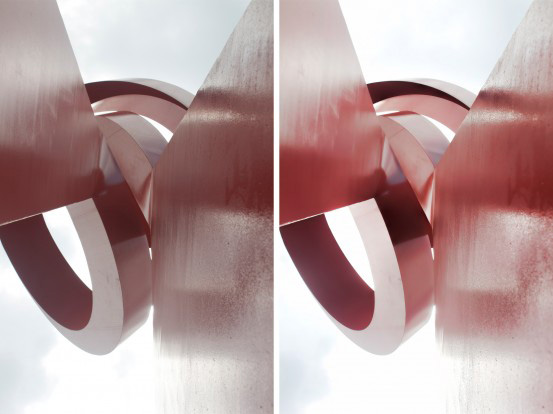
One of my favorite aspects of photography is the post-processing that follows in the ‘digital darkroom’. With the series of city images I took that day, a standard workflow was developed following the suggested Topaz workflow chart. The adjustments applied in guidance transformed my daytime cityscape images in a non-drastic way, making them stand out compared to the lack-luster originals.

Topaz Workflow Chart
With the above workflow in mind, I brought the below images into several plug-ins in this order: DeNoise -> Adjust -> Clarity -> Lens Effects -> Detail
Using the Alamo City skyline as an example, here is a general idea of the post-processing steps I followed:
Step 1: DeNoise
- Open the image in Photoshop (or other host program).
- Duplicate the photo (Ctrl/Cmd + J) and open it in Topaz DeNoise 5.
- Be sure you are viewing the image at 100% so that it appears the way it should when brought back into PS. This magnification will also help you see the noise in the original image as compared to the after.
- Apply one of the settings you find most suiting to your image. I applied the RAW-moderate preset.
- Press OK.
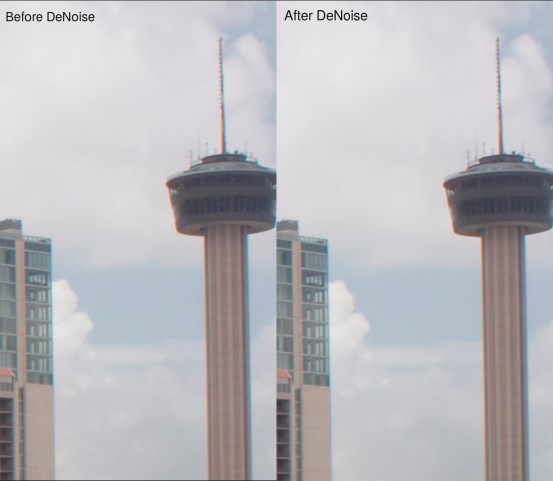
DeNoise
Step 2: Adjust
- Bring the image into Topaz Adjust 5.
- Apply the Brilliant Warm preset for a sunny day.
- Reduce or increase the transparency as desired.
- Press OK.
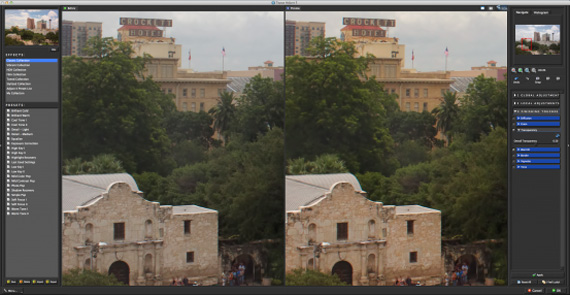
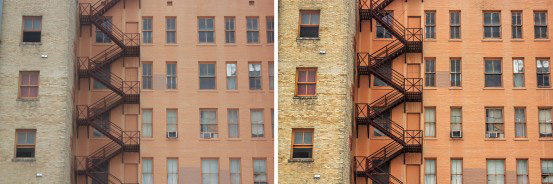
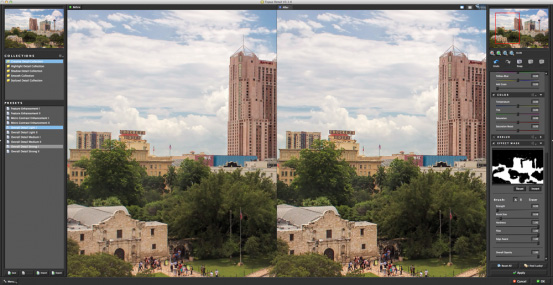
Step 3: Clarity
- Open the image in Topaz Clarity.
- Apply one of the presets found in the Architecture Collection. For this image I applied the Cityscape I preset.
- Optional: Mask out the sky using the ‘Edge Aware’ brush so that the Cityscape I preset is only applied to the city:
Cityscape I Preset
Mask Out the Sky
- Press OK to bring the image back into PS to apply the changes.
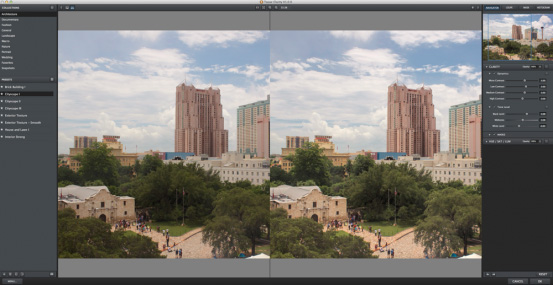
- Bring the same image back into Clarity and apply the Clouds II preset found in the Landscape Collection.
- Use the Edge Aware brush to mask out the architecture and foliage so that the effect is only applied to the sky:
Clouds II Preset
Masking Tips
- Increase your brush size and strength around the bulk of the image.
- Zoom in to construct fine tweaking around the edges of the skyline with a smaller brush.
- Use the space bar to toggle between the before/after to help see what needs to be hidden or revealed.
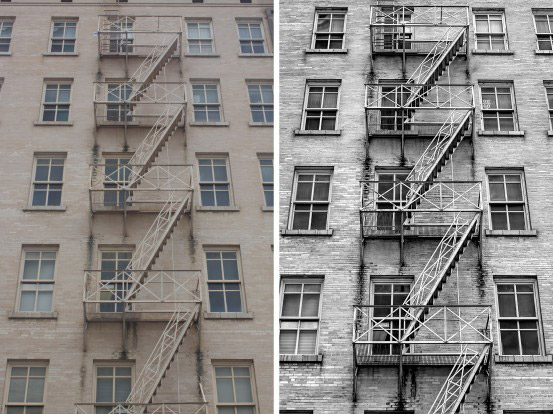
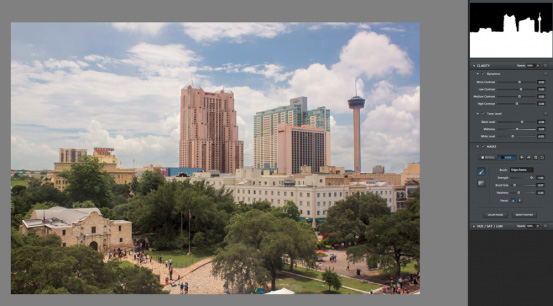
Step 4: Lens Effects
- Bring the image into Lens Effects.
- Zoom in to 100% to see the exact changes that will be applied.
- On the left side of the interface scroll to xF Add Sharpening and apply one of the Sharpening presets and press OK. I used Sharpening II:
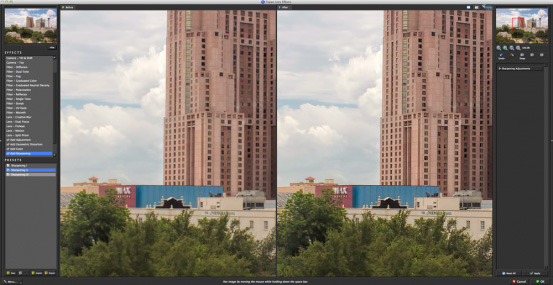
Add Sharpening
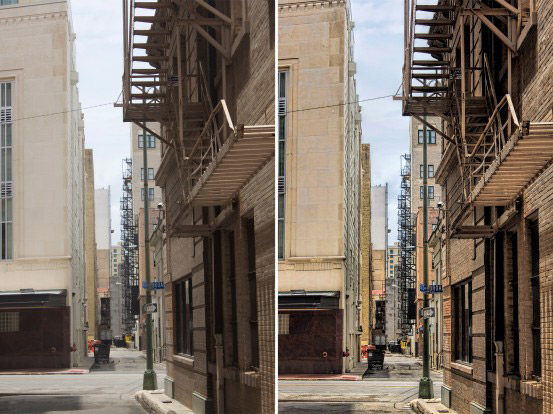
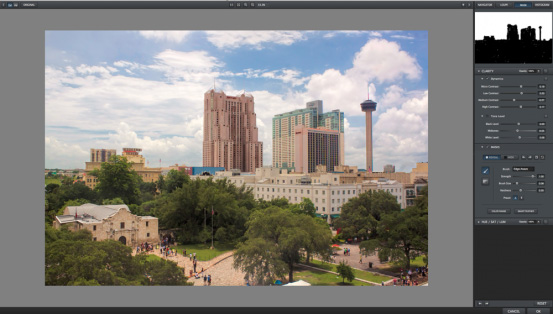
Step 5: Detail
- Open the image in Topaz Detail 3.
- For this photo I reduced the saturation by -0.10 for a more natural feeling.
- Apply the Overall Detail Light preset and mask out the sky/trees so that detail is only brought out in the architecture.
- Press OK.
Overall Detail Light Preset
Back in PS, I made Selective Color Adjustments in the cyans, blues, and yellows to take effect on the sky and foliage:
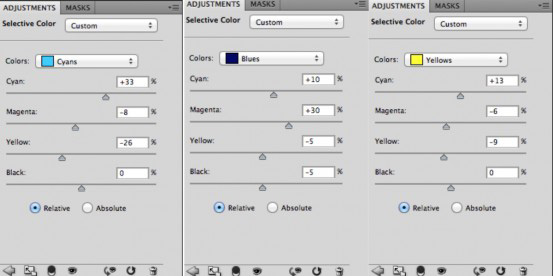
Selective Color Adjustments
The Final Result
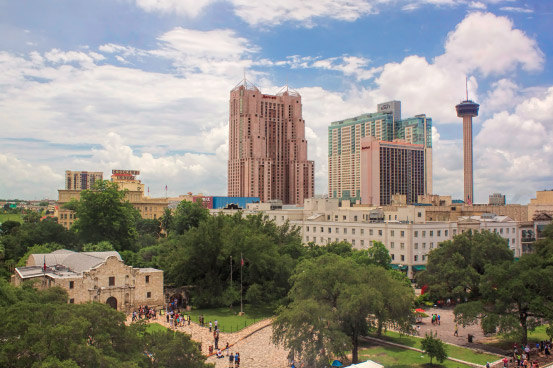
Final Image
Only Hours Left to Save on Topaz Software:
This year Topaz Labs, maker of these very popular photo editing plugins is ending the year by offering 35% off any of their products. Simply use the code TOPAZ2015 at checkout to get the discount on any Topaz products until Dec 31st, 2015 at midnight.
Deal found here: The Topaz Year-End Deal for Photographers
Go to full article: Urban Landscape Photo Editing with Topaz
What are your thoughts on this article? Join the discussion on Facebook or Google+
Article from: PictureCorrect