To accomplish great things we must first dream, then visualize, then plan… believe… act!
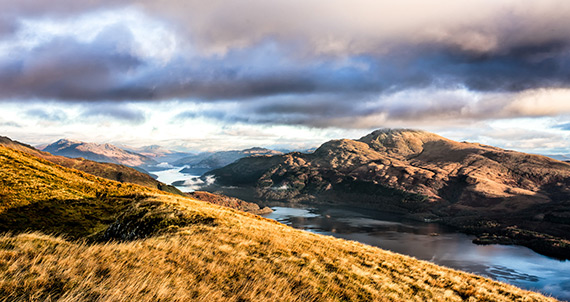
“Ben Lomond” © Robert Keith
Feel
This is probably the hardest part of my process to describe. Hiking in the highlands, I am privileged to have access to some amazing landscapes,; as I walk through them I am overwhelmed by options. This makes it hard to identify when I see a truly special scene, since it can be drowned out by choice. However, I can increase my awareness by asking myself a question every time I raise the viewfinder to my eye: “Why do I feed the need to photograph this scene?” It kicks starts a little bit of dialogue in my head. Once I’ve answered that question it naturally leads to others:
- What should I include in the frame to support my rationale for taking the photo?
- What should I leave out?
In many cases, this discussion takes place in a matter of seconds as I scan the image in my viewfinder. Often it results in a mental image of the photo I want to take. This part of my process isn’t limited to when I am actually in the landscapes I love photographing. I may get a feeling about a photo I want to take when I am reviewing images from a previous shoot, or I might see something completely unrelated that sparks an idea for a photograph.
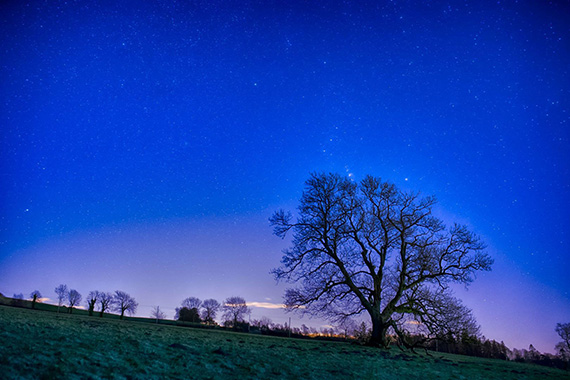
“Starry Night Lowres” © Robert Keith
See
Once I’ve got a reason for taking the photo—and hopefully have a mental image or at least a general mood I want to capture in the photo—it’s time to really look at the scene before me.
- What elements support the mood?
- What elements stand out in that mental image?
- What can I do to accentuate those elements?
The next step is to identify what elements could distract the viewer. Can they be eliminated without changing the image’s mood? This is where I actually start shooting, by taking some ‘sketch’ shots and reviewing them on the LCD.
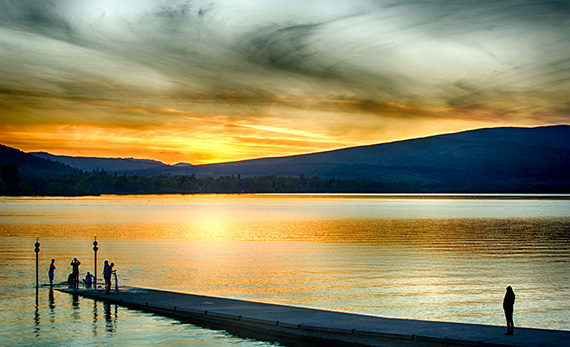
“Visualization Loch Lomond” © Robert Keith
Decide
Based on my ‘sketch’ shots I then identify the key elements in my composition. I also have an idea of what elements I want to leave out or minimize. Now that the content is nailed, I need to decide on the exposure, and I may adjust my depth of field based on what I want to include or exclude. Since depth of field is controlled by aperture, that will influence my overall exposure—I generally try to expose to the right without clipping the highlights. I may take a couple more ‘sketch’ shots to fine tune my settings. I use the LCD to zoom in and verify my focus and check the histogram and blinkies to ensure I’ve not lost any critical detail.
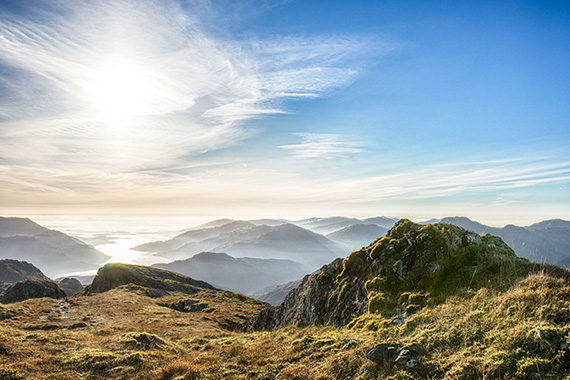
“View Ben Vorlich Lowres” © Robert Keith
Take
Finally, I combine everything I’ve learned in the previous steps to take my final image. I verify my exposure settings, focus point, and composition. Then I press the shutter. I close my eyes for a minute and dive in to the mental image I had of the image I wanted to take. Then I return to the final image and try to gauge whether I’ve got a chance of processing it into the image in my head. If I think I’ve got a good chance, I take a marker image—a pure black image of the lens cap—to indicate that the previous image is my master. I’ll then go back and delete as many of my sketch shots as necessary to speed up import and processing later. Just be careful if you do this; I’ve been dumb enough to delete my final image by accident! The A7 has the option to protect an image, which I do frequently use to make cleaning up sketch shots easier and safer.
About the Author
Robert Keith, a photographer of five years, is originally from South Africa but now lives in Scotland. He loves landscape and macro photography. He’s lucky enough to live on the borders of Loch Lomond and the Trossachs National Park, so he’s spoiled with beautiful vistas to photograph.
Go to full article: Visualizing Your Masterpiece
What are your thoughts on this article? Join the discussion on Facebook
Article from: PictureCorrect
The post Visualizing Your Masterpiece appeared first on PictureCorrect.