Composition in nature photography comes easy to some, but many new photographers struggle to find their balance. This is especially true where wildlife is concerned.
There is a bit of false wisdom that says: “You should never put your animal right in the middle of the photo–only to the left or the right.” This is simply not true, but it is a notion that causes all sorts of anxiety for new photographers.
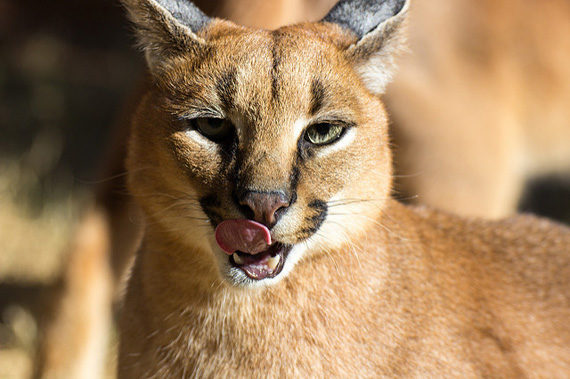
Photo by Massmo Relsig.
If you don’t put your animal in the middle of the photo, where do you put it? And what do you do with all that extra space? Well, it may (or may not) encourage you to know that there is not really any hard and fast rule to answer these questions. Like all things in composition, it really depends on your own sense of visual balance. Good composition requires you to have the confidence to trust your own judgment.
That doesn’t mean you are on your own when it comes to learning composition. The answers to the following questions may help you if you are struggling to get started.
Can I Position My Subject In The Middle?
In certain situations, this can work just fine. If you are shooting a portrait-style photo where the animal subject fills up much of the frame, it can make sense to place it right in the centre. This approach can seem perfectly natural, especially when the subject is looking right at the camera. In this case, there is nothing to indicate a shift to one side or the other, and to do so may just create wasted space.
For this type of photo, where the subject fills most of the picture, it is important to leave a bit of breathing room around the head of the subject. Your picture will look more balanced if there is a little space between the subject and the edge of the frame, rather than showing the subject cramped into the composition.
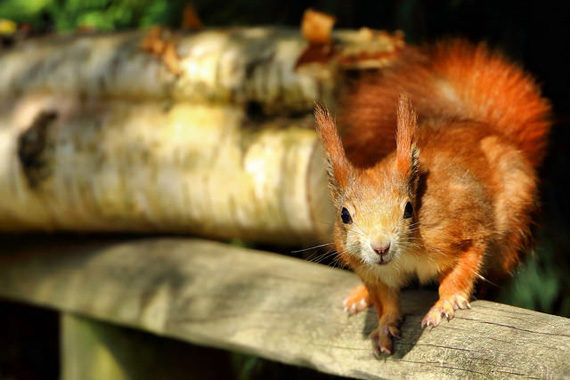
Photo by Airwolfhound; ISO 500, f/6.3, 1/400-second exposure.
Should My Subject Go On The Left Or The Right?
Your answer to this question should be guided by the physical positioning of the subject. As a general rule, it is preferable to have your subject looking toward the middle of the picture, rather than toward the edge of the frame. So if your subject is facing to the left, shift its position a little to the right, and vice-versa.
It is not necessary to move the subject all the way over to one side. In fact many of my wildlife photos show the head of the animal right in the centre of the picture, with the body leading in from one side or the other. So the position of the subject is only slightly to the left or right. The important thing is that there is more space in front of the subject than behind it.
What Do I Do With All That Extra Space?
If you get the balance right in a portrait-style photo, the extra space will not appear too empty. In fact, it looks quite natural to have a little empty area for your subject to look into.
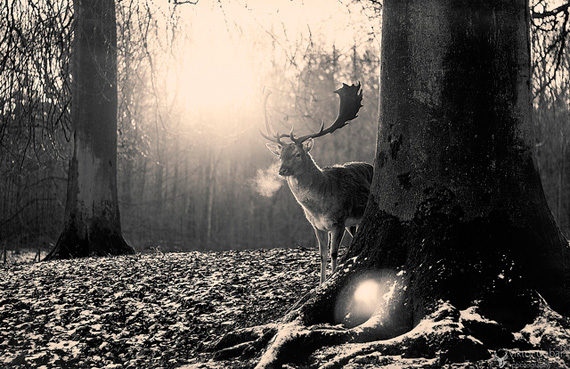
Problems can arise when you take your photo from further away, with a lot more space around the subject. This is when you really have to do some creative thinking about how to put that extra space to work in your composition.
The more space that appears around the subject, the more information you reveal about the environment it was photographed in. As an artist, it is up to you to make that work for you. I always believe in the following principle: “Anything that does not make my photo better makes it worse.” You need to ask yourself if showing more of the surroundings actually adds to the impact of the photo. If not, it may be better to zoom in and eliminate the extra space. However, the surroundings can add interest and impact to a picture if you know how to use them well.
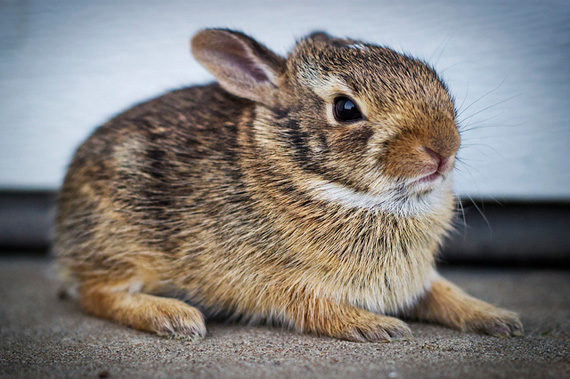
Photo by Joel Tonyan; ISO 800, f/3.2, 1/80-second exposure.
You already know that if your subject is facing to the right, you should position it to the left so that it looks into the picture. In that case, if you have another object that adds interest, you should try to position it to the right, so the animal is facing toward it. The idea is to try to establish a relationship between the animal and the surroundings. If you do this well, all the elements of the composition work together, adding to the impact of the entire picture.
For example, imagine a bird on a branch alongside some flowers. If the bird is facing away from the flowers, they are just two random objects in the same photo. But if the bird is facing toward the flowers, your photo tells a completely different story.
This may sound simple, but good wildlife photos are the result of patience, perseverance, and lots of wasted exposures before you get that perfect shot. However, don’t think of them as wasted exposures. Every time you press the shutter you add to your experience, and it is with experience that you will begin to trust your instincts and settle on a style of composition that expresses your love of the subject.
About the Author:
Andrew Goodall writes for http://www.naturesimage.com.au and is a nature photographer based in Australia. He manages a gallery in Montville full of landscape photography from throughout Australia.
Go to full article: Ways to Improve Your Wildlife Photography Composition
What are your thoughts on this article? Join the discussion on Facebook
Article from: PictureCorrect